Well, here we are, a week after Thanksgiving.

Some of us are still recovering from the food coma of eating waaaaaay too much, or mending that stubbed toe from fighting our way through the crowds of Black Friday sales.
Despite the weirdness of this post-holiday slump, I’m giving you a sweet little homemade peanut butter cup recipe anyway.
Because, hello, it’s peanut butter cups. Homemade peanut butter cups!
A girl hardly needs the perfect time to share that.
What I love about making your own peanut butter cups – very much like making your own pumpkin puree or sourdough bread – is that doing so opens your eyes to possibility.
What once was something to buy is now something that can be made at home. What once was unknown becomes manageable.
It’s freeing. It’s empowering. It’s one of my favorite things about cooking.
And in the case of these mini treats, it’s also delicious! The process is easy, and you can customize them by choosing the type of nut butter and chocolate you like, adjusting it to your taste.
You make them by setting out mini muffin liners, melting some chocolate, spooning a little into the liners, mixing up the filling and scooping some inside, topping everything with chocolate, and letting it harden.
That’s it.
So make a little room in that tired tummy of yours for just one more precious bite of something sweet!
Print
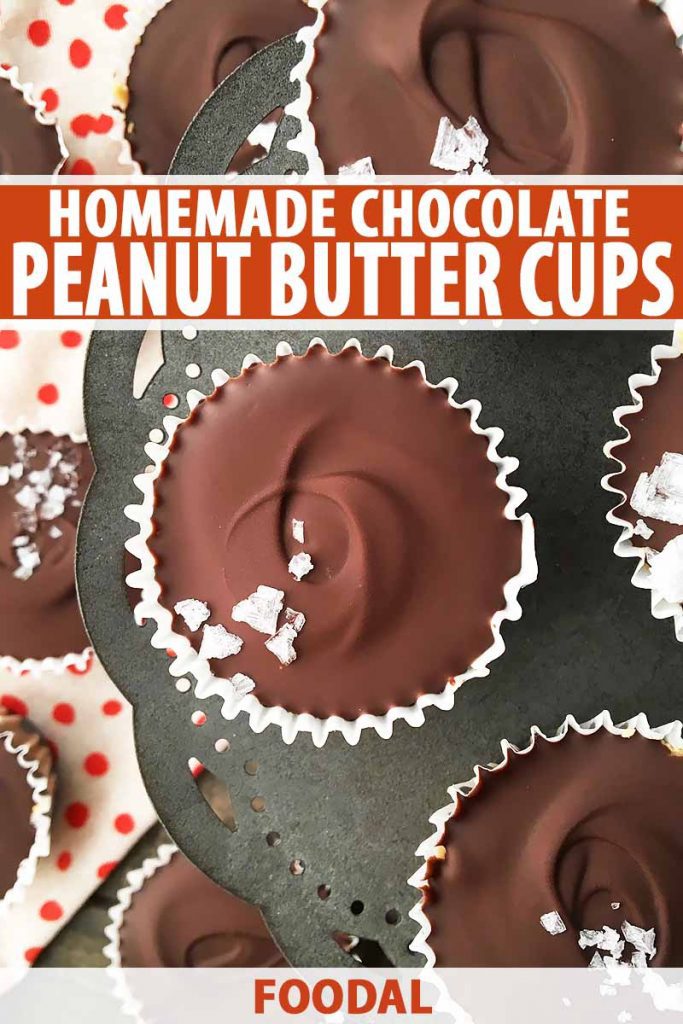
Homemade Chocolate Peanut Butter Cups
- Total Time: 1 hour, 30 minutes
- Yield: 30 candies 1x
Description
Learn how to make chocolaty peanut butter cups at home. Garnished with flaky sea salt, they pack an impressive depth of flavor.
Ingredients
- 1 pound milk or dark chocolate, broken into chunks
- 1 cup creamy peanut butter
- 3/4 cup powdered sugar
- 1/2 teaspoon vanilla extract
- Sea salt, for garnish
Instructions
- Line two mini muffin pan with 30-35 mini muffin liners. Set aside.
- Completely melt the chocolate in a double boiler or microwave.
- Spoon about 1 teaspoon of the melted chocolate into each muffin liner, using the back of the spoon to spread the chocolate halfway up the sides of the liner, making a thin coating. Allow to cool and set in the refrigerator as you prepare the filling.
- By hand or in a stand mixer fitted with the paddle attachment, combine the peanut butter, powdered sugar, and vanilla. Mix until everything is smooth and uniform. It will be thick.
- Spoon a little of the peanut butter mixture into each muffin liner, filling the liner about 3/4 of the way. Smooth and flatten the top of the mixture as best as you can.
- Spoon the remaining chocolate over the peanut butter mixture in each liner, filling close to the top of the liner. Garnish with a few flakes of sea salt. Let set completely in the refrigerator, for about 30 minutes.
- Remove each candy from the pan, and serve!
- Prep Time: 15 minutes
- Cook Time: 5 minutes
- Category: Chocolate
- Method: No-Bake
- Cuisine: Candy
Keywords: peanut butter cups, peanut butter, chocolate, sea salt, candy
Cooking by the Numbers…
Step 1 – Prep
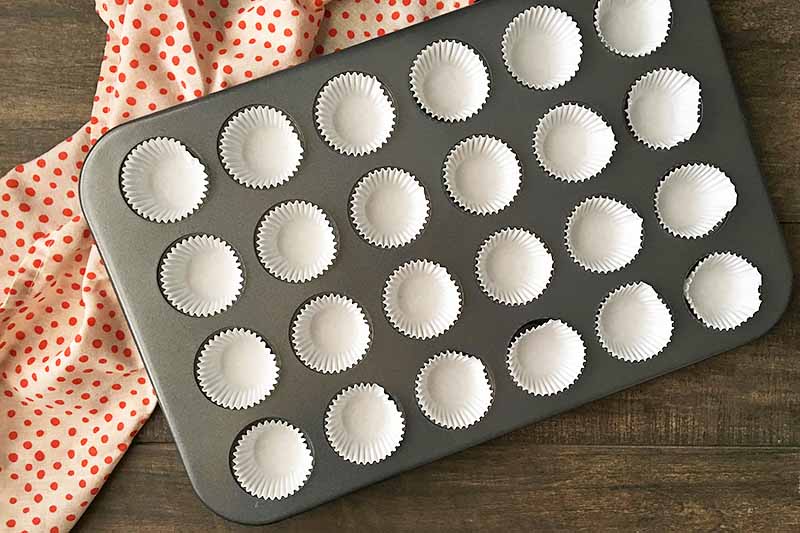
Line two mini muffin pans with 30-35 mini muffin liners. Set aside.
Break the pound of chocolate by hand, or use a sharp knife and sturdy cutting board to chop.
Measure out the peanut butter, vanilla extract, and powdered sugar. Set out the sea salt.
Step 2 – Melt
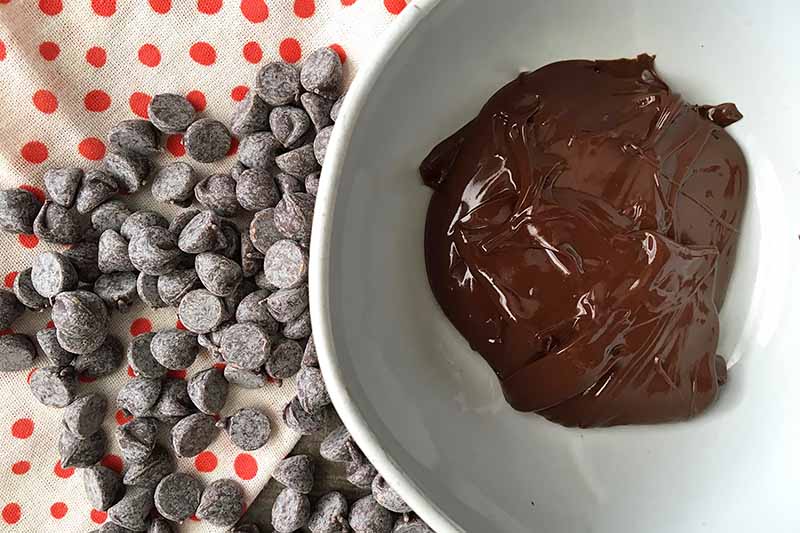
Completely melt the chocolate in a double boiler or microwave. Be sure to use low heat and stir occasionally to prevent it from burning.
Use your favorite kind. Maybe you want semisweet, or bittersweet. Milk is always a sweetly delicious option, and a classic for this candy.
Or, maybe you’re like me and have this recipe on file as the perfect excuse to finally use up all those half-empty bags…
Uh-oh. Did it just seize? No worries – learn how to save your chocolate, and how to prevent this from happening again!
Step 3 – Line the Bottom
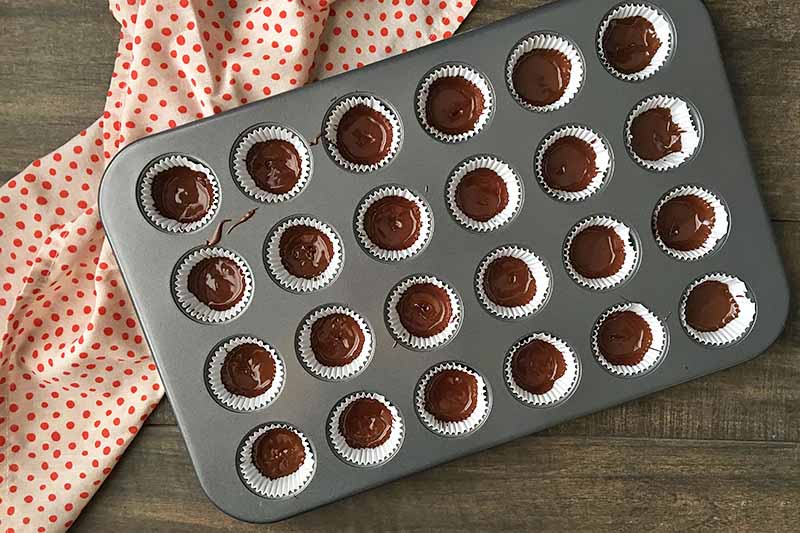
Add a thin coating of melted chocolate to the bottom of each liner. Spoon about 1 teaspoon of it into each muffin liner, and use the back of a small spoon to spread it halfway up the sides of the liner. You don’t want it to be too thick on the bottom.
Allow to cool and set completely in the refrigerator as you prepare the filling in the next step.
Step 4 – Make the Filling
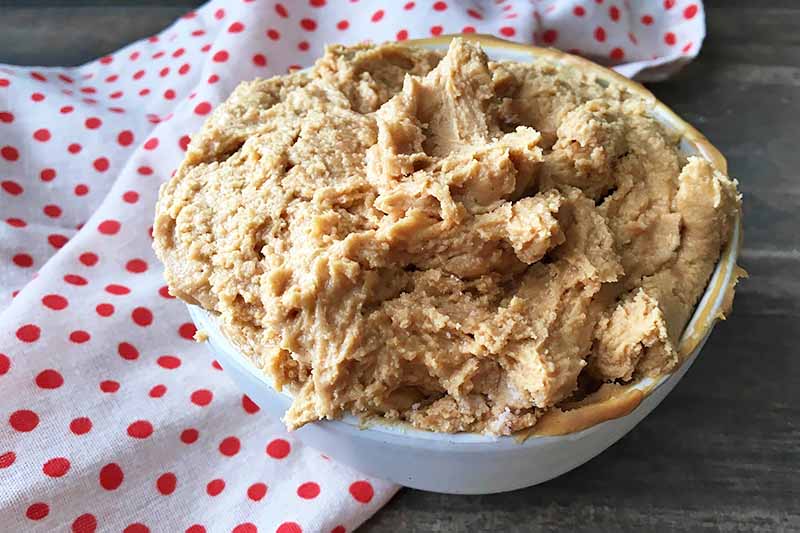
Combine the peanut butter, powdered sugar, and vanilla. Mix by hand or in a stand mixer fitted with the paddle attachment. Mix until everything is smooth and uniform, and a thick mixture forms.
For a different flavor, use an equal amount of almond butter, cashew butter, or sunflower seed butter.
Step 5 – Fill
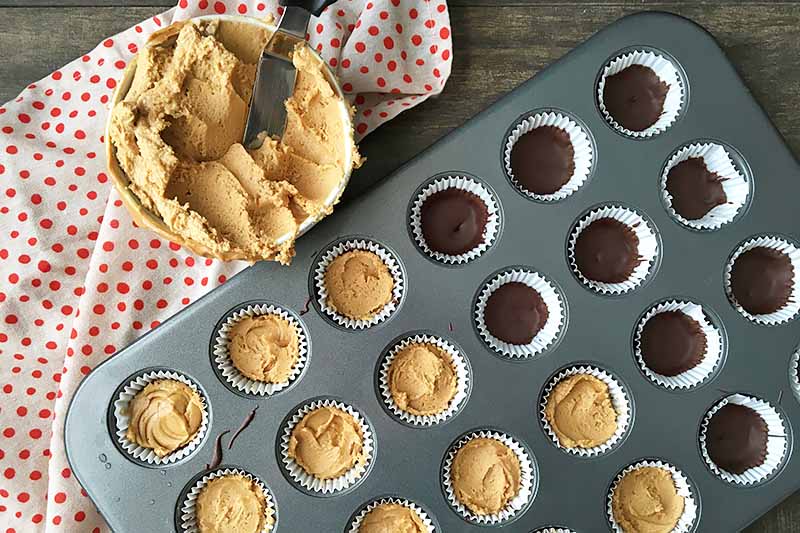
Spoon about 1 teaspoon of the peanut butter mixture into each muffin liner, filling the liner about 3/4 of the way to the top. Flatten the mixture as best as you can, using the back of a spoon. I find that using a small offset spatula works perfectly for this step.
Want another layer of salty goodness? Sprinkle just a little bit of sea salt on top of this mixture before applying the final layer of chocolate in the next step.
If you don’t like peanut butter, or are allergic to peanuts, consider replacing an equal amount of the filling with our homemade “Nutella” recipe!
Step 6 – Top with More Chocolate
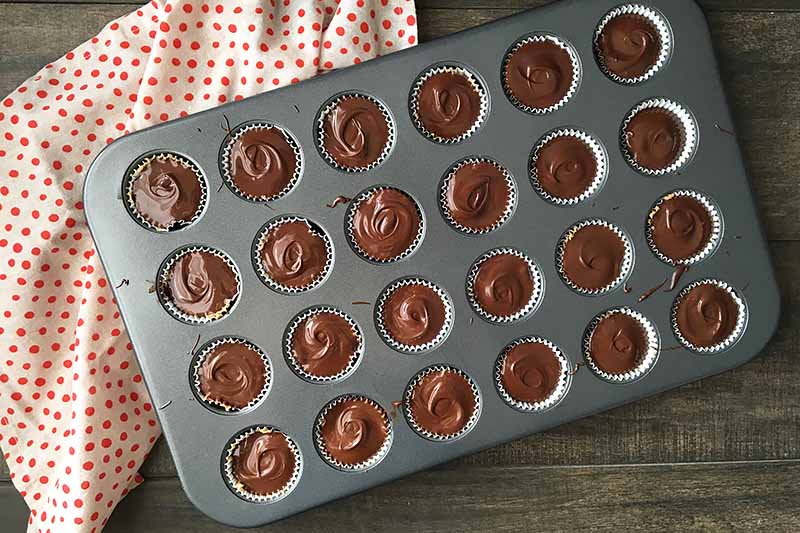
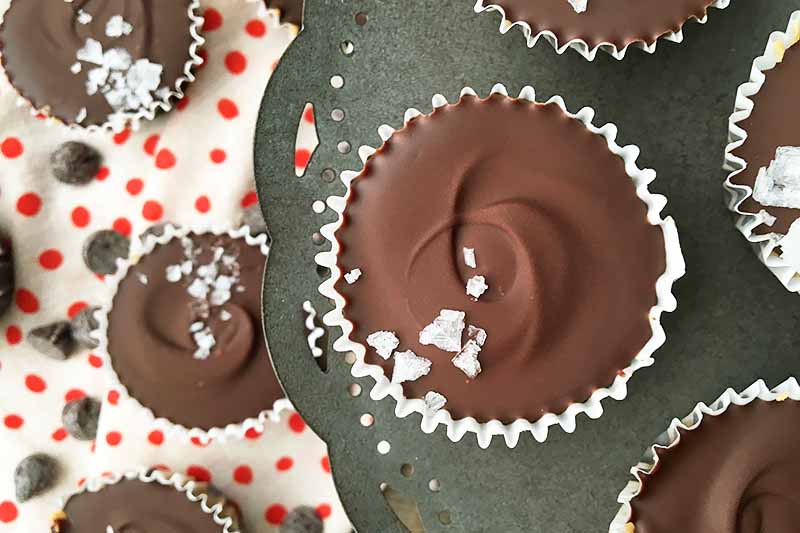
Spoon the remaining chocolate over the peanut butter mixture in each liner, filling to close to the top. Swoop the spoon at the very end, to create a cute, signature swirl. Garnish the top lightly with a sprinkle of sea salt.
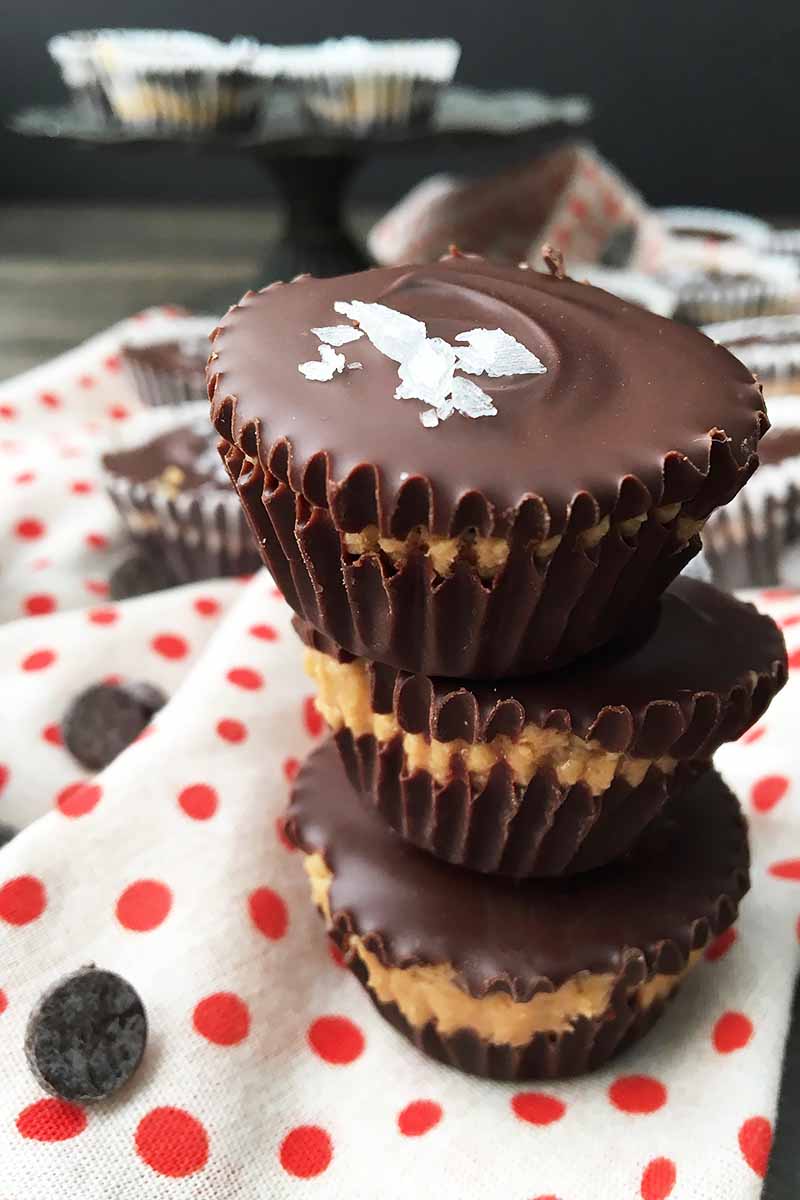
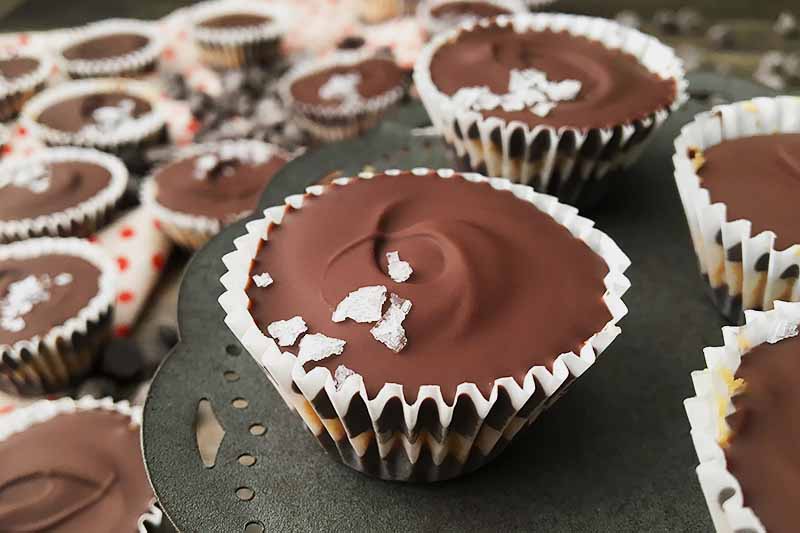
Step 7 – Chill and Serve
Transfer the pan to the refrigerator. Let set completely until firm. Remove the candies from the pan, and serve!
If you don’t plan to enjoy all of these right away, store the candies in an airtight container and keep in the refrigerator.
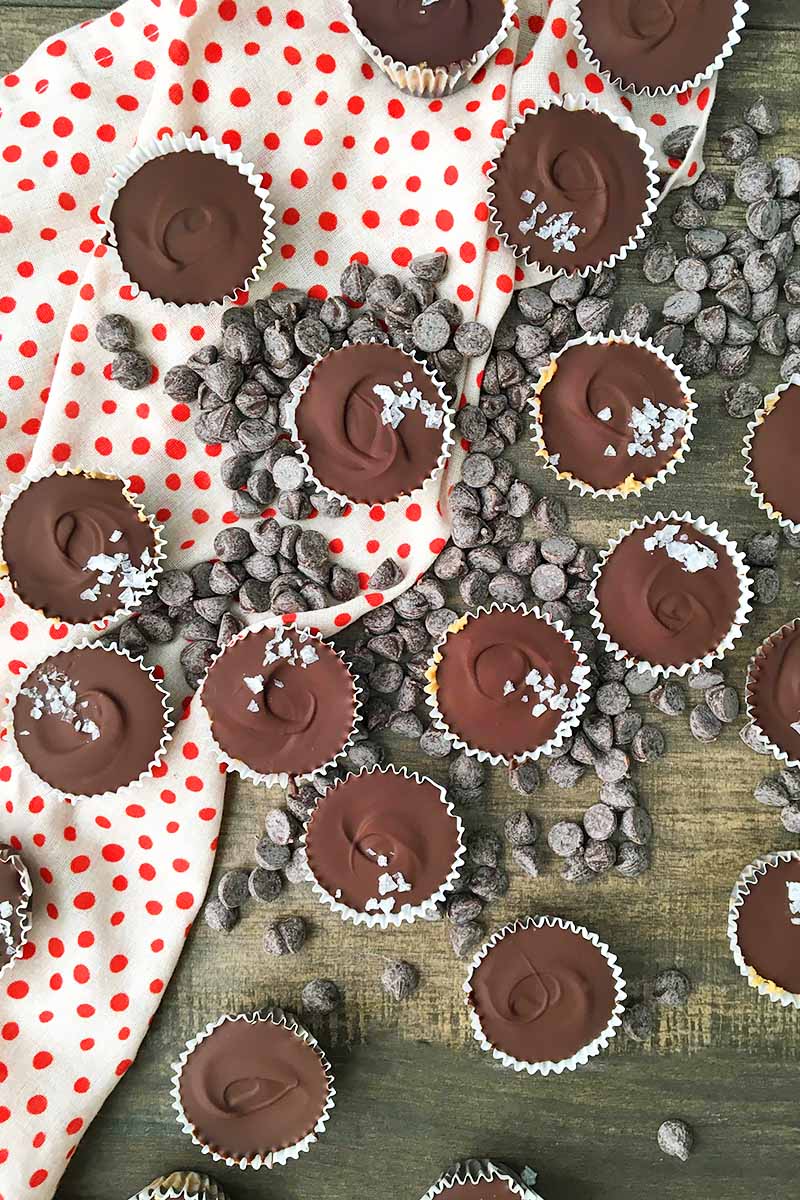
Your Favorite Candy, Made at Home
Aside from being pretty, these rich and nutty treats pack an impressive depth of flavor.
I love the final garnish of a flaky sea salt, like Maldon. But there are so many flavorful salt options for you to try to enhance the chocolate and peanut flavors, like sel gris or alea.
It should also be said, since the time right after Thanksgiving is nothing if not the start of the Christmas season, that they make great additions to holiday gift baskets in the coming weeks.
Enjoy!
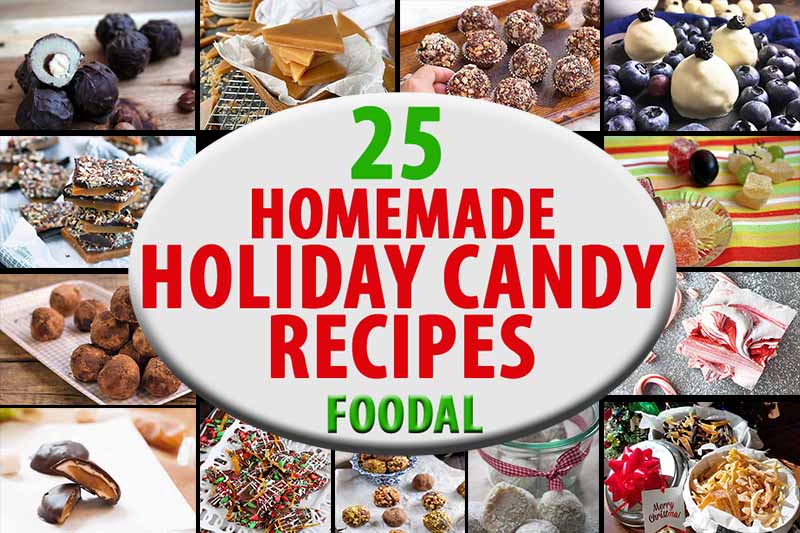
Looking for more candies to give as gifts? Sink your teeth into some of these adorable and tasty recipes:
Photos by Nikki Cervone, © Ask the Experts, LLC. ALL RIGHTS RESERVED. See our TOS for more details. Originally published by Shanna Mallon on November 23, 2012. Last updated: December 30, 2021 at 17:14 pm. With additional writing and editing by Nikki Cervone.
Nutritional information derived from a database of known generic and branded foods and ingredients and was not compiled by a registered dietitian or submitted for lab testing. It should be viewed as an approximation
About Shanna Mallon
Shanna Mallon is a freelance writer who holds an MA in writing from DePaul University. Her work has been featured in a variety of media outlets, including The Kitchn, Better Homes & Gardens, Taste of Home, Houzz.com, Foodista, Entrepreneur, and Ragan PR. In 2014, she co-authored The Einkorn Cookbook with her husband, Tim. Today, you can find her digging into food topics and celebrating the everyday grace of eating on her blog, Go Eat Your Bread with Joy. Shanna lives in Nashville, Tennessee, with Tim and their two small kids.
Sounds like a fabulous cookbook! And homemade peanut butter cups…YUM!
Mmmm. I’ve made peanut butter cups too, they are insanely amazing. In fact, I made them for my boyfriend’s mother when meeting her for the first time. She ate all of them, didn’t even give one to my boyfriend. Definitely a hit!
Oh YUM. Also, that cookbook looks fantastic. I think I might need to add it to my wishlist. 🙂
oh MY. you had me at the title. i LOVE peanut butter cups. will be making this today – thank you!! we make our own peanut butter and this will be SO good. btw, made these amazing peanut butter cookies from abby dodge’s new cookbook, you’d love them!
These look absolutely delicious, and oh my the possibilities are endless. What about white chocolate with pistachio butter filling or dark chocolate with toasted almond butter… I feel the need to experiment with this one!
I like the way you think! : )
The more I make things from scratch, the more I feel like I understand food. How things work together, how flavours mingle and merge, how different techniques can give you different (or the same) results. Love the idea of making peanut butter cups from scratch, not least because the commercial ones are incredibly expensive here! A perfect post-Thanksgiving bite 🙂
Peanut butter cups are my favorite candy, and The Homemade Pantry is such a great book. I gave it to my lil’ sis for her birthday because she has decided to stay home with her baby boy and wanted to learn how to make staples rather than buy them. She loves it!
Those look DELICIOUS!
These look so good! I have picked up that book multiple times in the book store and have considered purchasing it. It intrigues me to be able to make all of those “convenience” items that can so easily be made at home. Maybe I should revisit that book next time I am at the book store and purchase it. Thank you for sharing!
Rachel, I think it’s such an ingenious concept for a book: make everything from scratch, starting with the things we never think about making from scratch. Would be a great Christmas wish-lister. : )
I love making everything from scratch, though the process of making bread and I have a love-hate relationship, so I usually buy it for optimal results 🙂 I love that you make these in the muffin liners so they look like real PB cups! And they are so easy but SO impressive!
Mmmm I love making homemade peanut butter cups (especially giant ones with full-size muffin tins hehe), and this book has been on my wishlist for a while now. Sometimes to make the filling have a more crumbly, Reese’s-like texture, I use a little bit of milk, and use powdered sugar instead. Another variation I like is adding some honey and cinnamon!
Good suggestions, Monika! Thank you!
Oh goodness. Here I sit in my comfy chair, with my blanket and computer over my lap, willing myself to go into the kitchen and make these! Wow. They look so! good! By the way, I should tell you, because I forgot to add this in my post, that when I brought home the 5x7s, I glued them to some heavy-duty card stock before I hung them on the tree. They’re very sturdy and I like that I can’t see through them : ) Oh! And I also added Graeme’s little pinecone garland– I think the tree was a little too bare without it. Well, goodness, how ’bout you just come visit and we can make these together. I made your kabocha squash recipe. They turned out so good. . .the second time, ha! I made a major blooper the first time around. Think muffin cups. Think sizzle sound as I poke the toothpick into the ‘custard’. Think disintegration. Oh, silly me. I know for next time: Ask Shanna First.
Haha, Sarah! Thanks for the tips on the photos — I can’t wait to try this project out, and knowing about the cardstock is a big help! And, on the custards: oh no! Honestly, if you had asked me if you could make them in muffin cups, I would have said, I don’t know, maybe! So now if someone asks me, I’ll say definitely not, my friend Sarah tested it, and it’s a no. : ) Thanks for your help and research and for letting me know here!
These look amazing! I will definitely be making them. I’m curious why you use coconut oil in your peanut butter. At our local co-op there’s a machine that grinds peanuts into peanut butter – it’s only peanuts and it’s delicious! The same could be done in a food processor, but we just get it there because it’s easier and the peanut butter is the same price as buying bulk peanuts. Do you add the coconut oil to make it smoother or for flavor?
Ha, Kristie, that is a good question. I think it was originally because I was tweaking a recipe that used some other oil, and I would guess it used the oil to create a certain consistency. But, after trying it, I wouldn’t recommend coconut oil because of its tendency to harden and make the peanut butter weird. It works and the butter tastes good, but next time, I think I would roast the peanuts and then blend them, by themselves, like you said. Hope you enjoy this!
Better than Reeses. And not all that hard. I’m a believer! Thanks for this recipe!
★★★★★