You won’t get too far into my home before I offer you something I just baked.

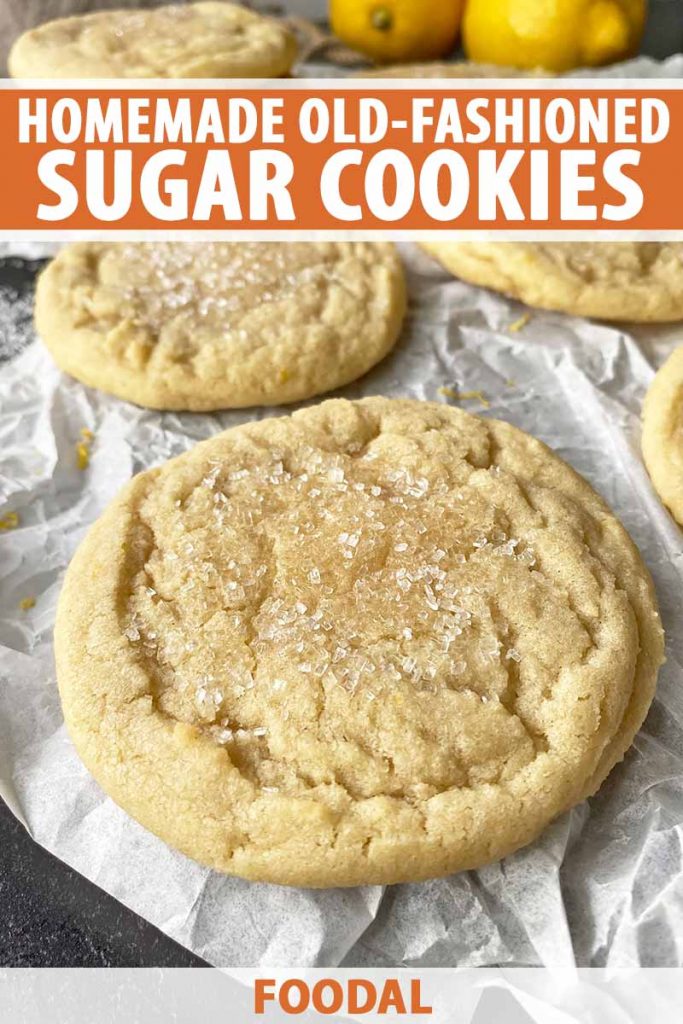
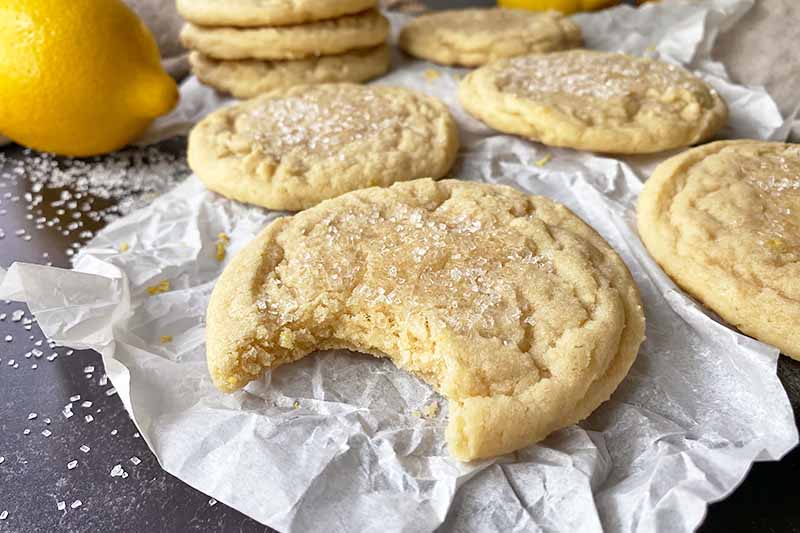
And if you were to come over right now, I would give you a pretty plateful of these old-fashioned sugar cookies as soon as you step through the front door.
If I must confess, I love giving people cookies!
While I have been known to make multiple loaves of zucchini bread for bachelorette parties and huge meat and cheese plates for holiday events, cookies are the ideal size to present as a gift to a loved one.
Each one is small, precious, and special – an edible, tangible token of my appreciation!
Adapted from Martha Stewart’s version, this particular recipe will have you requesting multiple tokens from me!
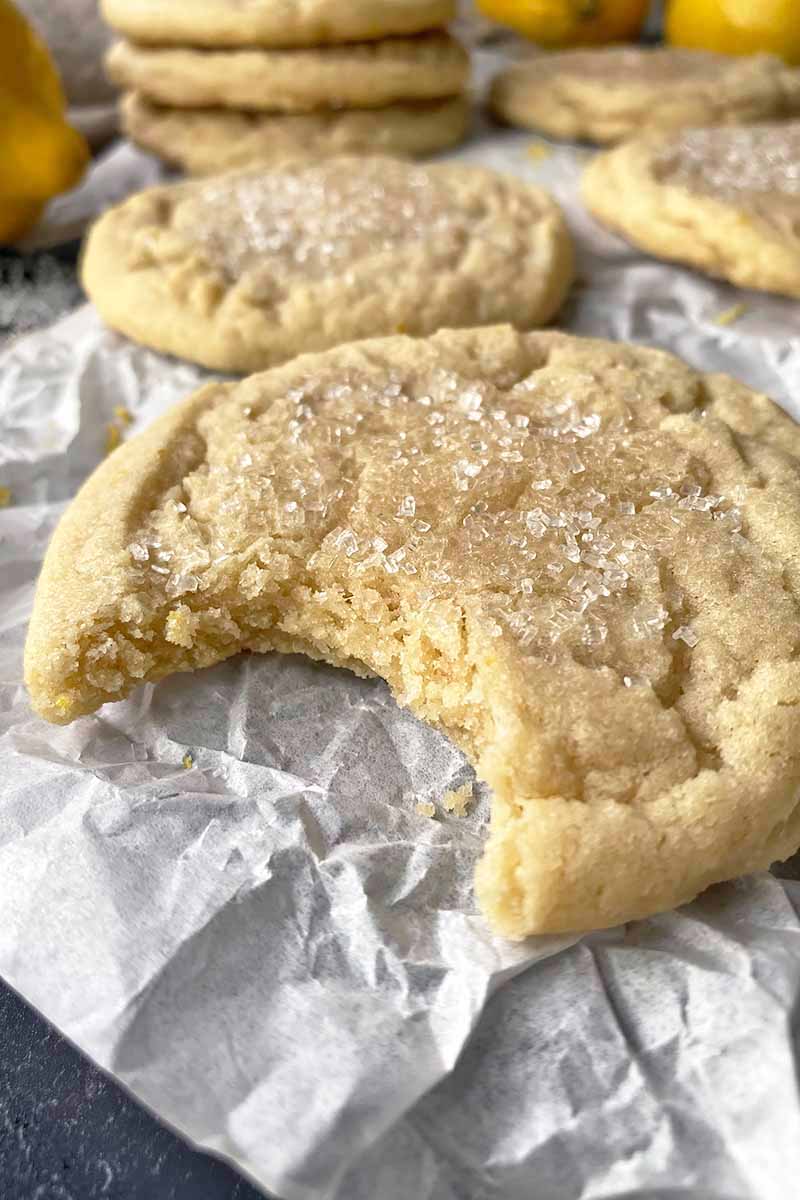
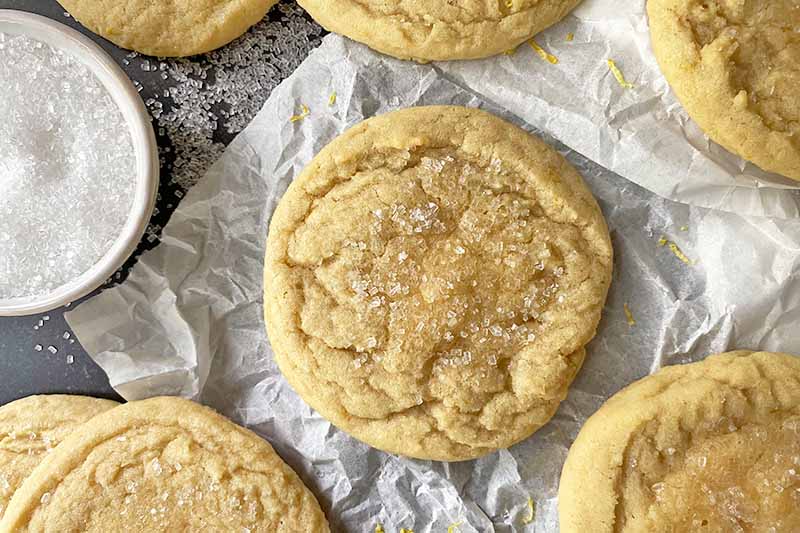
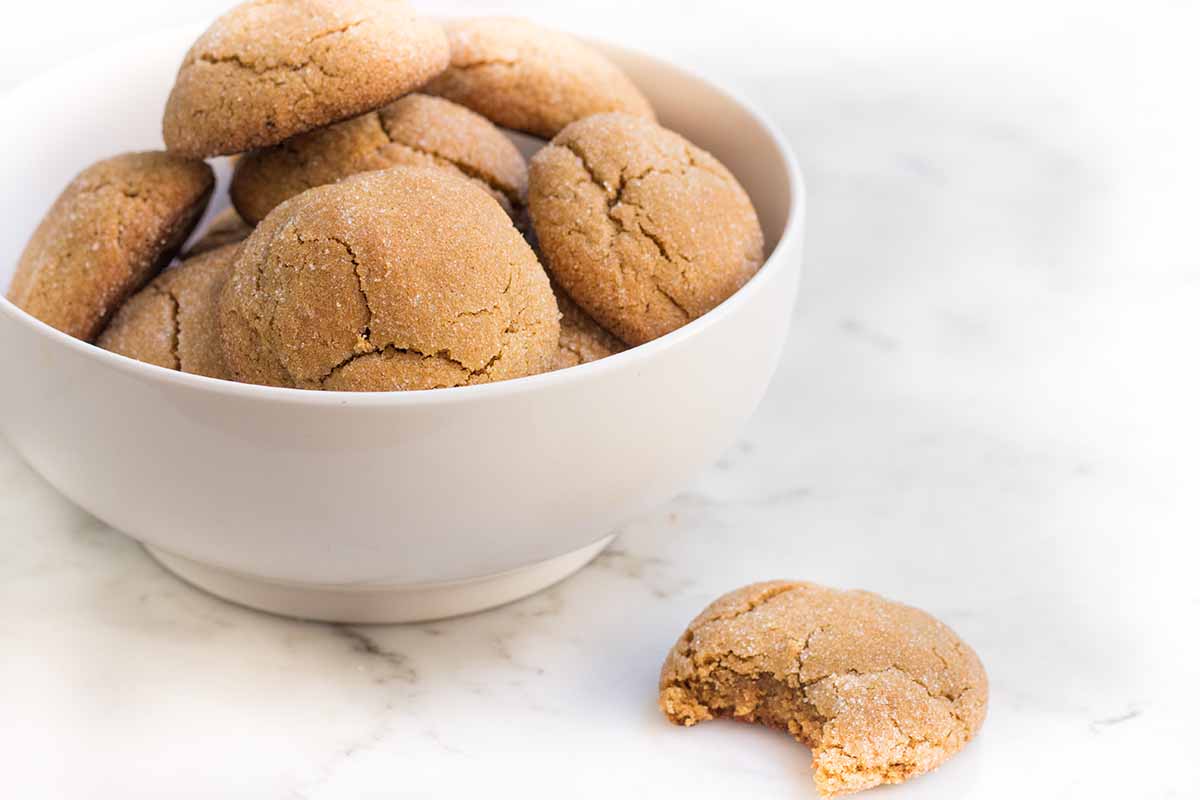
Soft and chewy, you’ll savor each bite, down to the last little crumb.
Crowned with sanding sugar sprinkled on top right before baking, this sweet treat reigns supreme with a little crunch and a lot of sparkle.
And with a tablespoon of lemon zest, the subtle citrus fragrance seamlessly merges with the sweet and creamy butter.
Armed with a hardworking KitchenAid mixer, I’ve been baking many batches of these sugar cookies lately – you would think I’d run out of people and places to send them!
But with this recipe (or, well, any delicious cookie recipe), you can never bake too many! You’ll always think of someone who will enjoy one, two, three, or a whole dozen.
They hold up well for sending in care packages to family members who live miles away, for trading in cookie exchanges with your local friend group, or for leaving a dozen or two in the break room at work.
But there’s also pure enjoyment in eating them at home when they’re freshly baked, still warm, and irresistibly melt-in-your-mouth delicious.
So stop by and ring my doorbell – sit down, share a steamy pot of tea with me, and enjoy another batch that’s just about ready to come out of the oven!
Print
Old-Fashioned Sugar Cookies
- Total Time: 35 minutes
- Yield: About 16 cookies 1x
Description
Looking for a classic sugar cookie recipe? Soft, moist, and with just a hint of lemon zest, these are the treats you want. Get the recipe now on Foodal.
Ingredients
- 3 cups all-purpose flour
- 1 teaspoon baking soda
- 1/2 teaspoon salt
- 1 cup (2 sticks) unsalted butter, softened
- 1 1/2 cups granulated sugar
- 1/4 cup packed light brown sugar
- 1 tablespoon grated lemon zest (about 1 lemon)
- 2 large eggs
- 1/4 cup sanding sugar, for sprinkling
Instructions
- Preheat the oven to 350°F. Line two baking sheets with parchment paper or silicone mats.
- Whisk together the flour, baking soda, and salt in a bowl. Set aside.
- In the bowl of a stand mixer fitted with the paddle attachment, cream the butter, granulated sugar, brown sugar, and lemon zest together at medium-high speed until pale and fluffy, about 1-2 minutes.
- Add the eggs one at a time on low speed, mixing until fully incorporated after each addition. Scrape down the sides and bottom of the bowl and mix again briefly for a few seconds.
- Add the flour mixture one cup at a time, mixing on low speed until just combined after each addition and scraping the sides and bottom of the bowl as needed.
- Use a 2-inch cookie scooper to scoop out the cookie dough and transfer to the baking sheets, spacing the dough about 2 inches apart.
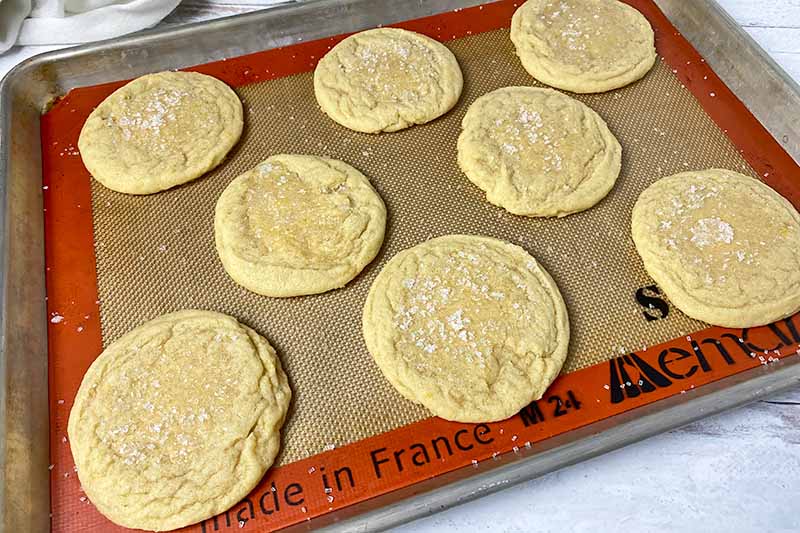
- Slightly flatten the portioned dough mounds with a spatula or your hand. Dip a pastry brush in water and lightly brush the tops of each mound. Sprinkle the tops with a thin and even layer of sanding sugar.
- Immediately transfer the baking sheets to the oven and bake until the cookies have spread and are puffy, about 15-17 minutes. They should not have too much color around the edges. Remove from the oven and let cool on the sheets for about 5 minutes before transferring the cookies to cooling racks to cool completely.
Notes
Adapted from Martha Stewart’s Old-Fashioned Sugar Cookies.
- Prep Time: 20 minutes
- Cook Time: 15 minutes
- Category: Cookies
- Method: Baking
- Cuisine: Dessert
Keywords: sugar, cookies, vanilla, lemon zest
Cooking by the Numbers…
Step 1 – Prep
Preheat the oven to 350°F. Line two half-size baking sheets with parchment paper or silicone mats.
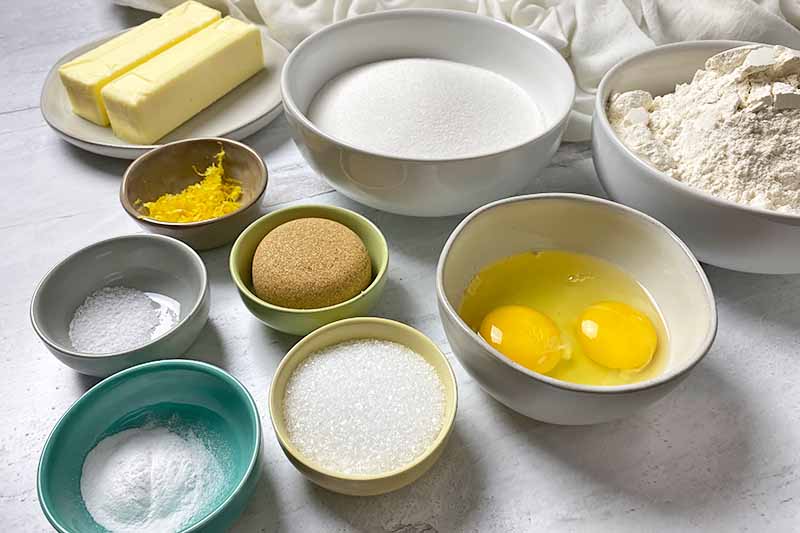
Set out the butter to soften at room temperature as you measure the other ingredients, or place in the microwave in a heatproof bowl and heat for a few seconds.
Measure out the granulated, brown, and sanding sugars separately.
Measure out the all-purpose flour, baking soda, and salt. Place in a separate small bowl and whisk together until the ingredients are completely incorporated.
Crack two large eggs in a small separate bowl, and check for any rogue bits of shell!
Grate the zest from one lemon, reserving the fruit for another recipe.
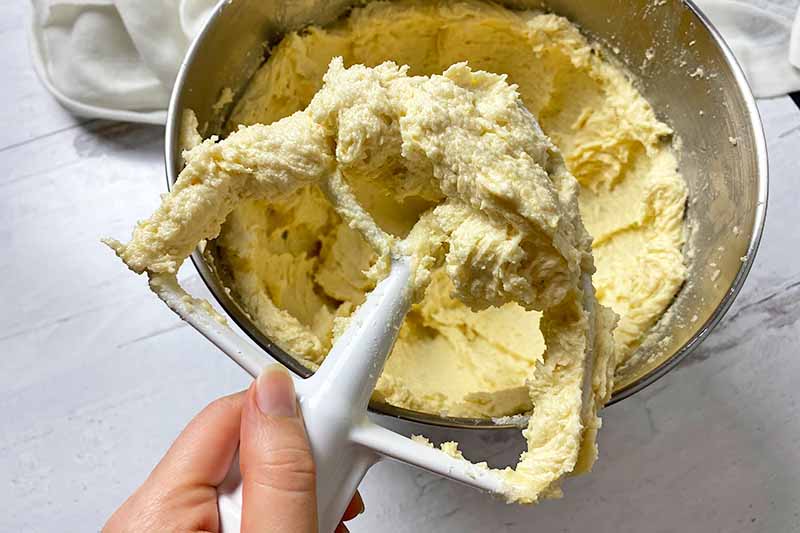
Step 2 – Cream the Butter and Sugar
You can use a stand mixer fitted with the paddle attachment or a hand mixer for creaming the butter with the sugar.
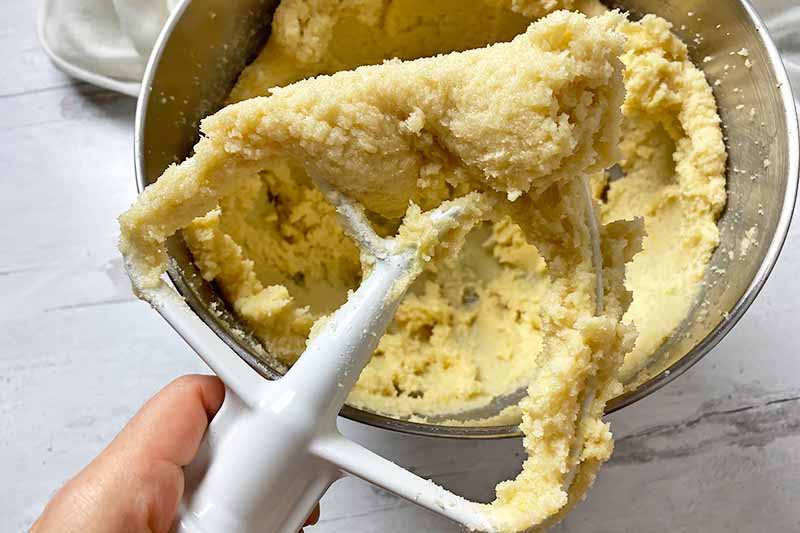
Combine the butter, granulated sugar, brown sugar, and lemon zest in your stand mixer bowl. Beat at medium-high speed, creaming the ingredients together until the mixture is pale and fluffy.
This will take about 1 to 2 minutes.
Step 3 – Add the Eggs
Add one egg to the creamed butter mixture and mix on low speed until fully incorporated. Add the other egg and mix again at low speed until fully incorporated.
Scrape down the sides and bottom of the bowl with a spatula and mix briefly for a few seconds to fully incorporate all of the ingredients.
Step 4 – Add the Dry Ingredients
Working with one cup at a time, add the dry mixture to the bowl. Mix at low speed just until combined and repeat with the remaining flour mixture.
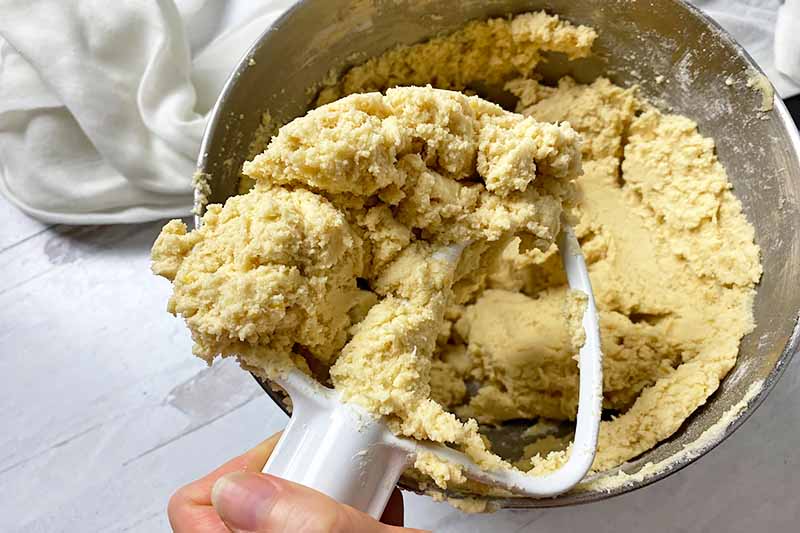
Scrape down the sides and bottom of the bowl with a spatula and remix briefly.
Do not overmix, to prevent a tough dough from forming.
Step 5 – Portion and Shape
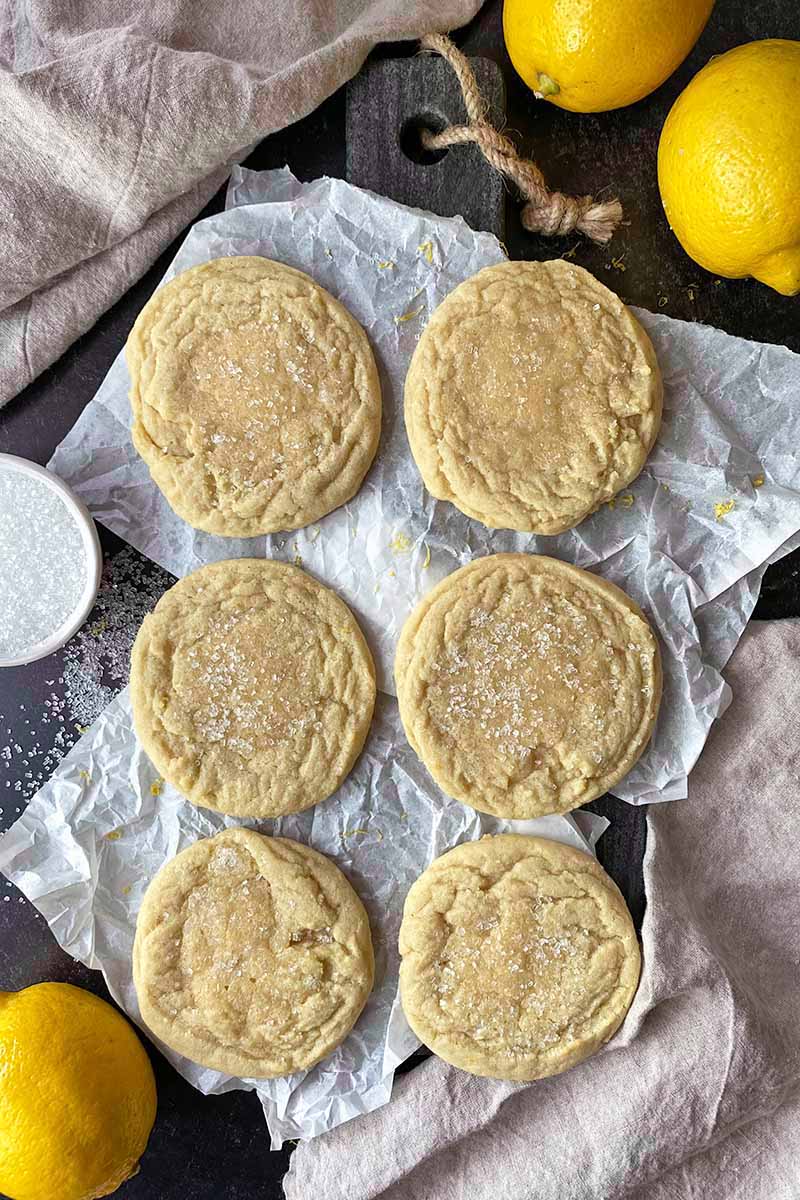
Scoop out the dough with a 2-inch cookie scooper and place each mound on the prepared baking sheets spaced about 2 inches apart from each other. There will be about 8 portions per baking sheet.
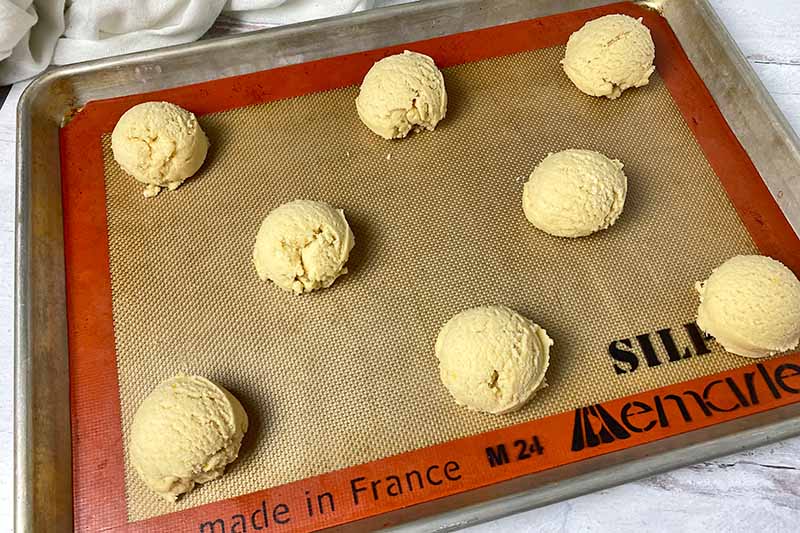
Slightly push the dough portions down with a spatula or your hand to get a flattened surface. You only want to push down lightly, to prevent the mounds from spreading excessively as they bake.
Does the dough seem very soft when you’re portioning the mounds? They may spread too much if the dough is very soft. After pressing them down but before coating them in sugar, they would benefit from a small chill time on the baking sheets in the refrigerator to firm the dough. Chill them for no more than 10 minutes.
Fill a small bowl with water. Dip a pastry brush in the water and lightly brush the tops of each flattened dough mound with a very thin layer of water.
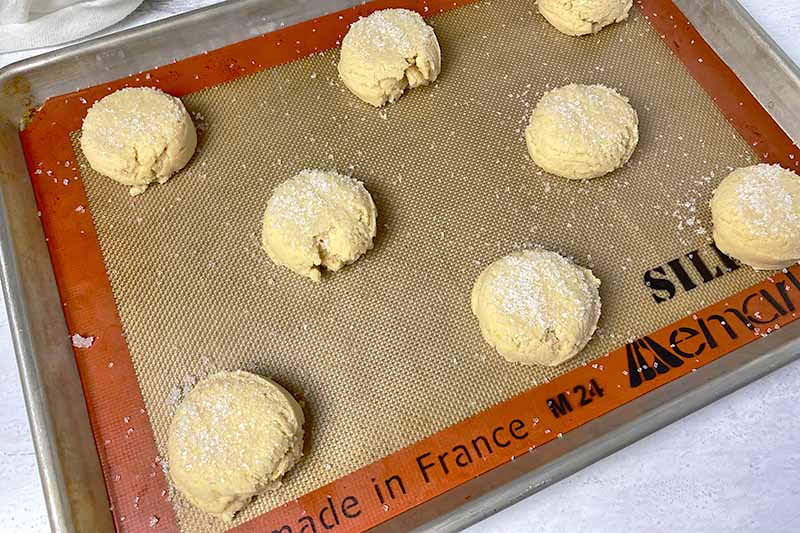
Sprinkle the tops with a thin and even layer of sanding sugar.
The thin layer of water will help the sanding sugar stick to the surface of each mound, creating a well-distributed layer of sugar that will bake beautifully in a thin and crunchy crust on top.
Step 6 – Bake
Transfer the baking sheets to the oven and bake until the dough portions have spread and are slightly puffy, about 15 to 17 minutes.
The edges should not look dark – that is a sign they are overbaked!
Depending on the heat distribution of your own oven, you may want to rotate the baking sheets halfway through the bake time, at about 6 or 7 minutes.
Step 7 – Cool and Serve
Immediately remove the baking sheets from the oven.
Let the cookies cool on the sheets for about 5 minutes before transferring them to cooling racks to cool completely.
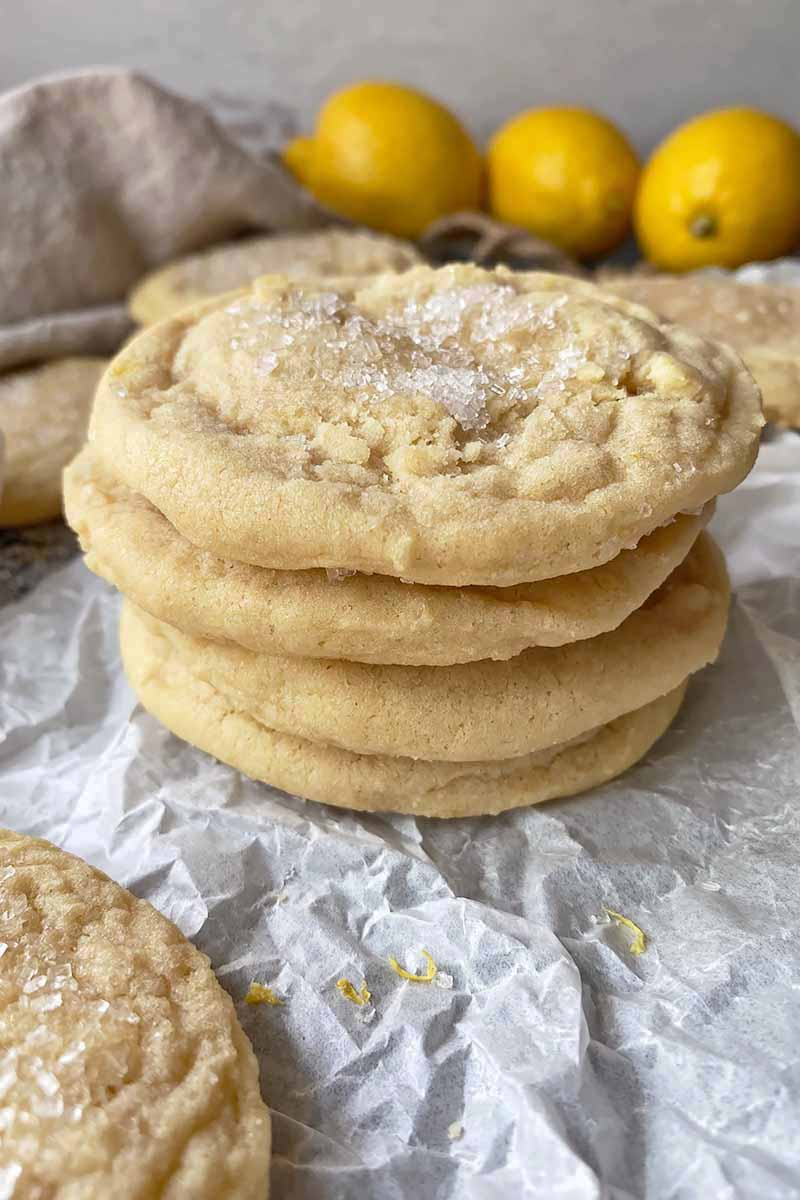
They will be puffy as soon as they come out of the oven, but they will flatten slightly as they cool.
Enjoy every bite!
Drop the Cookie Cutter
You don’t need it – this isn’t that type of sugar cookie!
This recipe is specifically designed as a drop cookie, in which you scoop the dough and drop it onto your baking sheet in beautiful mounds.
Rolling and cutting are not required for these old-fashioned beauties.
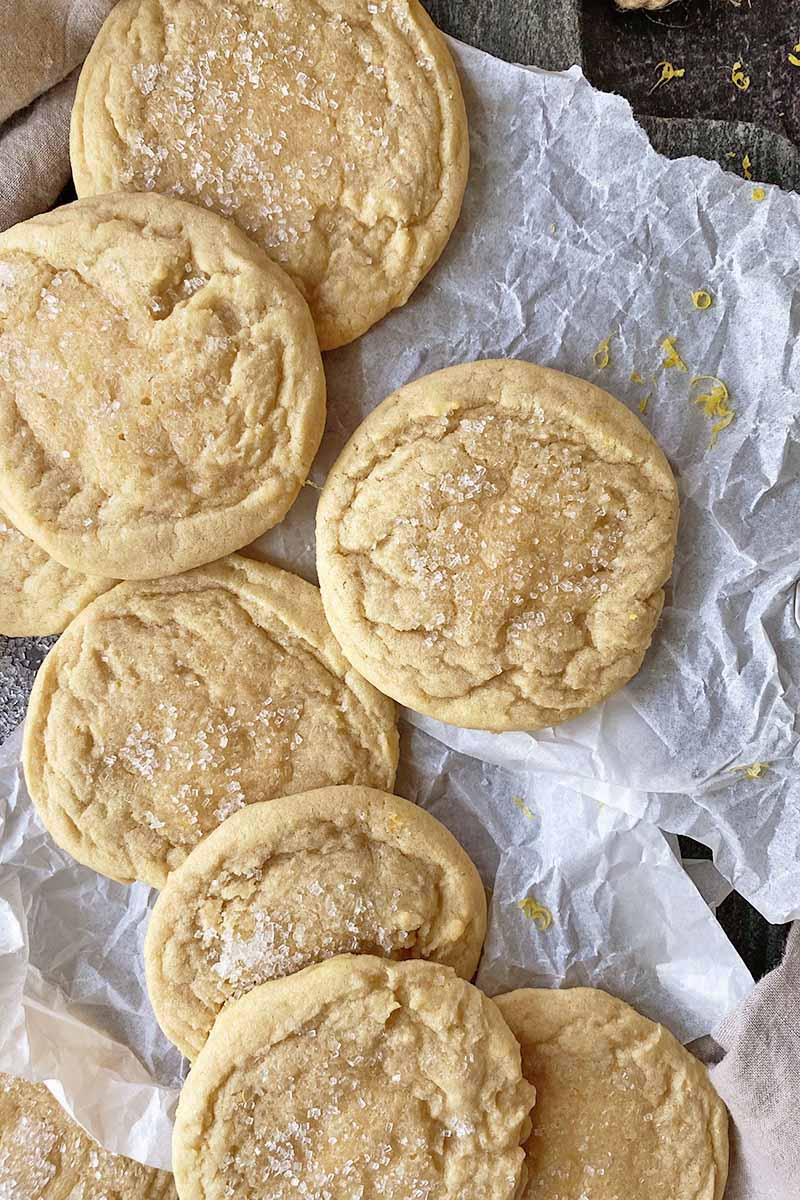
They will bake and rise, and will have a slightly puffy shape with a thin and crunchy crust from the sanding sugar.
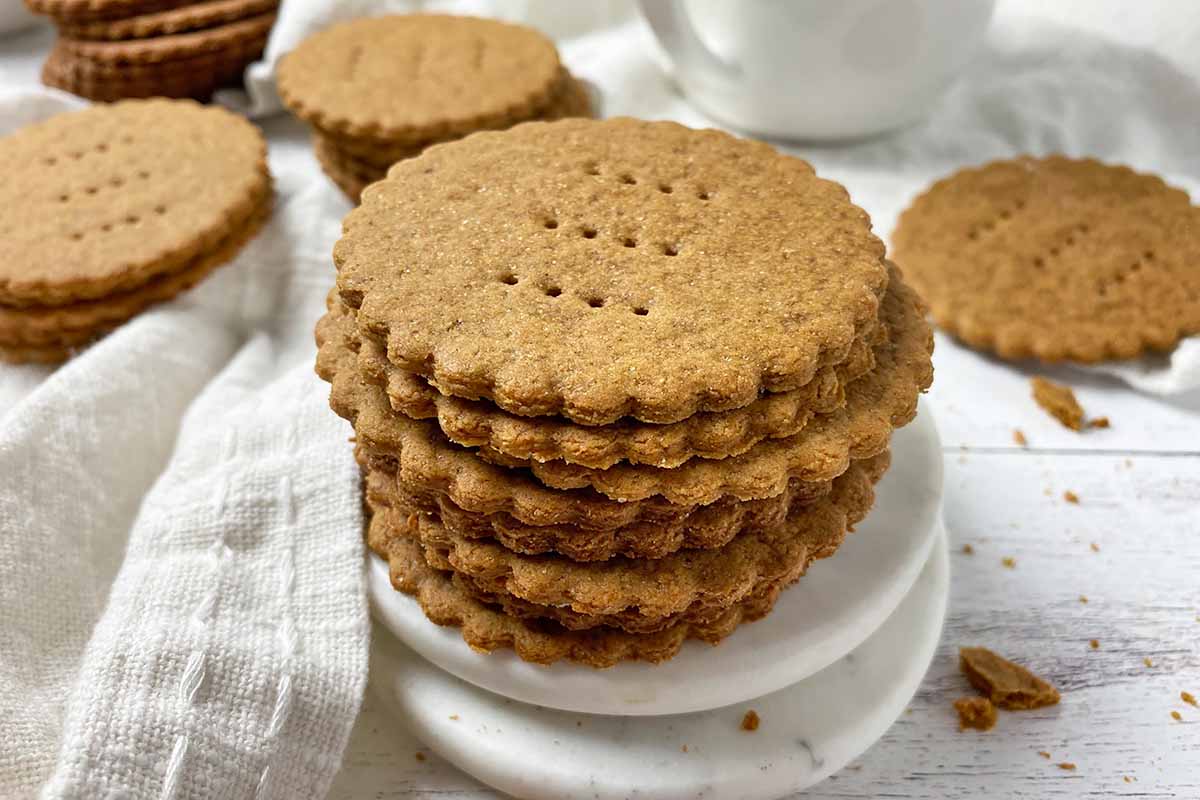
If you were hoping to find a cut-out recipe that would yield perfectly flat results ideal for decorating, let me steer you in the right direction: try our recipes for classic vanilla cut-outs, or brownie cut-outs.
But for now… the focus should be exclusively on these gorgeously golden sweet treats!
When you don’t want to worry about the time it would take to decorate, this is the recipe for you.
There is no need to spend any time intricately decorating them with royal icing, as they are pretty on their own with their crackled and glistening tops.
What are your favorite drop cookie recipes that make baking so fun and easy? Do you like this simple recipe, as opposed to a cut-out that you can decorate with icing? You know where to find me – I’ll be waiting for your input in the comments section below!
A small kiss of lemon is all you need to make a sweet recipe shine bright! Try these recipes next that also craftily use the big power of a little zest:
Photos by Nikki Cervone, © Ask the Experts, LLC. ALL RIGHTS RESERVED. See our TOS for more details. Originally published by Shanna Mallon on October 1, 2008. Last updated on August 19, 2022.
Nutritional information derived from a database of known generic and branded foods and ingredients and was not compiled by a registered dietitian or submitted for lab testing. It should be viewed as an approximation.
About Nikki Cervone
Nikki Cervone is an ACS Certified Cheese Professional and cheesemonger living in Pittsburgh. Nikki holds an AAS in baking/pastry from Westmoreland County Community College, a BA in Communications from Duquesne University, and an MLA in Gastronomy from Boston University. When she's not nibbling on her favorite cheeses or testing a batch of cupcakes, Nikki enjoys a healthy dose of yoga, wine, hiking, singing in the shower, and chocolate. Lots of chocolate.

Your cookies look great!!
how yummy. i can’t bake from scratch at all. something always manage to go wrong. : )
that is such a wonderful idea!!
Suzy: I’m so glad you liked them!! 🙂
I just made the sugar cookies and THEY ARE SO COMPLETELY AMAZING!! I only made a few changes: I left out the lemon zest because the only lemon I had was in my fridge, already zested. I also found that they were done after 10 minutes, not 15. They didn’t need any icing or anything, they’re just really, REALLY good cookies. 🙂