
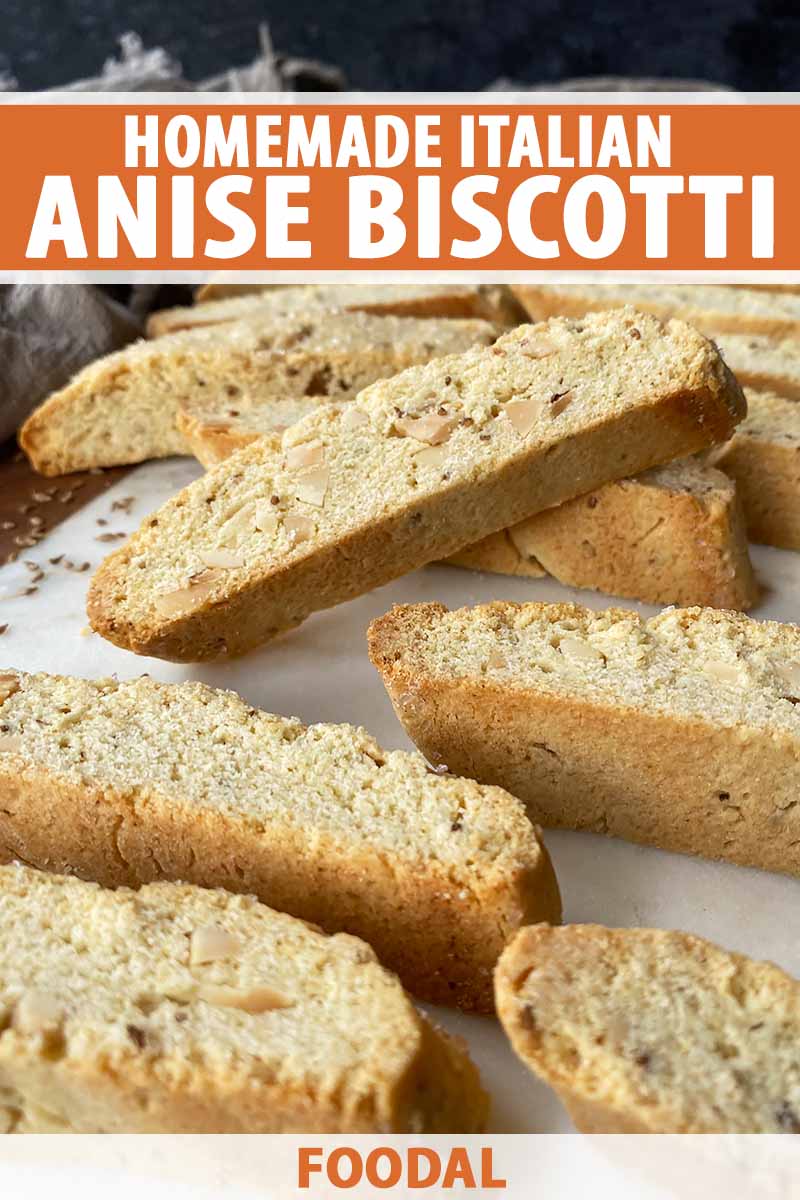
My anise biscotti recipe will shake you out of your chocolate chip cookie funk!
You know Newton’s first law of motion? How an object at rest stays at rest, and how an object in motion stays in motion?
Sometimes it feels that way when I haven’t made a new cookie recipe in a while – when I’m at rest, I tend to stay at rest.
It’s easy to not try something new when you’re content using the same basic chocolate chip cookie recipe for every party, potluck, and get together.
I’ve memorized the recipe, I always have the ingredients on hand, I know every direction by heart, and I know every movement around my kitchen.
But because it’s easy for things to stay a certain way, it doesn’t mean they have to.
I’m here to take you out of your inert complacency with making the same recipe – to do something different, fun, and finally put yourself in motion!
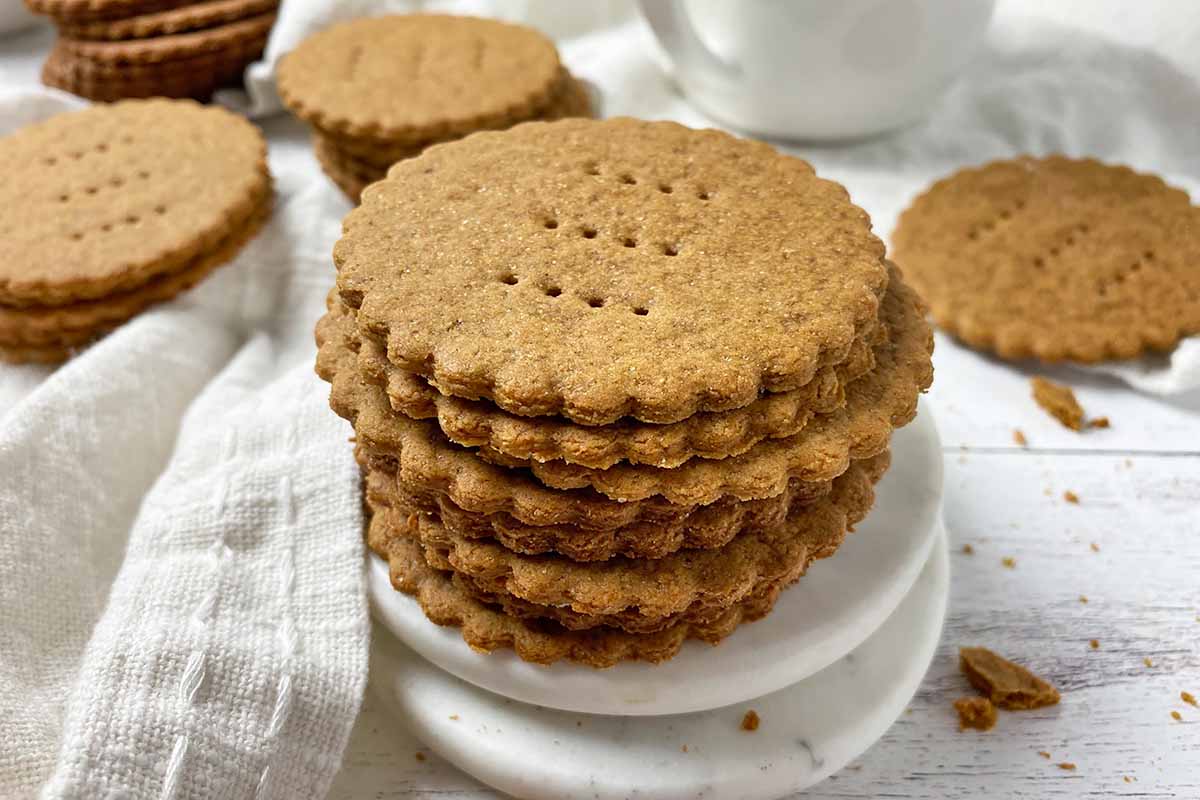
Making biscotti is unlike any other cookie, so it really is a big breath of fresh air to physically experience the steps of a more active baking process.
Instead of the easygoing scoop-it-and-forget-it rhythm of a basic drop cookie dough, you get to have far more interactive playtime with biscotti.
After making the dough, you divide it in half, roll out each half by hand to form a log, then slightly flatten it on the pan.
But the fun isn’t over quite yet. We’re still in motion, Newton!
True to its name (FYI, bakers: biscotti translates to “twice baked” in Italian), you bake biscotti in two separate steps:
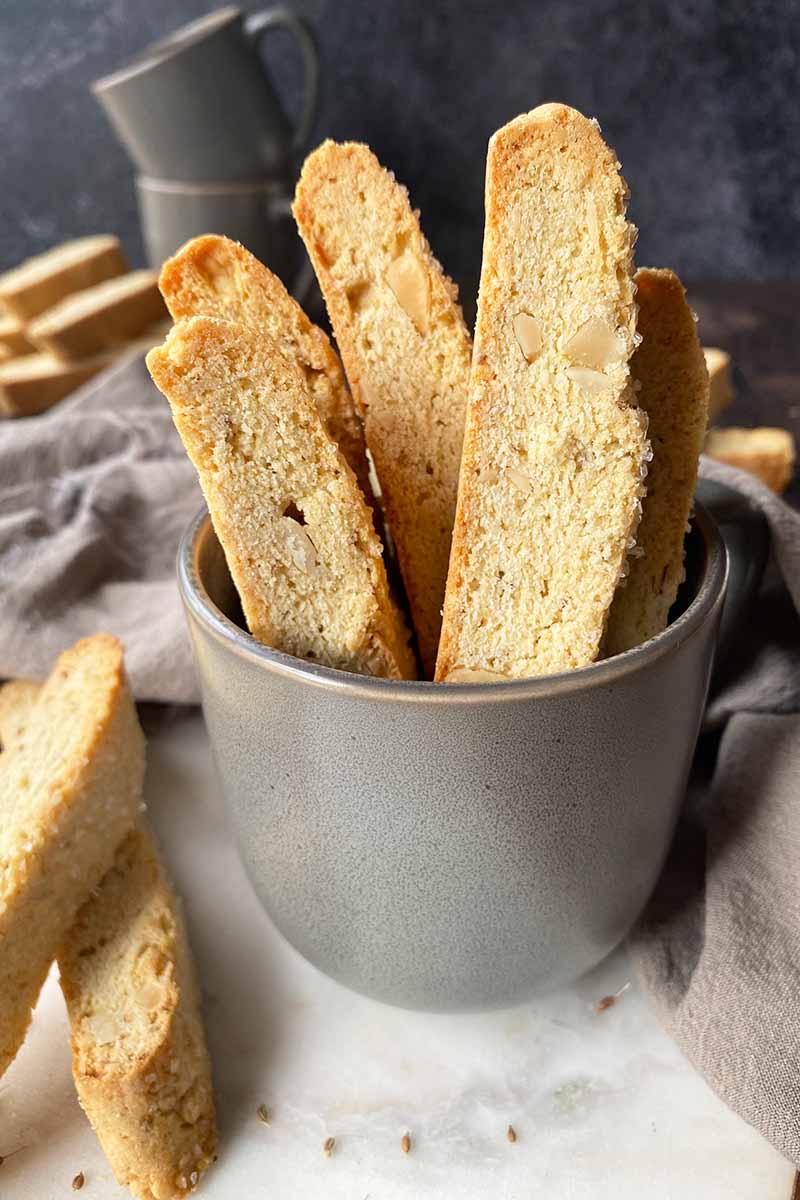
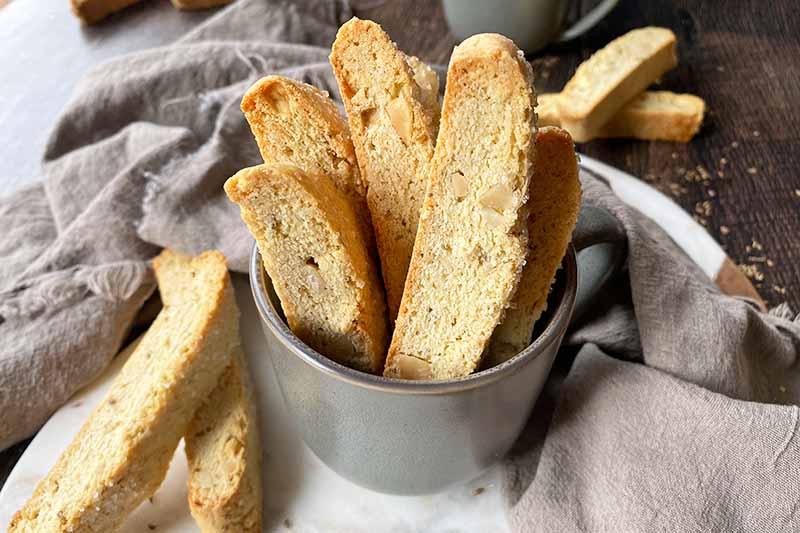
First, you bake the logs for about 30 minutes. Then, you slice the logs into individual pieces and bake those again until perfectly crisp and dunk-worthy, especially in coffee.
This biscotti recipe has an unmistakably licorice-like flavor of anise, with both crushed anise seeds and anise extract. The first whiff of that aroma is an immediate mental transport to your favorite nona’s kitchen!

The choice is yours when you’re itching to make a homemade cookie: will you choose complacent rest, or energetic motion?
I decided to step away from my usual cookie recipes, and baked a batch of these delicious biscotti. I am loving every single crunchy bite!
And now, it’s your turn!
Print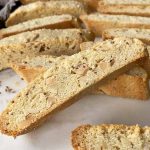
Anise Biscotti
- Total Time: 1 hour, 45 minutes
- Yield: 24 cookies (12 servings) 1x
Description
Anise biscotti are delectably aromatic treats with crushed anise seed and extract. You’ll enjoy dipping each crunchy cookie in your hot coffee.
Ingredients
- 1 1/2 sticks (6 ounces) unsalted butter, room temperature
- 3/4 cup granulated sugar
- 2 large eggs
- 2 teaspoons vanilla extract
- 1 teaspoon anise extract
- 2 1/2 cups all-purpose flour
- 1 1/2 tablespoons anise seeds, crushed
- 1 1/2 teaspoons baking powder
- 1/4 teaspoon salt
- 1/2 cup slivered almonds, toasted
- 2 tablespoons whole milk
- 1/4 cup coarse sugar, for sprinkling
Instructions
- Preheat the oven to 350°F. Line two baking sheets with parchment paper or a silicone mat.
- In the bowl of a stand mixer fitted with the paddle attachment, beat the butter on high speed until lightly whipped and pale yellow, about 2 minutes. Add the granulated sugar and continue beating at high speed until fluffy, about 5 minutes.
- Reduce the speed to medium and add the eggs one at a time, beating well after each addition. Scrape down the sides and bottom of the bowl and beat again briefly. Add the vanilla and anise extracts and beat until completely incorporated.
- Whisk together the flour, crushed anise seed, baking powder, and salt. Add the flour mixture to the butter mixture and beat on low speed just until blended and a thick batter forms. Add the nuts and mix until just combined.
- Transfer the dough to a lightly floured work surface and divide in half. Working with one piece at a time, gently roll the dough into a 12-inch log and carefully transfer to one side of a prepared baking sheet. Shape and flatten into a slightly domed rectangle about 12 inches long and 3 inches wide. Repeat with the remaining dough, transferring the log to the other side of the baking sheet with a few inches of space between the logs.
- Lightly brush the top of each log with the milk and sprinkle with coarse sugar.
- Transfer the baking sheet to the oven. Bake until the logs have puffed and spread slightly and the edges are golden, about 25-30 minutes. Remove from the pan from the oven and let the logs cool on the pan for 30 minutes.
- Carefully transfer the par-baked dough to a large cutting board. Using a sharp chef’s knife or a serrated knife, cut the logs into 1/2-inch-wide slices at a slight diagonal. Each rectangle should yield about 12 slices.
- Place each slice cut side down on the second prepared baking sheet. Return the biscotti to the oven and bake until the edges are golden, about 10-12 minutes.
- Remove the baking sheet from the oven, and let the cookies cool on the baking sheet for 10 minutes before transferring to cooling racks to cool completely.
- Prep Time: 30 minutes
- Cook Time: 45 minutes
- Category: Cookies
- Method: Baking
- Cuisine: Dessert
Keywords: anise, biscotti, almonds
Cooking by the Numbers…
Step 1 – Prep Ingredients
Preheat the oven to 350°F. Line two baking sheets with parchment paper or a silicone mat.
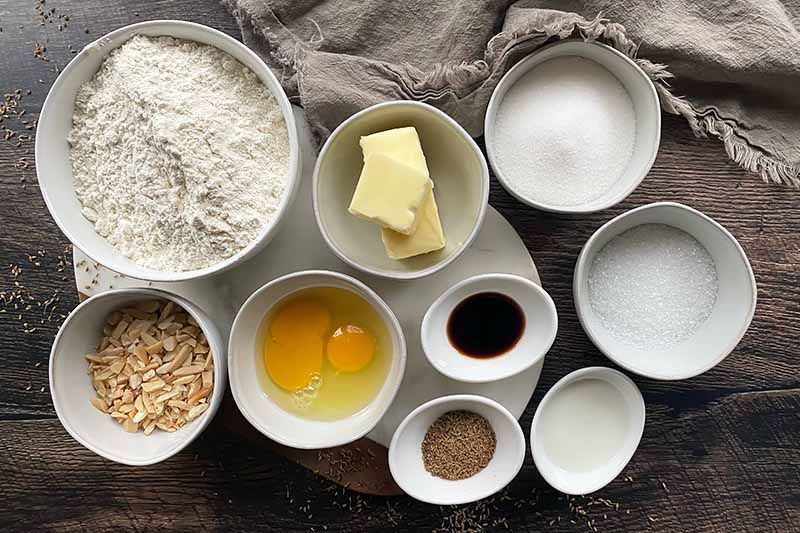
Set out the butter and eggs to come to room temperature.
Lightly toast the slivered almonds in a small skillet at low heat. Cool completely as you measure and prepare the remaining ingredients.
Measure out and crush the anise seeds using a mortar and pestle. They don’t have to be completely crushed – leave some pieces whole for textural difference in the dough.
Whisk together the crushed anise seeds with the flour, baking powder, and salt.
Measure out the granulated sugar. Measure out and combine the vanilla and anise extract.
Measure out the milk and the coarse sugar.
Step 2 – Cream the Butter and Sugar
In the bowl of a stand mixer fitted with the paddle attachment, beat the butter on high speed until lightly whipped and pale yellow, about 2 minutes.
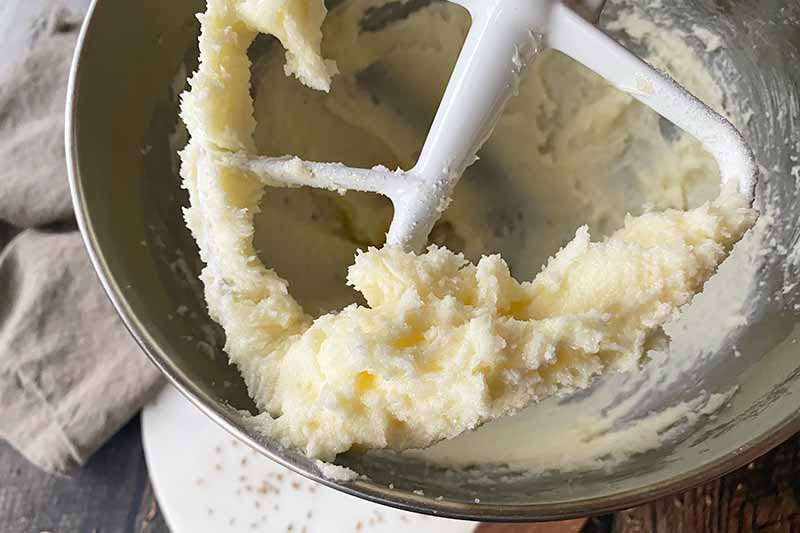
Add the granulated sugar and continue beating at high speed until fluffy, about 5 minutes.
You can also make the dough using a hand mixer.
Step 3 – Add the Wet Ingredients
Reduce the speed to medium and add the eggs one at a time, beating well after each addition.
The mixture may look curdled at first, but continue beating after each addition until you create a homogenous mixture. Scraping down the sides and bottom of the bowl and beating again after the eggs are added will also help with creating a smooth mixture.
Add the vanilla and anise extracts and beat until completely incorporated.
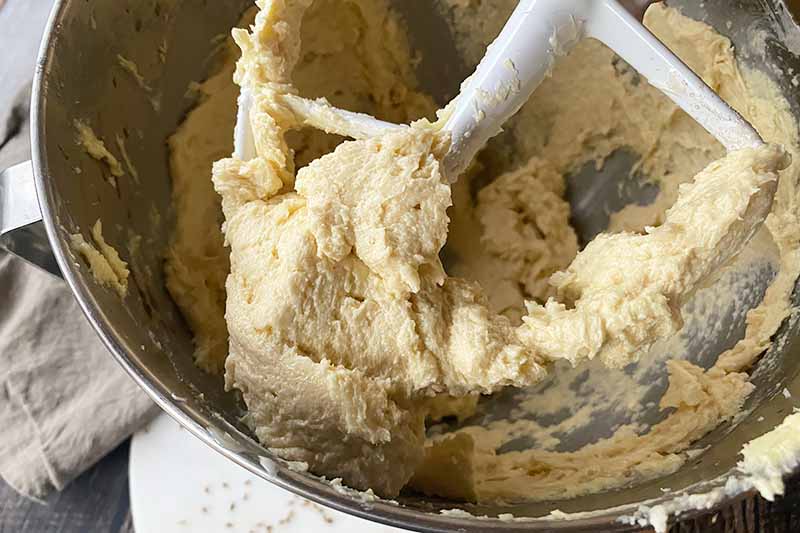
Step 4 – Add the Dry Ingredients
Add the dry ingredients mixture to the bowl and beat on low speed just until blended and a thick batter forms. Be sure you are on LOW SPEED – you don’t want any flour explosions in your kitchen!
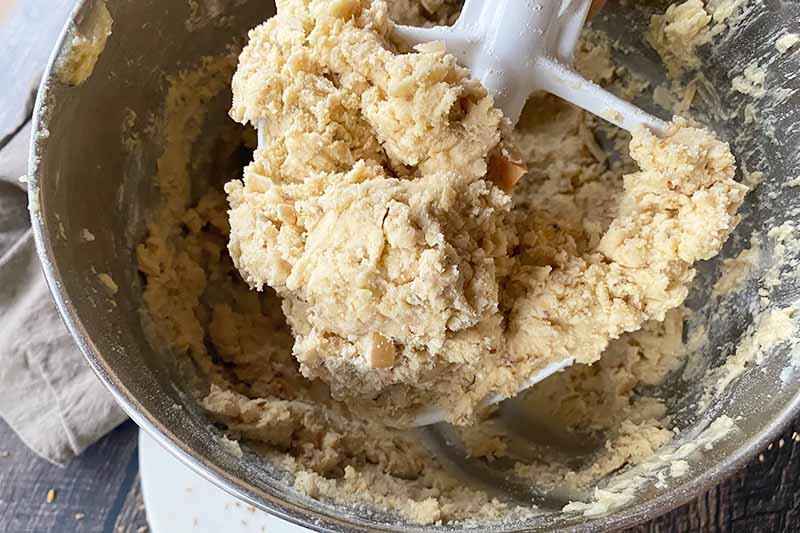
Add the nuts and mix until just combined. The dough will be thick, and slightly soft.
Before moving on to the next step, it’s a good idea to check the bottom of the bowl to make sure there are no remaining bits of dry ingredients. Use a sturdy spatula or bench scraper to incorporate anything that remains into the dough.
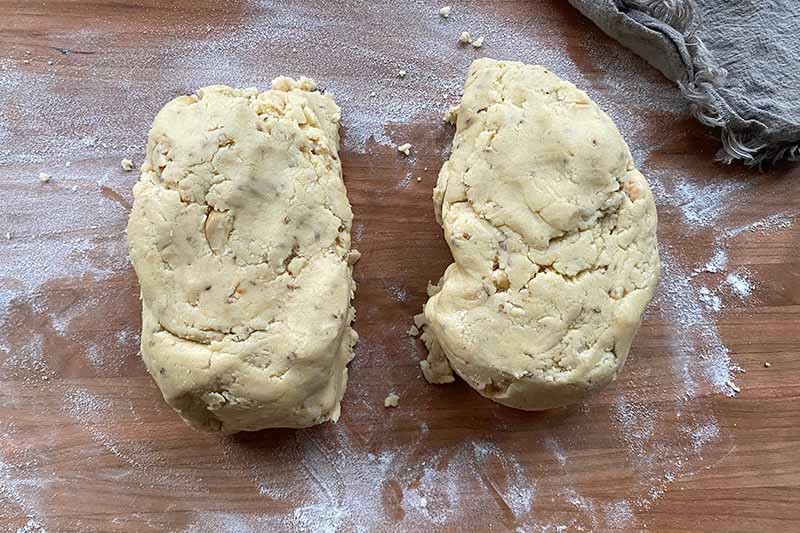
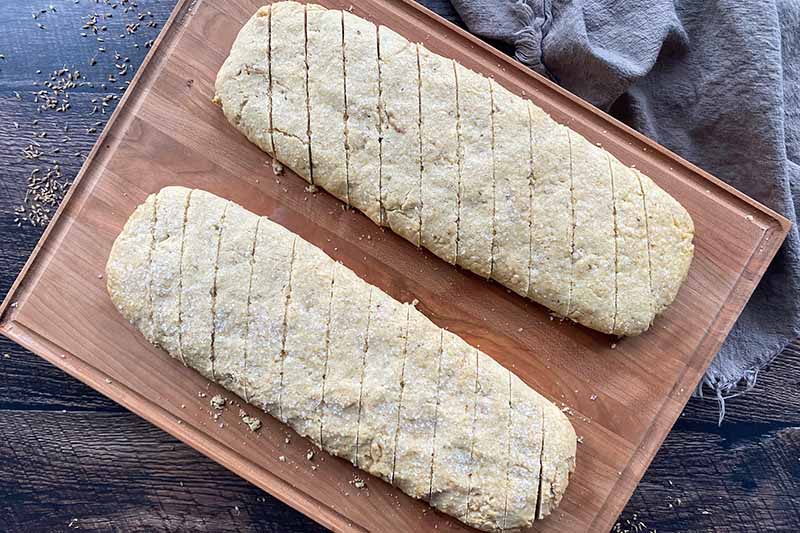
Step 5 – Cut and Shape
Transfer the dough to a lightly floured work surface and divide in half with a knife or bench scraper. For the most accurate sizing, you can use a kitchen scale to weigh each half.
Working with one piece at a time, gently roll the dough into a 12-inch log and carefully transfer it to one side of one of the prepared baking sheets.
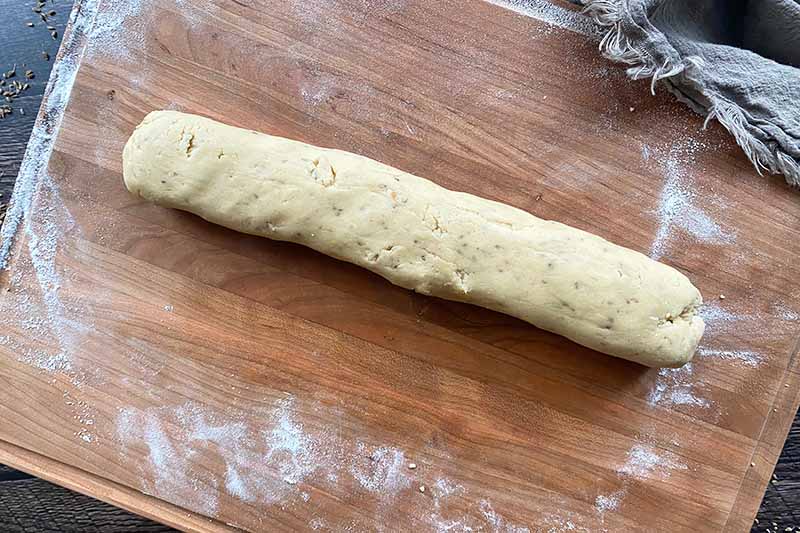
Shape and flatten the dough on the baking sheet into a slightly domed rectangle about 12 inches long and 3 inches wide.
If the dough is a little sticky as you shape, you can lightly flour your hands while you handle the dough.
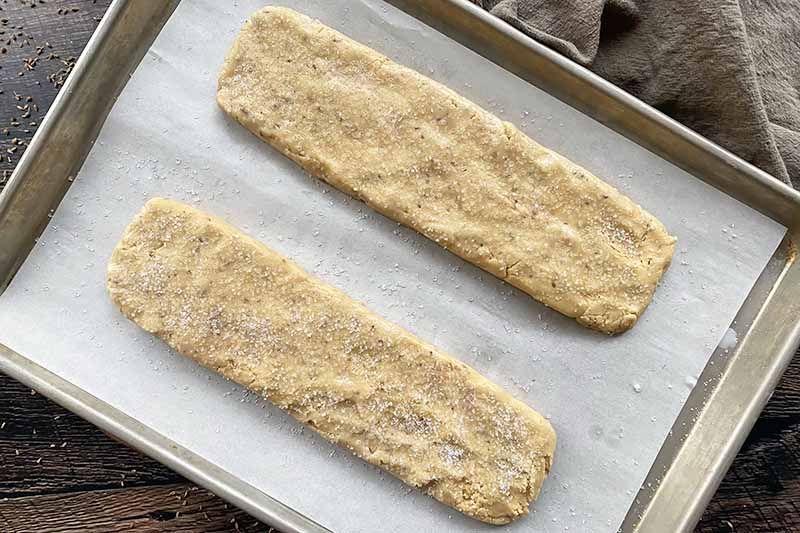
Repeat with the remaining dough, transferring the log to the other side of the baking sheet with a few inches of space in between.
The dough will spread slightly, so make sure there is enough room between the logs and around the sides.
Step 6 – Bake Logs
After shaping, brush the logs with milk, and sprinkle with the coarse sugar. This will add a nice sweetness and crunch to the top!

Immediately transfer the baking sheet to the oven.
Bake until the logs have puffed and spread slightly and the edges are lightly golden, about 25 to 30 minutes. Remove from the pan from the oven and let the logs cool on the pan for 30 minutes.
The logs will still be warm to the touch at this point – but it’s completely fine to carry on to the next step!
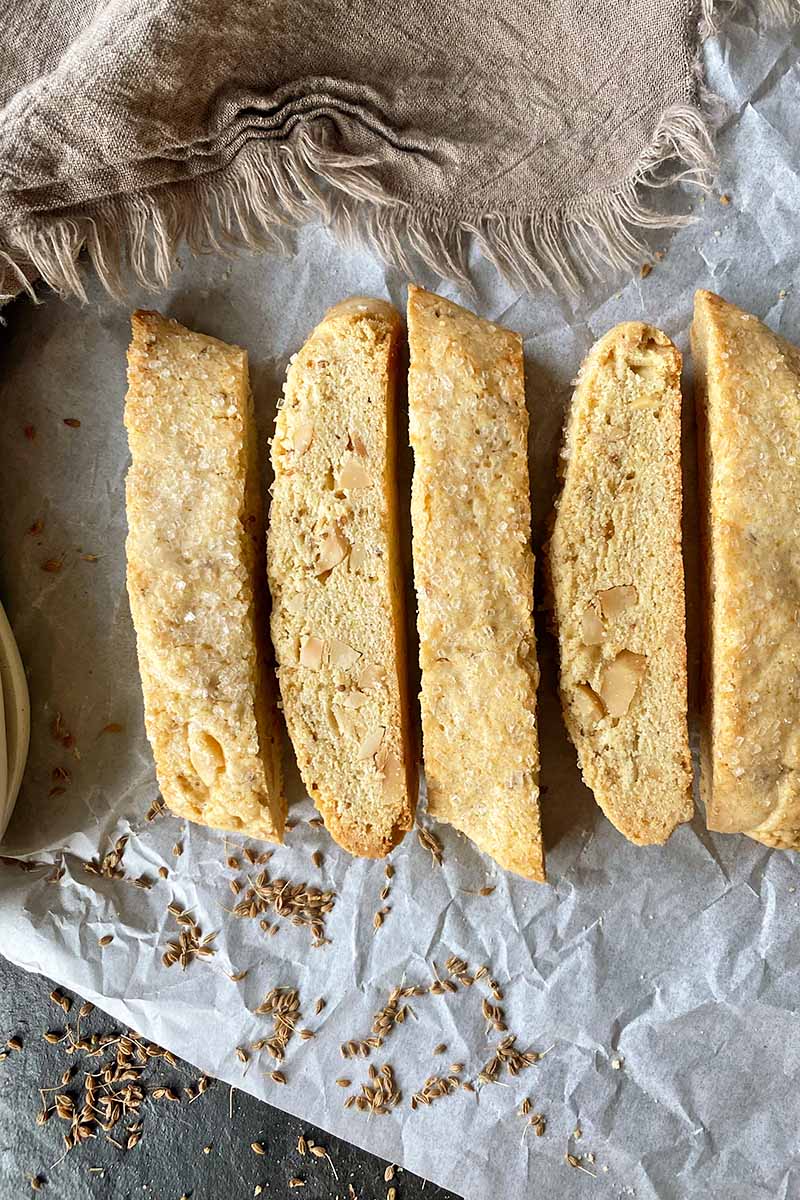
Step 7 – Cut Logs
Because the logs are still warm and soft, be careful when transferring them to a cutting board – they can break! Use a large spatula or bench scraper to support the bottoms as you move them.
With a sharp chef’s knife or a serrated knife, cut the logs into 1/2-inch-wide slices at a slight diagonal.
Each log should yield about 12 slices, but don’t be upset if you only get 10! The yield can vary slightly depending on the shaping and baking.
Step 8 – Bake Slices
Transfer each slice to the second prepared baking sheet. You can fit them all on the same pan, leaving about 1/2 inch of space between each cookie.
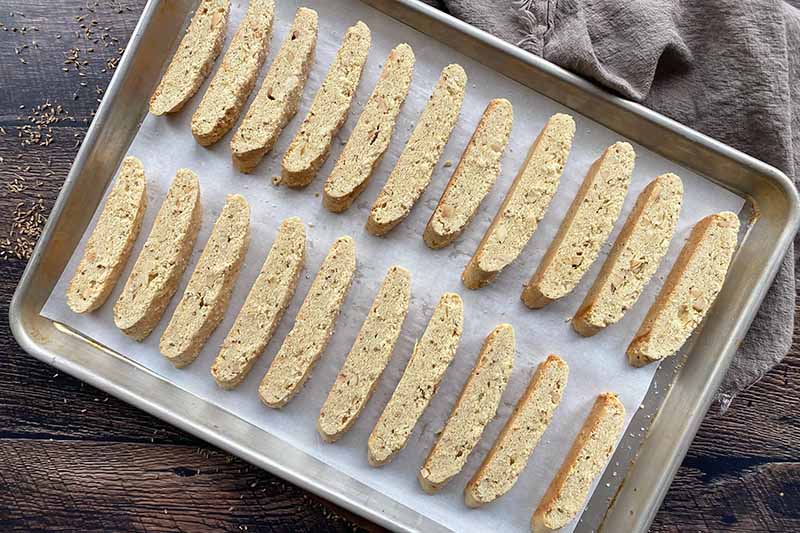
At this point in the baking process, they will not spread, so you do not need too much space between each one.
Return the biscotti to the oven. Bake until the edges are golden and they are solid to the touch, for about 10 to 12 minutes.
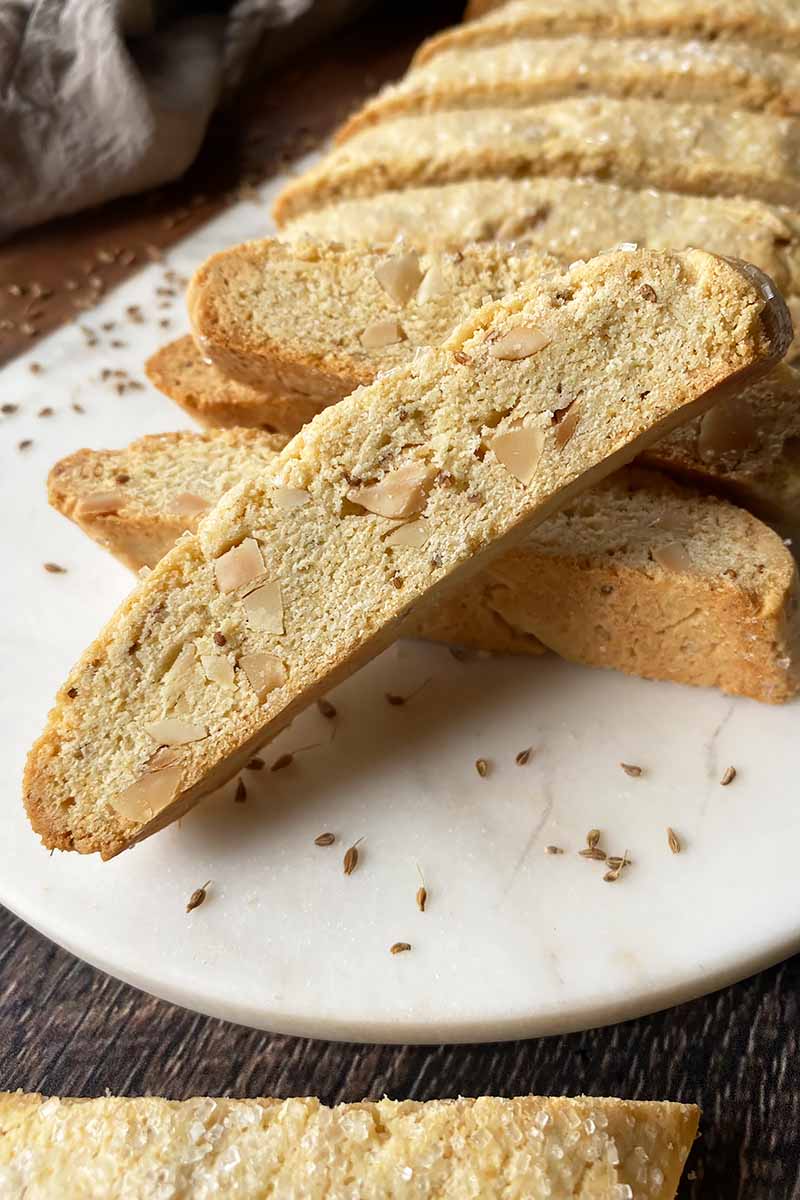
Step 9 – Cool and Serve
Remove from the oven and let the cookies cool on the baking sheet for about 10 minutes. Transfer to cooling racks to cool completely before serving.
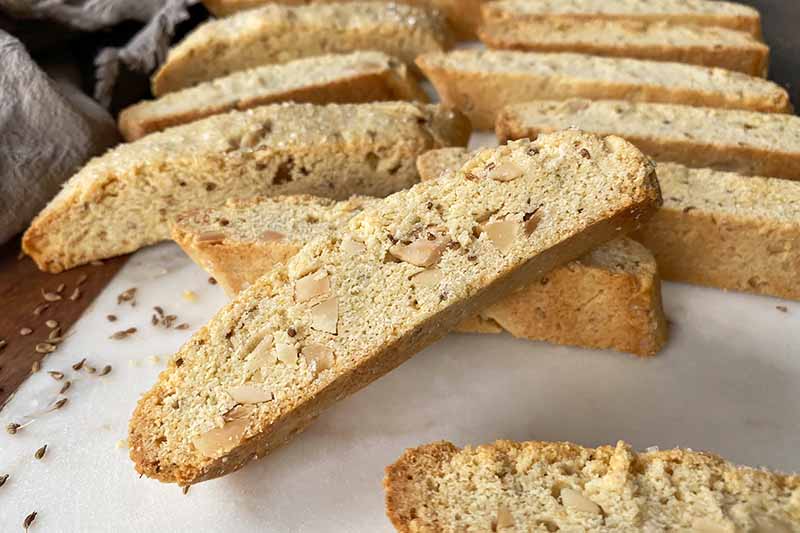
Enjoy!
Little Orphan Anise
It can be a hard knock life for an unpopular spice like anise. It often gets the stereotype of being “too traditional” or “old school.”
Or just plain “old.”
But give it a chance, Daddy Warbucks.
When you combine anise extract along with freshly crushed dried anise seeds, you unleash mesmerizing volatile compounds of sweet, floral licorice which are heightened to the extreme when the cookies are baking in the hot oven.
There are no flavoring substitutes today, friends. Go all in with this recipe, or choose a totally different biscotti recipe if you prefer a different flavor profile, like our chocolate pistachio version.
I am curious, though: what do you think of anise? Love it or hate it? If you have any favorite recipes featuring this strongly aromatic component, let me know in the comment section below!
For more delightful information on all things anise, I recommend reading these articles next:
- Spice Up Your At-Home Cocktail Hour with Pantry Ingredients
- A Spicy Namesake: The Seasoning and Healing Powers of Anise and Star Anise
- Your Ultimate Guide to Kitchen Herbs and Spices
Photos by Nikki Cervone, © Ask the Experts, LLC. ALL RIGHTS RESERVED. See our TOS for more details. Originally published by Shanna Mallon on January 10, 2011. Last updated on May 3, 2022.
Nutritional information derived from a database of known generic and branded foods and ingredients and was not compiled by a registered dietitian or submitted for lab testing. It should be viewed as an approximation.
About Nikki Cervone
Nikki Cervone is an ACS Certified Cheese Professional and cheesemonger living in Pittsburgh. Nikki holds an AAS in baking/pastry from Westmoreland County Community College, a BA in Communications from Duquesne University, and an MLA in Gastronomy from Boston University. When she's not nibbling on her favorite cheeses or testing a batch of cupcakes, Nikki enjoys a healthy dose of yoga, wine, hiking, singing in the shower, and chocolate. Lots of chocolate.

Your pictures of biscotti are wonderful. I just want to take a bite out of the screen. Oh yeah… and uh… move here.
I don’t even know what anise seed is. But I want it now!
We make anise biscotti in Morocco and it is so delicious (provided one likes the flavor of anise). Yours looks fantastic! I’ll remember to drizzle mine with chocolate next time. It’s a nice touch.
Nisrine
Ahh, biscotti with anise is one of my favorites, but I’ve never made them with yogurt before. And I’m right there with you on the hole staying in motion thing!
These photos are absolutely stunning!
I know exactly what you mean- out of sight, out of mind! But we are happy to see you return 🙂 I’m not an anise fan, but I do love biscotti, so a simple spice substitution is all it would take 🙂
Glad to see that you’ve returned. Some day I’m going to move South. I think it will be Texas or Florida, though.
Nothing wrong with taking a break, we’re always here. Love this post, and the photos!
Tim, They were some good biscotti.
Alicia, Bonus: it’s supposed to be good for digestion.
Dinners & Dreams, Thanks!
Jacqui, It was such a random sub but the key was keeping the amount of liquid. I imagine you could use all kinds of things!
Siri, Thank you!
Found Hound, Isn’t that truth? Thanks for your support anyway! And you’re right–I’d love to hear what you use instead!
TJ, : ) I’ve lived in Florida, and my brother lived in Texas. HOT!
Susan, Thank you!
Hi Shan!
I’m back from oblivion too! I’m aka retro. Yeah, you’re so right about everything. Like it’s just so easy to do away reading food blogs when you started it. anyway one of the reasons why I haven’t been here because I fasted (wasn’t supposed to say that but..).
Anyway, so I can’t possibly ogle at all these recipes because I’ll be tempted.
Anyway, I do miss this blog and your fresh posts. Don’t worry about taking a break. Your writing doesn’t diminish one bit. 🙂
Happy New Year! 🙂
Thanks and Happy New Year to you!
Welcome back! I totally agree it’s good to do something different. Like I had mentioned assigning myself recipes from recipe folder in my in box, the folder stuffed with recipes from magazines (ok, it really is a stack of clippings that I’m meaning to organize in this folder I bought) and of course recipes from your blog. Last weekend I made the balsamic chicken, asparagus, roasted red potatoes, and the cheddar garlic biscuits. My friends loved the meal so much that they asked for the recipes! I was going to make the chicken fingers for dinner tonight but forgot about the couple hours the chicken needs to sit in the batter. Guess that one will have to wait until the weekend!
Vicki, Yay!! I’m so glad they were a hit! Thanks for telling me!
Fantastic blog…a newbie…I am an instant fan and very impressed. I have EXACTLY the same food philosophy (read your welcome page)…and have nearly worn out my Bon Appétit magazines from eons ago….
I live in France with my French hubby and hybrid flock of three university young adult children!
I have already archived five of your recipes…and will come back for more…a certainty.
Thank you for existing, creating and the constant giving of your culinary acumen!
Whoops…prior to getting “carried away” by the brilliance of your blog…I meant to ask whether the yogurt could be replaced with Ricard (Pastis) …I have an aunt who will be sampling this wonder of a recipe ..yet does not “do” dairy…Thanks for any subbing ideas!
Thank you so much, Donna. We’re touched by your kind words! As far as the ricard/pastis, it’s very possible it would work! Please let us know how it goes!
Excellent recipe for biscotti. I used 1/2 teaspoon anise oil instead of the extract/seed in the re.cipe. Light and flavorful
★★★★★