
Is there anything more American than warm apple pie?
This handheld version is just as delicious as the original. Run to the kitchen, don’t walk, and check your pantry for the ingredients. Make a run to the store if you need to, but make these apple hand pies today!
An apple pie is great, especially if it has streusel on top.
But I think hand pies are better. What’s the difference, you ask?
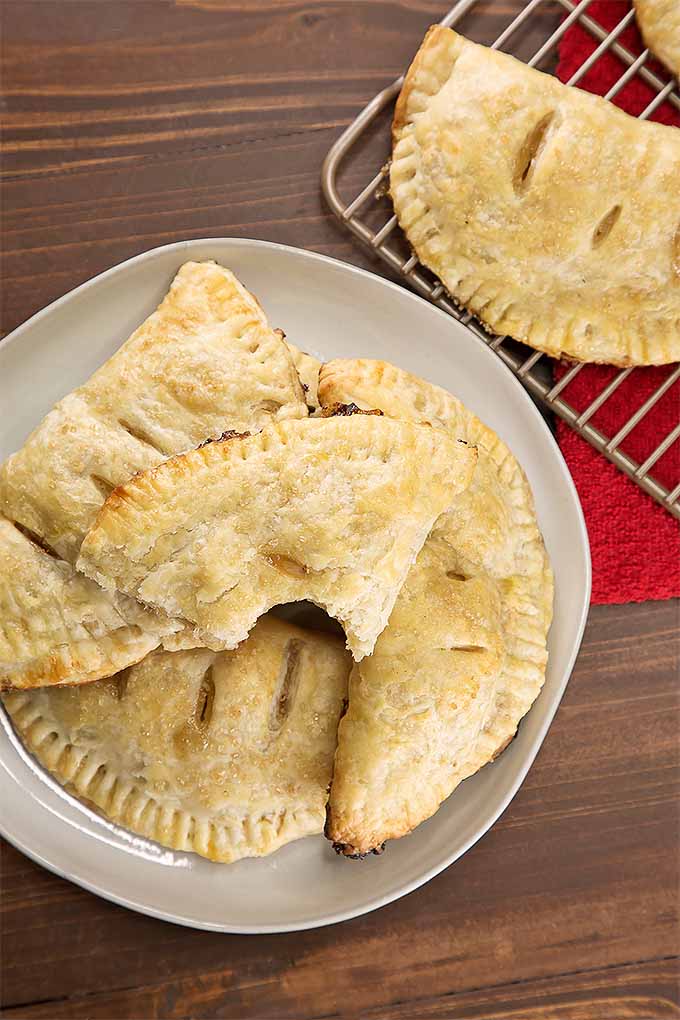
Obviously, the shape, but these pastries are ready to go anytime you are. Perfect for a party, this handheld version of the classic is easily shared and eaten.
I will point out that most recipes are fried, which is an essential difference. To keep these more in line with the classic, I chose to bake not fry. It’s a bit healthier that way too, right?
These tasty pastries won’t come with an argument about whose slice is larger like a traditional pie will, although you may still argue about who gets the last one. Sorry, you will have to figure that out on your own! Might I suggest the cook, though?
Making this recipe is a labor of love. It is not inherently difficult, but it is time-consuming for sure.
There is a lot of chilling, assembling, and chilling again. No one will ever say the perfect crust is simple.
Homemade pie crust is, however, amazingly delicious and always impressive! Can anything really compete with a homemade flaky and perfectly golden brown pie crust? Sweet or savory, the crust is always the star of the show when it comes to pies.
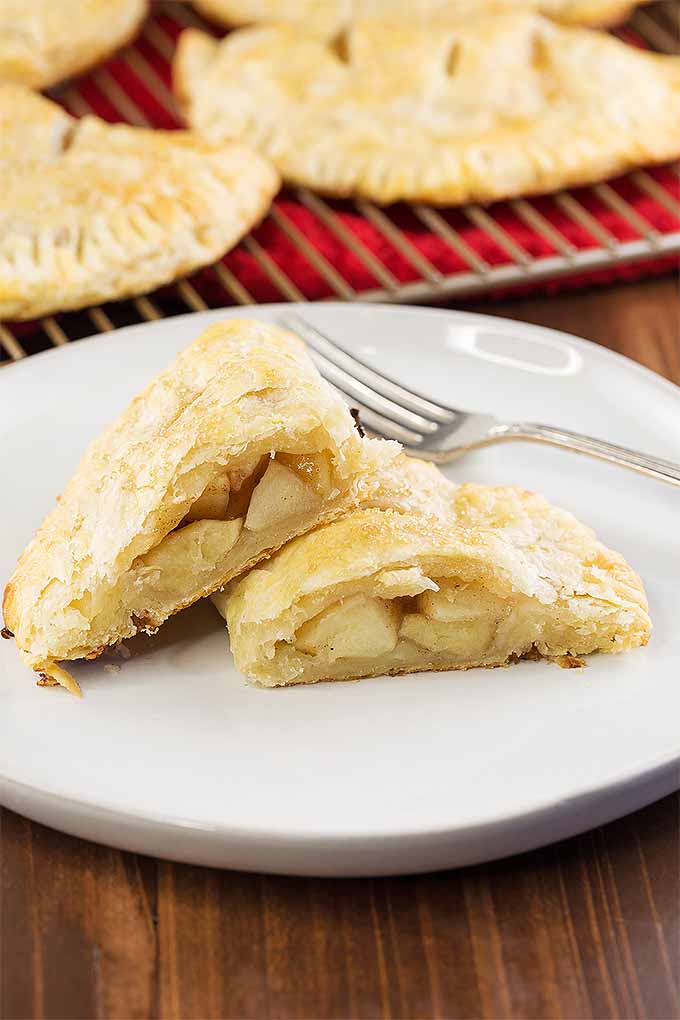
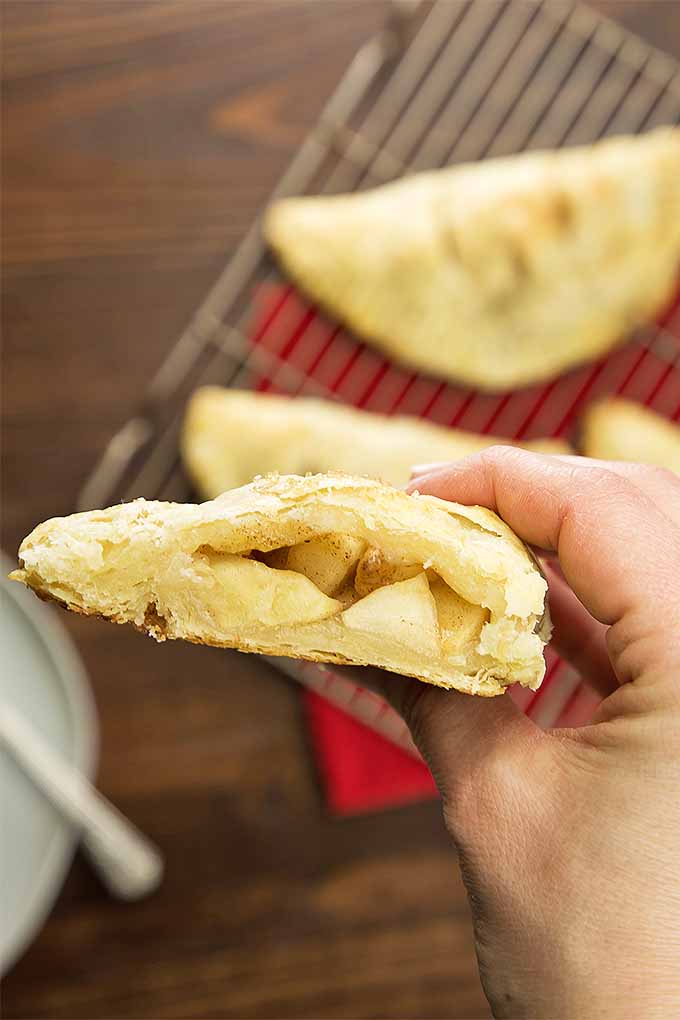
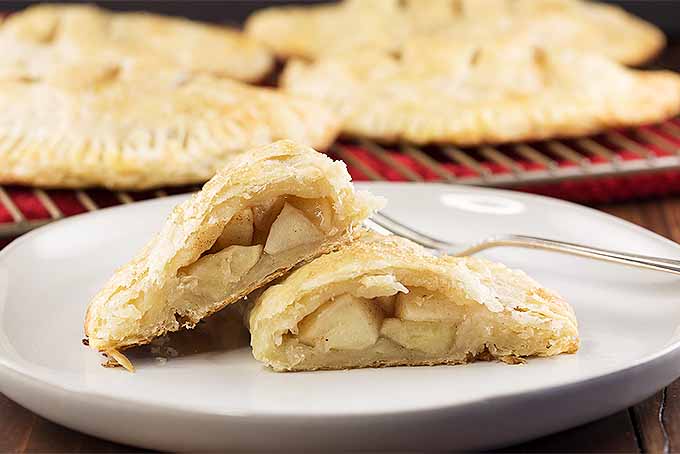
From the first bite to the last, this indulgence is pure bliss. The flaky crust and perfectly spiced apple filling will keep you coming back to this recipe time after time.
Ready to Get Started?
Baking is an art and mistakes are not the easiest to recover from. Do not worry though; this recipe is virtually foolproof. Follow our step-by-step instructions in the Cooking By The Numbers section below, and you will have a deliciously moist and flaky crust every time.
The dough makes eight large hand pies. Feel free to cut smaller circles if you are feeding a crowd. My crowd tends to be a little gluttonous from time to time (especially where this particular variety of delightful dessert is concerned) so I went with big circles.
Any way you cut the dough, these apple hand pies are sure to steal the heart (and stomach) of any person who tries them. You will be the hero of the cookout or potluck.
The Recipe

| Servings | Prep Time |
| 8 pies | 30 minutes |
| Cook Time | Passive Time |
| 20 minutes | 90 minutes |
|
|
|
|
Whether you’re packing school lunches or serving up Sunday supper, a batch of homemade apple hand pies will surprise your loved ones.
|
- 2 1/2 cups all purpose flour
- 1/2 teaspoon salt
- 16 tablespoons unsalted butter (2 sticks or 8 ounces) cut into pieces
- 1/2 cup sour cream
- 5 teaspoons fresh lemon juice
- 1/2 cup water
- 1 egg yolk
- 2 tablespoons water
- turbinado sugar for sprinkling
- 4 medium-sized apples
- 3/8 cup sugar
- 1 tablespoon flour
- 1/2 teaspoon cinnamon
- 1/8 teaspoon nutmeg
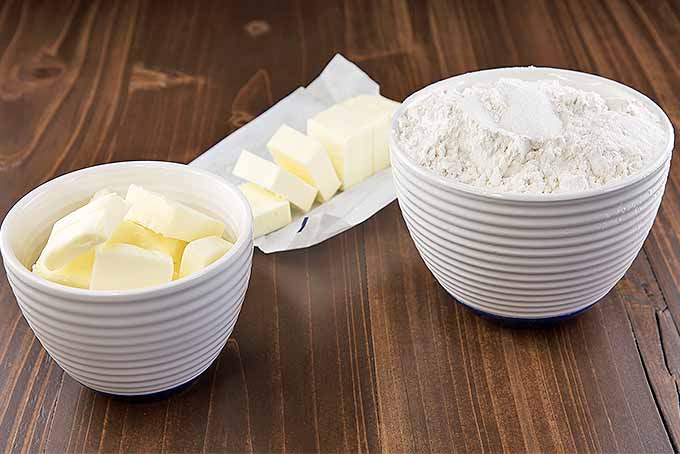
- In a bowl, combine the flour and salt. Place the sliced butter in another bowl. Place both bowls in the freezer for 1 hour.
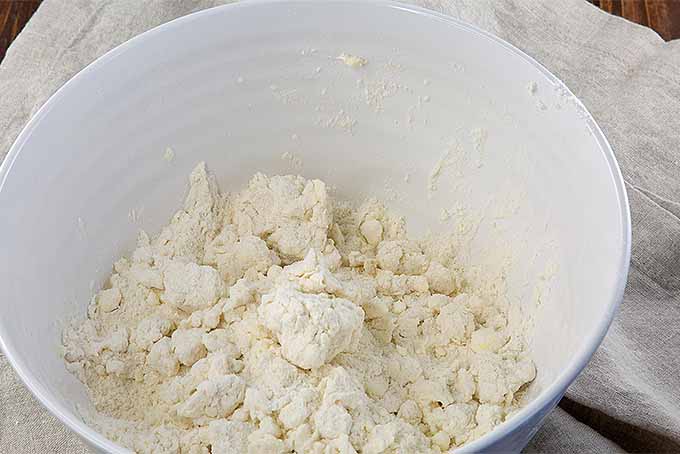
- Remove the bowls from the freezer and make a well in the center of the flour. Add the butter to the well and, using a pastry blender, cut it in until the mixture resembles coarse meal.
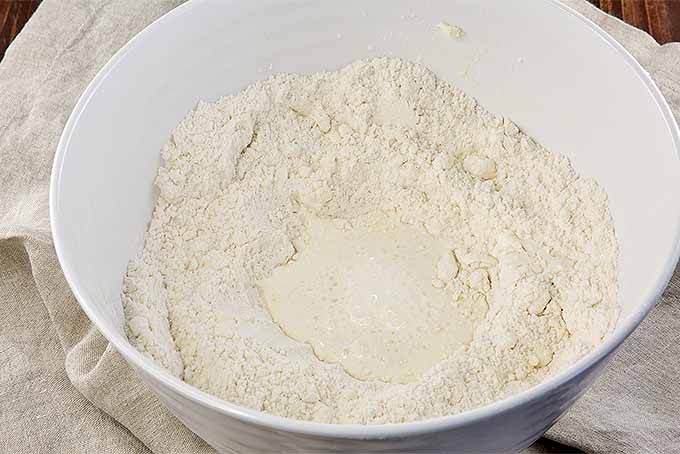
- Make another well in the center of the mixture. In a small bowl, whisk together the sour cream, lemon juice, and water and add half of this mixture to the well. With your fingertips, mix in the liquid until large lumps form. Remove the large lumps and repeat with the remaining liquid and flour-butter mixture.
- Pat the lumps into a ball; do not overwork the dough. Cover with plastic wrap and refrigerate for 1 hour.
- Divide the refrigerated dough in half. On a lightly floured work surface, roll out one half of the dough to 1/8-inch thickness. Using your desired pastry cutter, cut circles out of the dough and transfer to a parchment-lined baking sheet. Place in the refrigerator to chill for about 30 minutes.
- Repeat the rolling, cutting, and chilling process with the remaining dough.
- While the dough circles are chilling, make the filling. Core, peel, and chop the apples into tiny pieces, much smaller than the chunks required for a normal-sized pie. Put these pieces into a large bowl, and add the sugar, flour, cinnamon, and nutmeg. Toss together.
- Remove the chilled dough from the refrigerator, and let stand at room temperature until just pliable, 2 to 3 minutes. Spoon about 1 heaping tablespoon of filling (more if your circles are larger) onto one half of each circle of dough.
- Quickly brush a little cold water around the circumference of the dough, and fold it in half so the other side comes down over the filling, creating a semicircle. Seal the hand pie, and make a decorative edge by pressing the edges of the dough together with the back of a fork. Repeat process with remaining dough.
- Place the hand pies back on the parchment-lined baking sheet, and return to the refrigerator to chill for another 30 minutes.
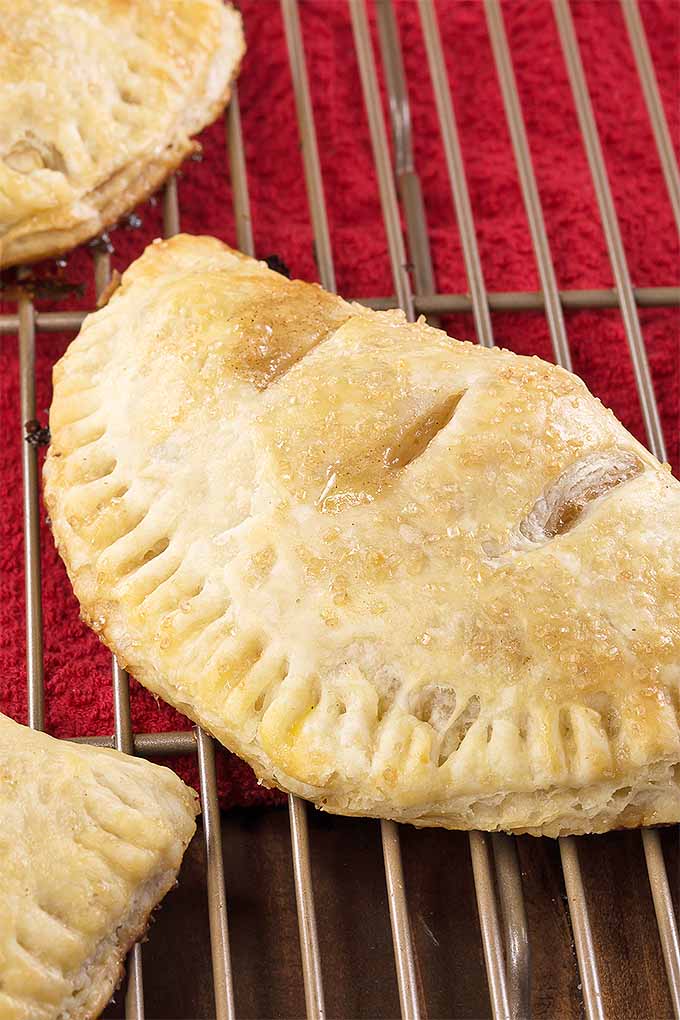
- Heat oven to 375°F. Beat together egg yolk and water in a small bowl. Remove the chilled hand pies from the refrigerator, cut a few small slits in each, and lightly brush with the egg yolk wash.
- Sprinkle sugar generously over the pies, and bake for 20 minutes or until golden.
Nutritional Info*
Cooking By the Numbers…
Step 1 – Prep and Arrange Mise en Place
First, prep and measure all of your ingredients.
Combine flour and salt in a bowl. Cut the unsalted butter into tablespoon-sized slices and put in another bowl. Put both bowls into the freezer for 1 hour.
While you’re waiting, go ahead and juice a lemon and set aside. You will need the juice later in the recipe.
Step 2 – Combine Crust Ingredients
Using a pastry blender, work the butter and flour until the lumps are gone and both are well combined. If you don’t have a pastry blender, a sturdy fork or two table knives will work as well.
In a bowl, whisk together the water, sour cream, and lemon juice. Make a well in the flour mixture and add half of the liquid.
Mix lighty with your fingers and you will notice clumps will start to form. Toss these lightly between your fingertips to shake off excess flour and add them to a large piece of plastic wrap.
When all the large lumps have been removed, create another well and repeat the process with the remaining dough.
If you find you still have dry flour mix left over, add 1 to 2 tablespoons of COLD water and mix until it clumps up.
Step 3 – Form and Chill Dough
Work the lumps into a ball and be sure the plastic wrap covers said ball completely. Refrigerate the dough for 1 hour.
If you are making this dough ahead of time or only want to make a few hand pies, you may freeze this dough now.
Step 4 – Prepare Filling
While the dough is chilling, peel, core, and dice 4 apples. I used gala, but feel free to use any variety so long as it is a firmer type.
Mealy apples do not make good pie filling. You want the apples to be firm and maintain their shape.
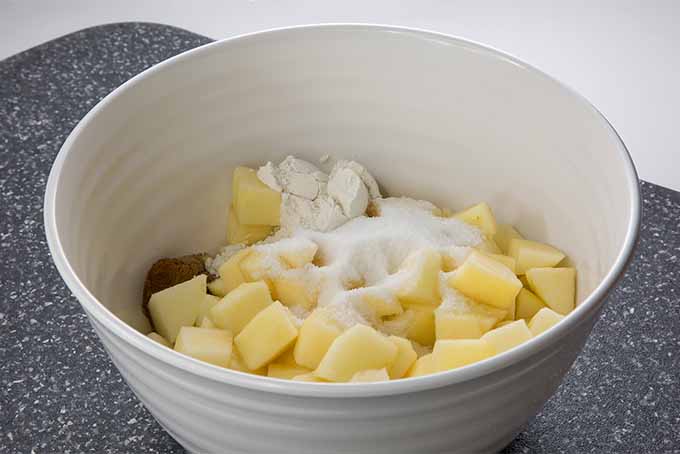
I used about a 1/2-inch dice. Be sure to make these small enough to fit in the hand pies. Add the sugar, flour, cinnamon, and nutmeg to the diced apple and mix well. Set aside.
Step 5 – Roll and Cut
Remove the dough from the fridge and divide in half. Place the half you are not working with back in the fridge to keep it cool.
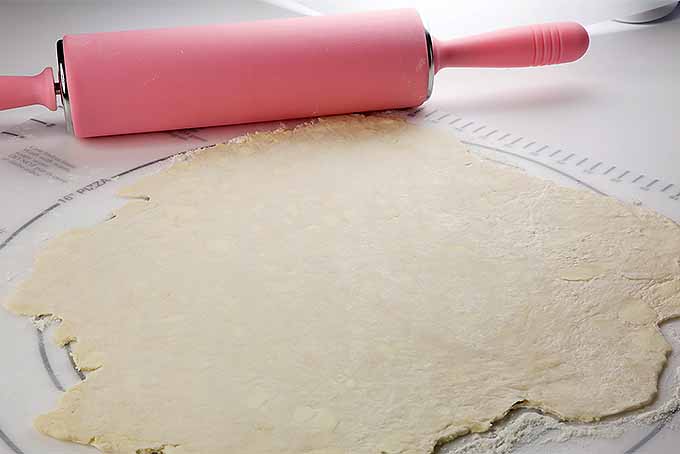
Flour a pastry mat (or your sanitized counter if you don’t have one) and begin to roll the dough out until it is about 1/8 of an inch thick.
Be sure not to roll it out too thin. If you are unsure, go a little thicker. If the dough is too thin, it won’t hold up when you stretch it to seal your hand pies.
If your dough is sticking to your rolling pin, flour it as well. You may need to add more flour to your working surface and rolling pin throughout this step and the next.
Cut out your circles. If you have a pastry cutter, feel free to use that. I used the lid of a medium-sized circular Pyrex dish. Since my lid isn’t sharp, I did have to use a paring knife to cut the circles out.
Repeat this process until you have used all your dough. Note that you may have to combine scraps and re-roll the dough – plan carefully so you can avoid doing this. Dough that has been re-rolled too many times will be tough, and we’re going for a flaky crust!
After using the second half of dough that was in the fridge, I ended up with a total of 8 circles. You may end up with more if you use a smaller circle cutter. Any size circle is fine – customize this step of the recipe to fit your needs.
Step 6 – Chill, Then Fill
Once the circles are cut out and laid on the parchment paper, put them in the fridge to chill for 30 minutes.
I used a large baking sheet lined with parchment for my base. I also used 2 layers of parchment to hold all of the circles and keep them from sticking together.
Preheat oven to 375°F. Remove your prepared dough from the fridge and gather your filling that you made earlier and set aside.
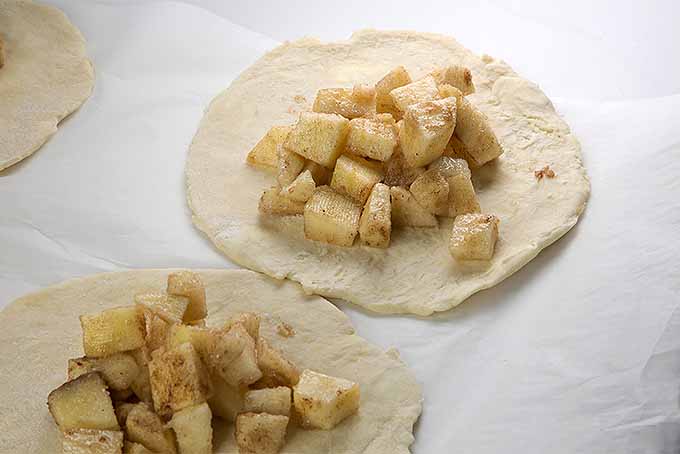
To each circle, add 1 to 2 tablespoons of filling, depending on the size of your circles. I add the filling to the center because it helps me to see how much space I have to work with.
Keep in mind: you will be folding these circles in half, so leave enough room to seal your edges without stretching the dough and tearing it. Add filing to all of the circles.
Step 7 – Seal and Add Finishing Touches
Get a small bowl of water and, using your fingertips, add a small amount to the circumference of the dough. Fold the dough over to create a semicircle and press to seal.
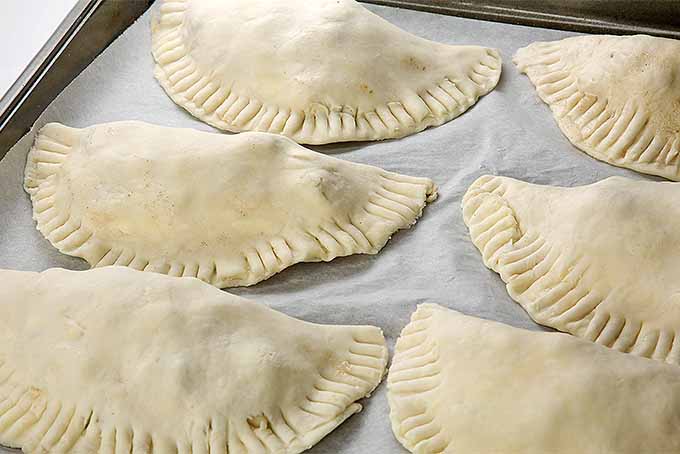
Repeat until all of the pies are sealed. Use the back side of a fork to press into the edges for a decorative seal.
With a fork, beat egg yolk and water in a small bowl.
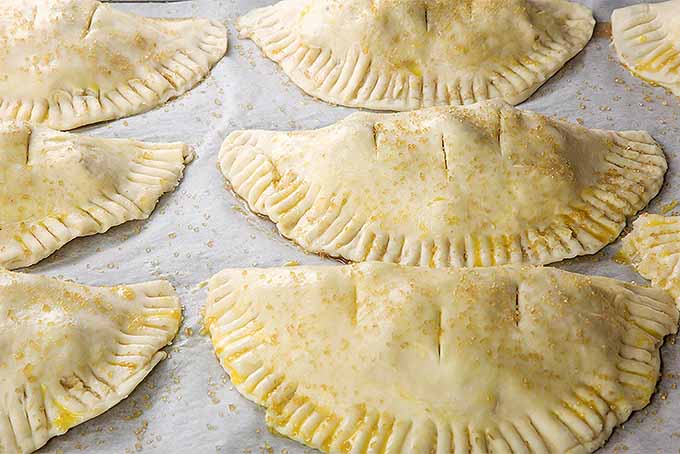
Using a pastry brush, put a thin layer of egg wash on each pie. Cut 3 slits in each pie and sprinkle generously with turbinado sugar.
Step 8 – Bake and Enjoy
Bake for about 20 minutes, until the hand pies are golden brown. Remove the tray from the oven, and let stand to cool slightly before serving.
Remove from the parchment carefully with a sturdy spatula – the egg wash and sugar can cause them to stick a bit.
These are best served immediately, but may be stored in the refrigerator for 3 to 5 days, wrapped in foil loosely, and reheated in the oven or toaster oven before serving.
And the Winner Is…
Whether you’re looking for something special for dessert, or a sweet snack that’s easy to pack into lunchboxes, this is the ideal treat.
Go ahead, make these delicious handheld pastries and take that blue ribbon for yourself! Everyone will be so grateful you did.
What is your favorite way to eat apple pie? A la mode with homemade ice cream, like our cinnamon honey ice cream? Hot from the oven? Drenched in caramel sauce? Comment below and let us know!
For more mini pastry treats, try these:
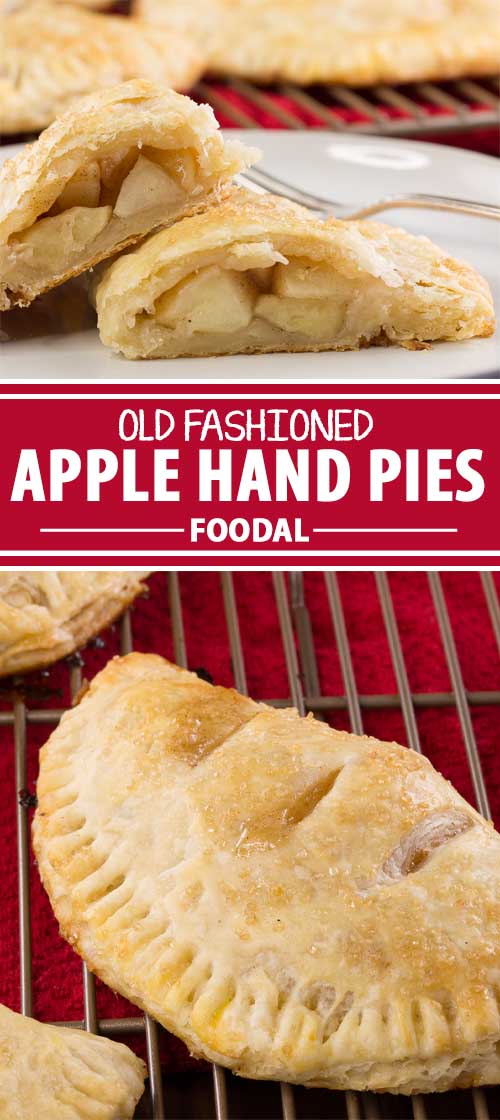
Don’t forget to Pin It!
Photos by Leslie Morrison, © Ask the Experts, LLC. ALL RIGHTS RESERVED. See our TOS for more details. Originally published October 23, 2008 by Shanna Mallon October 23, 2008. Last updated: June 7, 2021 at 19:59 pm. Revised and updated by Leslie Morrison.
*Nutritional information derived from a database of known generic and branded foods and ingredients and was not compiled by a registered dietitian or submitted for lab testing. It should be viewed as an approximation.
About Leslie Morrison
Leslie is a food photographer and writer. She enjoys spending time in her kitchen and behind the lens of her camera and working on her food blog, Deliciously Plated (deliciouslyplated.com). When she isn’t working, she is spending time with her son and her husband.


ok, these look great. but the time factor, 6 hours? sigh. they’re probably worth it and all, based on your results AND they’d make great snack for jab’s lunch… FINE. you talked me into it. i did pick quite a bit of apples this past weekend… and i could possibly freeze most of the dough for later use.
i like that you found a filling that suited you. i’ll be doing the same. 🙂
i saw these hand pies on smitten kitchen, as well! and i’ve been curious about them ever since. i’m not a huge pie fan, either (although i can’t wait for pumpkin pie this thanksgiving!), but little pies that fit in your hand?! adorable! i’m not a baker, so i just might have to ask my sister to make these for me. she’s a pie-maniac.
I do the same thing with the starting time-consuming recipes late at night. I’ve gone to bed at 2 because I just decided to bake for work the next day on more than one occasion. One benefit, I guess, is that I don’t eat too much of the finished product (or the batter…) because it’s too late to eat!
Lan: Yeah, and the one consoling factor about the six hours is that a lot of it is down time, which is good. At least you can do other stuff, you know?
Jacqui:I think, as long a person isn’t into baking, he or she should have a sister who is. 🙂
camille: So glad I’m not alone!!
What a great idea for pie. I am bad at pie crust so I think I could handle these. Great for lunches and snacks. Thanks!
RobinSue: YOU are bad at pie crusts?? That makes me feel so much better, I can’t even tell you, lol. Or you could just be being nice. Either way, thanks!
Remind me to share my apple pie secret with you 🙂
Thank you for these! They were delicious, 🙂
Lazarou: I did it all by hand, and this is best so that the dough isn’t overworked. I swear, it’s not hard–just time-consuming, so be prepared for that! 🙂
As far as the fingertips: Ok, it’s like playing with play-dough or something. You just use your fingers to mix it all together until it becomes like a bunch of little lumps. Does that help? I’d also say to check out the original post at Smitten Kitchen, where she included more photos. Best wishes, and I’d love to hear how you like it!
Hi! I love this blog! I plan on making these for thanksgiving, the only thing is that I’m new to making pies and such, so how did you actually make the crust? Did you do it all by hand or did you have a mixer? And what do you mean by the “With your fingertips, mix in the liquid until large lumps form.” Sorry If it’s obvious, but I’m having trouble visualizing it.
Again, great blog!
Thanks! That does help! I’ll be sure to post my results 🙂
THE PASTRY is perfect. An accidental re-roll after the big chill turned it into bakery-worthy puffed-pastry. I almost fell over when I opened the oven door and saw those beauties staring back at me. Tastes scrumptious too. Thank you for passing it along!
Zom, So glad you enjoyed them!
My grandmother made these for my grandpa. He couldn’t have fried foods and these were awesome. Worth the time and effort that it took.
That’s so sweet, Sherree. And in fact, your comment makes me want to make these again!
I just adore hand pies freshly baked. I haven’t made them in a long time (blueberry is my specialty) …but autumn is nearly officially here ….time to make a batch! Wonderful recipe.