We occasionally link to goods offered by vendors to help the reader find relevant products. Some of these may be affiliate based, meaning we earn small commissions (at no additional cost to you) if items are purchased. Here is more about what we do.
When your parents, roomies, siblings, significant others, grandparents, children – whoever! – come home after a tough day, hand them a chocolate date truffle as soon as they drag their tired feet into the kitchen seeking sweet salvation.

Their entire demeanor will transform immediately – and this is exactly what I hope all of my desserts are capable of doing!
Using my husband’s most recent reaction as the prime example of this result, you should feel confident that making these truffles for the members of your own household will result in a similarly successful outcome.
As my husband and I can both attest based on the experience gained throughout our careers, the food industry doesn’t sleep. And sometimes when stress takes control, neither do its employees.
Drained energy and a defeatist attitude are often the reactions to long and grueling days of handling customer complaints, standing for hours at a time, overseeing team member issues, heavy food production tasks, attending leadership management meetings, preparing for the busiest weeks of the year, and surviving unexpected visits from the health inspector.
But a simple act of making something special for your special someone can lift even the lowest of feelings.
That, and perhaps a stiff drink on occasion!
We both are thankful for the moments when we are happily busy – when a plate of date truffles feels like yet another welcome recipe among the dozens we’re creating in the kitchen.
But for the moments when it is just the thing to turn an exhausting day around, to breathe some life and energy into a deflated ego, a humble chocolaty treat with minimally processed, natural ingredients can be pure magic.
Healthier and less sweet than traditional chocolate truffles, yet softer and more appropriate as an elegant celebratory dessert than homemade date bars, you’ll love these date truffles as a light ending to a meal, or the perfect way to finish the day’s events on a very good note.
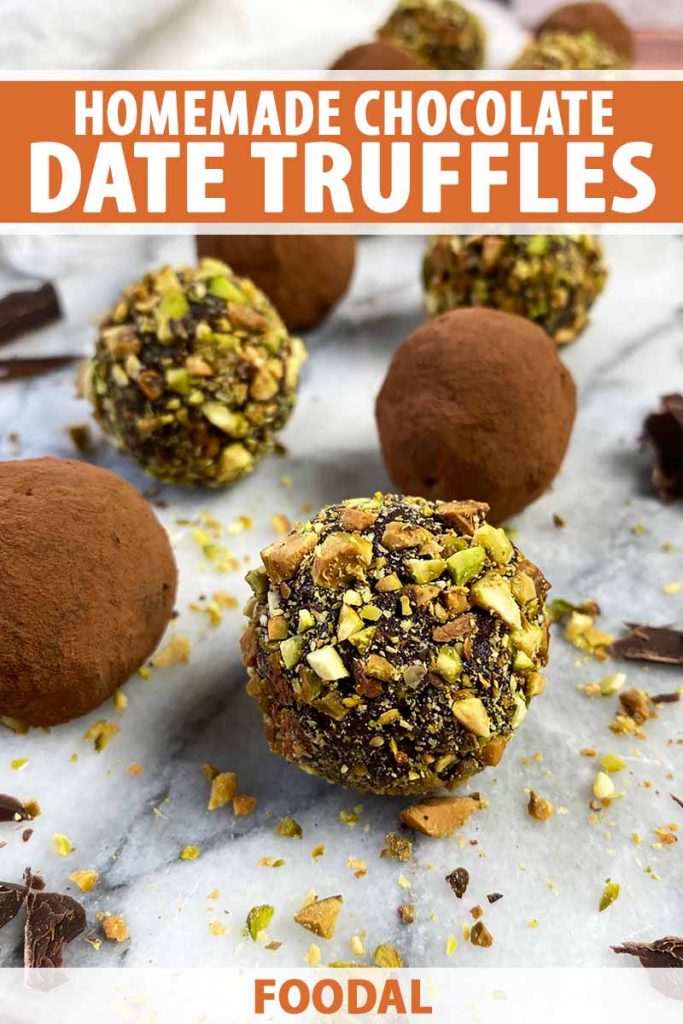
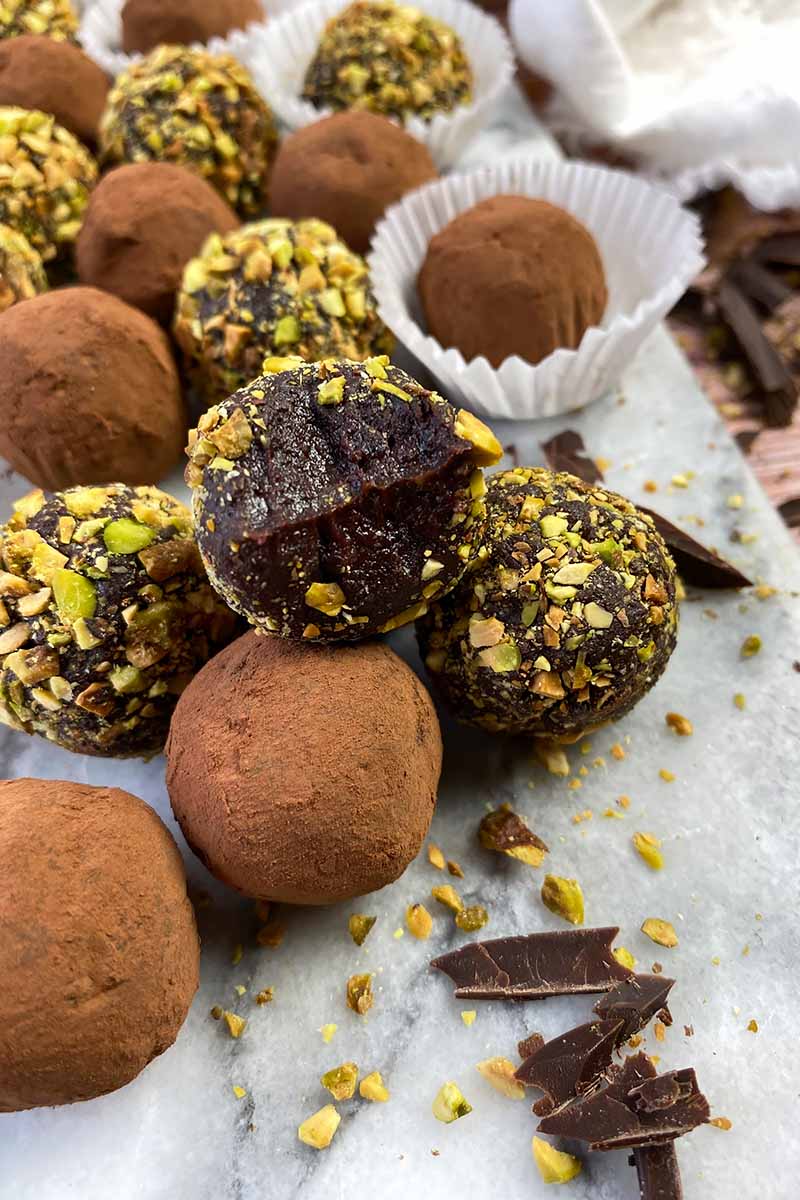
With a simple, melt-in-your-mouth mix of dates, cocoa powder, and coconut oil, they are perfect little bites that don’t feel overly rich, but your ever-needy sweet tooth will be fully satisfied.
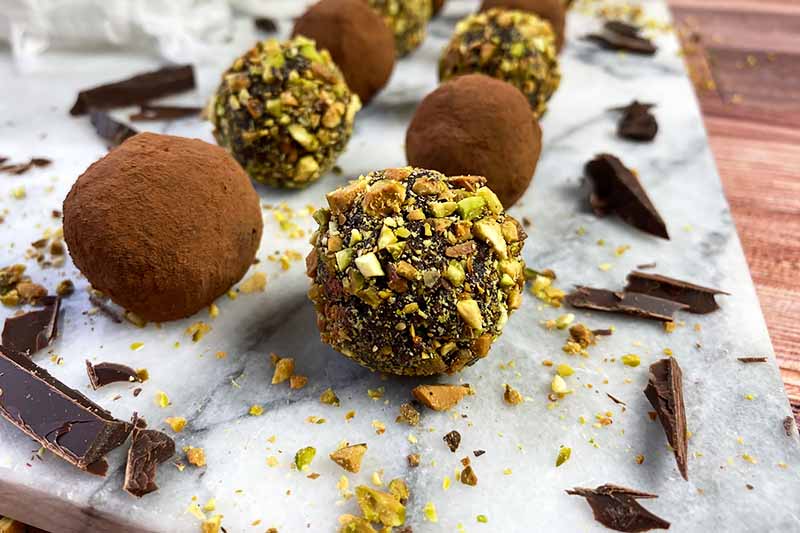
And little bits of chopped dark chocolate scattered throughout each sweet mound bring the right amount of texture and flavor that any chocolate lover will appreciate.
For this recipe, soft and chewy Medjool dates offer the best consistency. They also have the perfect caramel-like sweetness and flavor – ideal for use in a healthier, dairy-free and fiber-enriched version of truffles that still carries the same sense of indulgence!
Below you’ll find the base recipe, the essential foundation to make these truffles, as well as some suggestions for added flavors and coatings.
You can let your creativity roam free when you decide how to flavor the base, and what to use for rolling.
While I like the simplicity of pure vanilla extract, you can also use other flavor extracts like almond or peppermint, or some grated orange zest for a citrusy burst.
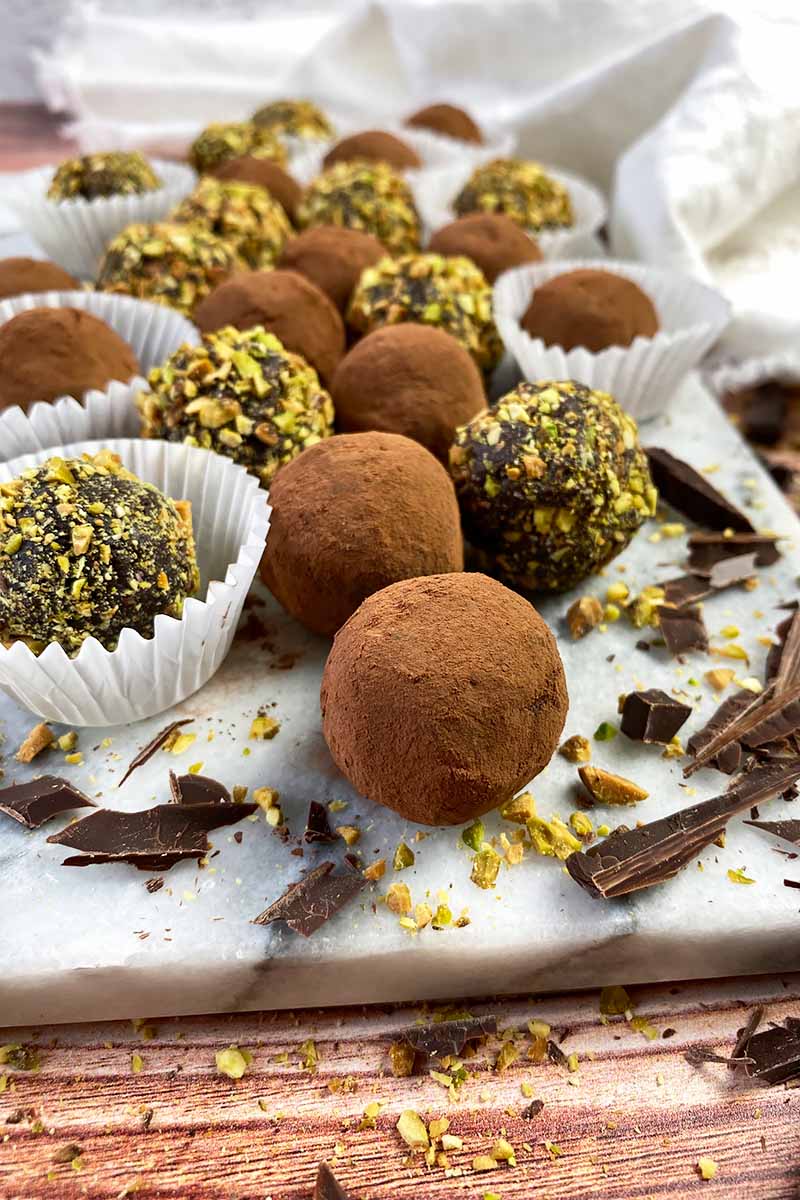
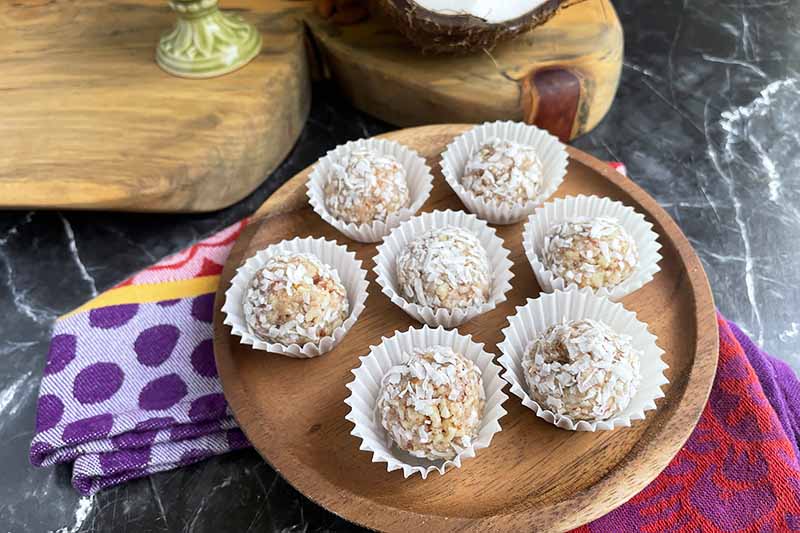
I like to divide the exterior coating half and half when I make a batch of these, covering some in cocoa powder and the rest with finely chopped roasted pistachios. You can also use pulverized freeze-dried fruit, shredded unsweetened coconut, or another variety of finely chopped roasted nuts like almonds, hazelnuts, or pecans.
My advice? If you’re making this recipe for your special someone, use whatever you know they love to eat.
And while I’m sure they’ll be excited to finally – FINALLY! – come home to see you after a long day, they’ll also be happily surprised to be given a sweet, customized gift as soon as they walk through the front door.
Remind them that they are loved and appreciated, and that they deserve something special.
A homemade truffle expresses it all.
Print
Chocolate Date Truffles
- Total Time: 2 hours, 20 minutes
- Yield: 24 truffles 1x
Description
Chocolate date truffles coated in cocoa powder or finely chopped nuts are perfect at the end of a long day. And they’re easy to make in the food processor!
Ingredients
For the Base:
- 2 cups (about 12 ounces) pitted Medjool dates
- 4 tablespoons cocoa powder
- 2 tablespoons coconut oil (refrigerated or solid at room temperature)
- 1/8 teaspoon vanilla extract
- 1/8 teaspoon coarse kosher salt
- 2 ounces dark chocolate, finely chopped
For the Coating:
- 1/4 cup cocoa powder
- 1/4 cup finely chopped roasted pistachios
Instructions
- Place the dates in a medium bowl. Pour enough warm water on top to submerge them completely. Let soak for about 15 minutes, until the dates have softened.
- Remove the dates from the water and place them in a food processor. Add the cocoa powder, coconut oil, vanilla extract, and salt. Blend until a smooth and sticky paste forms, about 1 minute. Scrape down the sides and bottom with a spatula and blend for another few seconds. Add the dark chocolate pieces and pulse until evenly distributed throughout the paste.
- Transfer the mixture to a clean bowl. Refrigerate uncovered for about 20 minutes.
- Using a 1-tablespoon cookie scooper, scoop out the paste and release onto a half-size baking sheet lined with a piece of parchment paper. Continue with the remaining paste, leaving about two inches of space in between each mound.
- Transfer the baking sheet to the refrigerator and chill for about 20 minutes, until slightly firm.
- Place the cocoa powder and chopped nuts in two separate shallow bowls. Remove the baking sheet from the refrigerator.
- Roll one mound in the palms of your hands to create a ball, then roll it in the cocoa powder or chopped nuts to completely coat the exterior. Place in a mini cupcake liner and set on a large serving plate or platter. Continue with the remaining mounds, rolling half of them in the cocoa powder and half in the chopped nuts.
- Transfer the platter to the refrigerator and chill for about 1 hour before serving. They will still be fairly soft.
- Store the truffles in an airtight container in the refrigerator for up to 1 week.
Notes
The cocoa powder coating may begin to dissolve after a few days of storage. When ready to serve, re-roll in more cocoa powder.
- Prep Time: 25 minutes
- Category: Truffle
- Method: Food Processor
- Cuisine: Candy
Cooking by the Numbers…
Step 1 – Prep and Measure
Place a piece of parchment paper on a half-sized rimmed baking sheet. Set aside, along with a serving tray or platter for the final plating and 24 mini paper cupcake liners.
Assemble your food processor, and set aside a rubber spatula and a tablespoon-sized cookie scoop with a spring release.
Don’t have one already? Consider buying this small stainless steel cookie scoop from Sur La Table to get consistent portions!
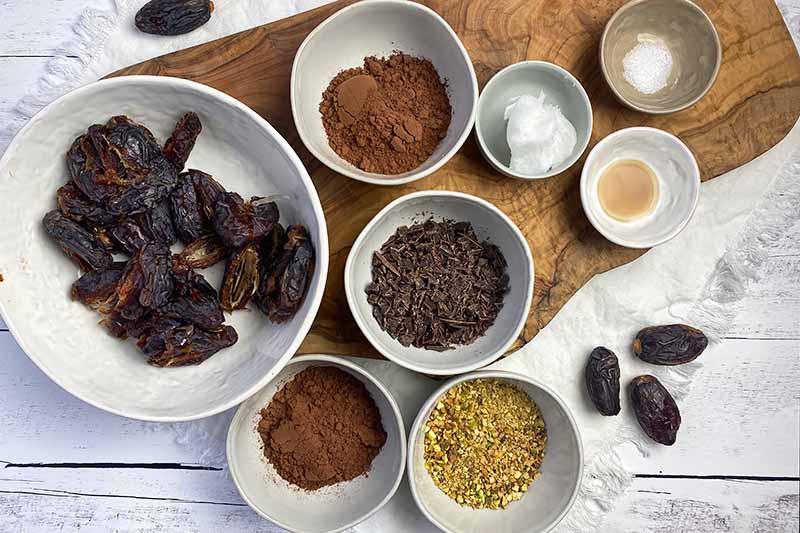
Remove the pits if necessary and measure the dates. Place them in a medium bowl. Measure out the coconut oil, vanilla extract, and salt.
Measure the cocoa powder for the base mix and the exterior coating separately, placing the cocoa for rolling in a shallow bowl.
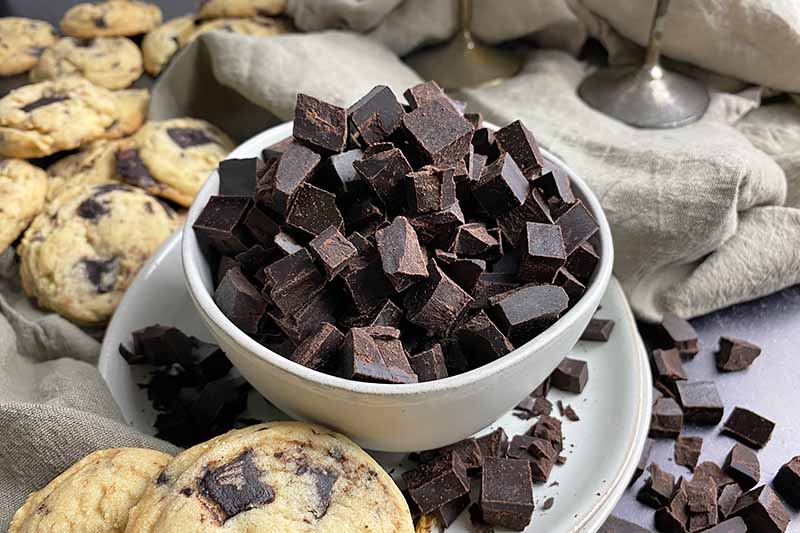
Measure and chop the dark chocolate using a sharp knife and sturdy cutting board.
Make sure you finely chop the chocolate! Since we are making truffles no larger than one tablespoon each, smaller pieces will be distributed more evenly when shaping and rolling them.
Chop the pistachios using a clean sharp knife and sturdy board and place in a shallow bowl.
Step 2 – Soak the Dates
Pour enough warm water on top of the dates to submerge them completely. The water does not have to be boiling – warm water from your sink is a perfectly adequate option!
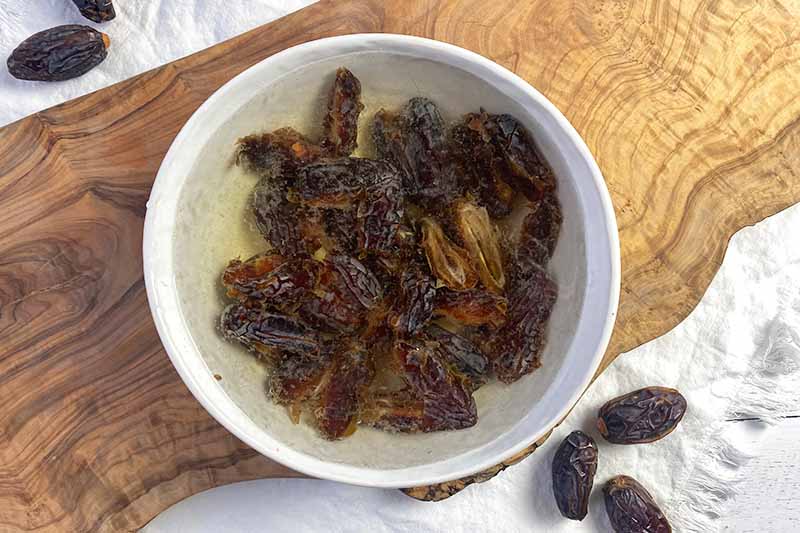
Let the dates soak for about 15 minutes. They should be soft, but they should not completely lose their shape and structure. The mixture may become excessively soft and difficult to work with if the dates are not firm enough.
Step 3 – Process Ingredients to Blend
Remove the dates from the water, either by straining them in a colander or using a slotted spoon.
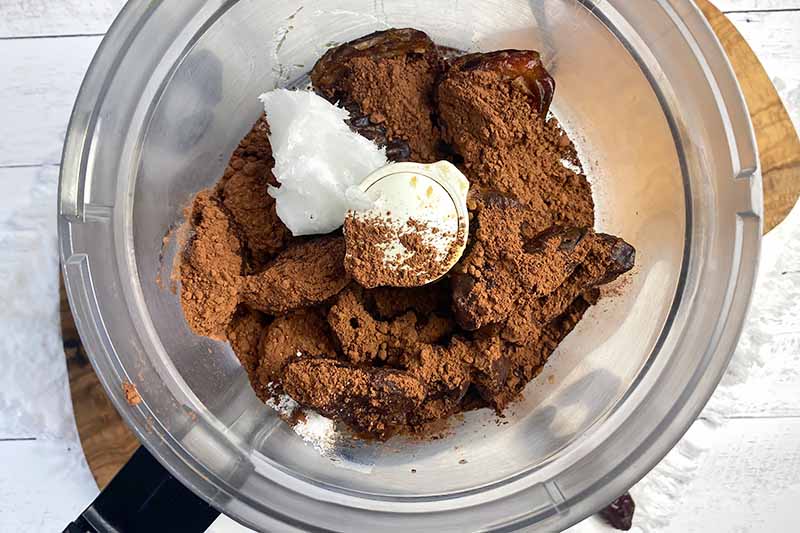
Transfer the dates to the food processor. Add the cocoa powder, coconut oil, vanilla extract, and salt.
Process the ingredients for about one minute, or until a smooth and thick paste forms.
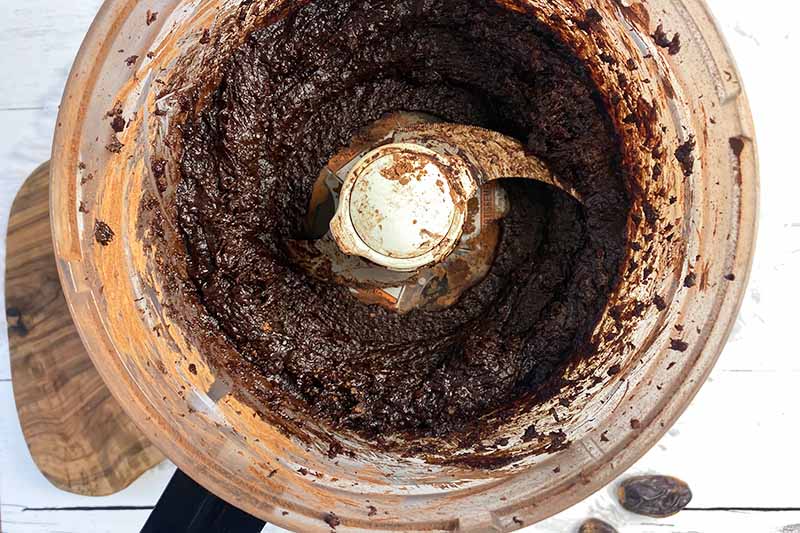
To ensure everything has been processed fully so it’s thoroughly combined, scrape down the sides and bottom with a spatula. Mix again for a few seconds.
Step 4 – Pulse in the Chopped Chocolate
Add the finely chopped chocolate to the food processor. Pulse briefly, until the pieces are fully incorporated into the paste.
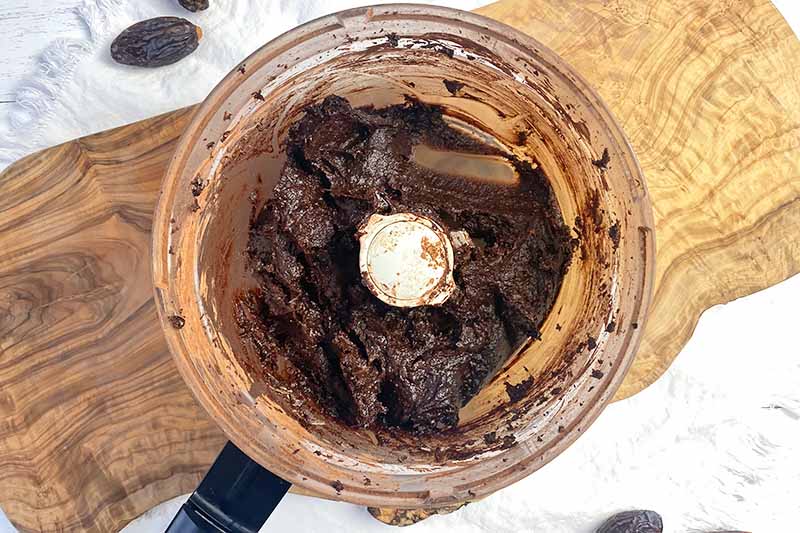
The reason why we add the chocolate last, and not with the other ingredients, is to maintain the texture of the small pieces throughout the paste.
Step 5 – Transfer to a Bowl and Chill
Transfer the mixture from the food processor to a clean medium-size bowl using a rubber spatula.
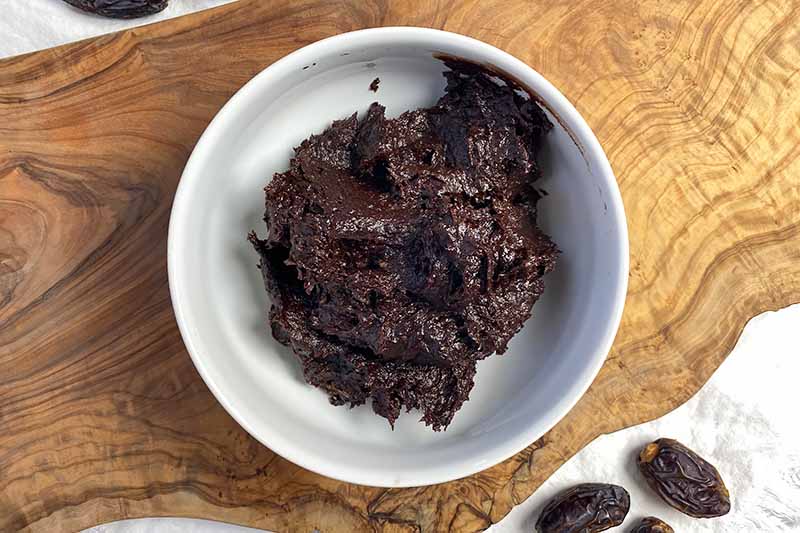
Using a separate bowl will help you more easily and cleanly portion the paste in the next step, rather than having to work around a very messy blade and food processor bowl attachment!
Transfer the bowl to your refrigerator. Uncovered is fine – no need to waste a sheet of plastic wrap!
Refrigerate for about 20 minutes to chill and slightly stiffen the mixture, a necessary step to create neat portions.
Step 6 – Portion and Chill
Remove the bowl from the refrigerator. Using the 1-tablespoon cookie scooper, scoop out a portion of the mixture and release it onto the prepared baking sheet.
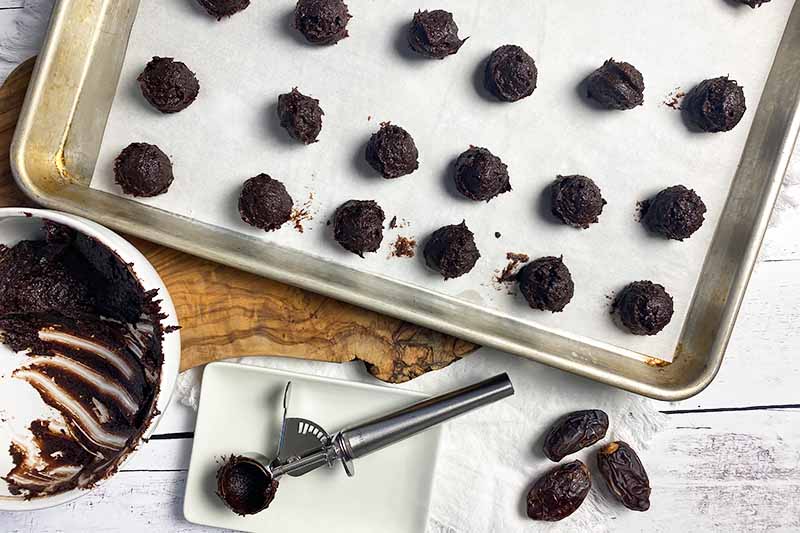
The yield for this recipe is 2 dozen truffles, so you can strategize the placement of the mounds in 4 rows of 6 mounds each.
Repeat with the remaining mixture.
At this phase the paste is still going to be very soft, so you will not be rolling the portioned mounds into balls just yet. Back in the refrigerator they go! Transfer the baking sheet uncovered to the refrigerator and chill for another 20 minutes.
Clean any dirty equipment and tools and organize your work station while you wait: place the bowls of cocoa powder and chopped pistachios next to the serving platter, and arrange 24 mini cupcake liners in neat rows on the platter.
Step 7 – Roll and Coat
Remove the baking sheet from the refrigerator and place it on your countertop.
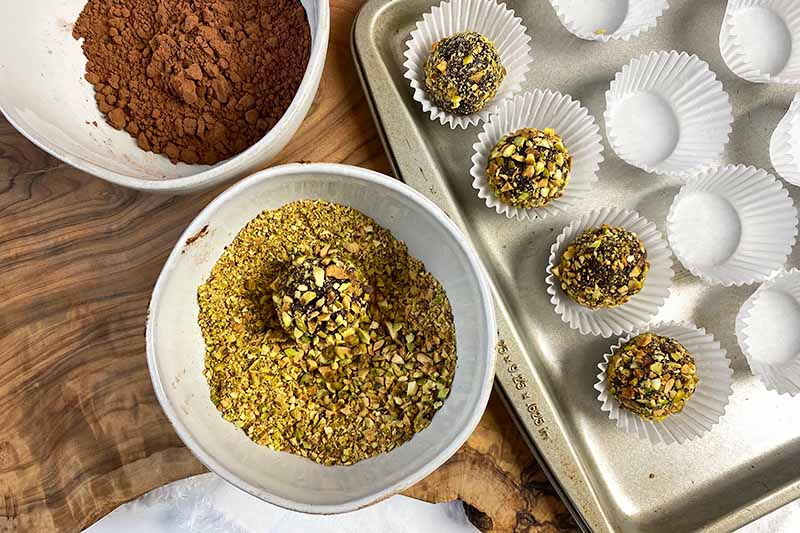
Working quickly so the mixture stays cold, roll one mound in the palms of your hands to make a neat ball. Place it in either the cocoa powder or the chopped nuts and roll to completely coat the exterior, gently shaking off any excess.
After coating in the nuts, gently re-roll the ball in your hands so the nuts more uniformly stick to the surface.
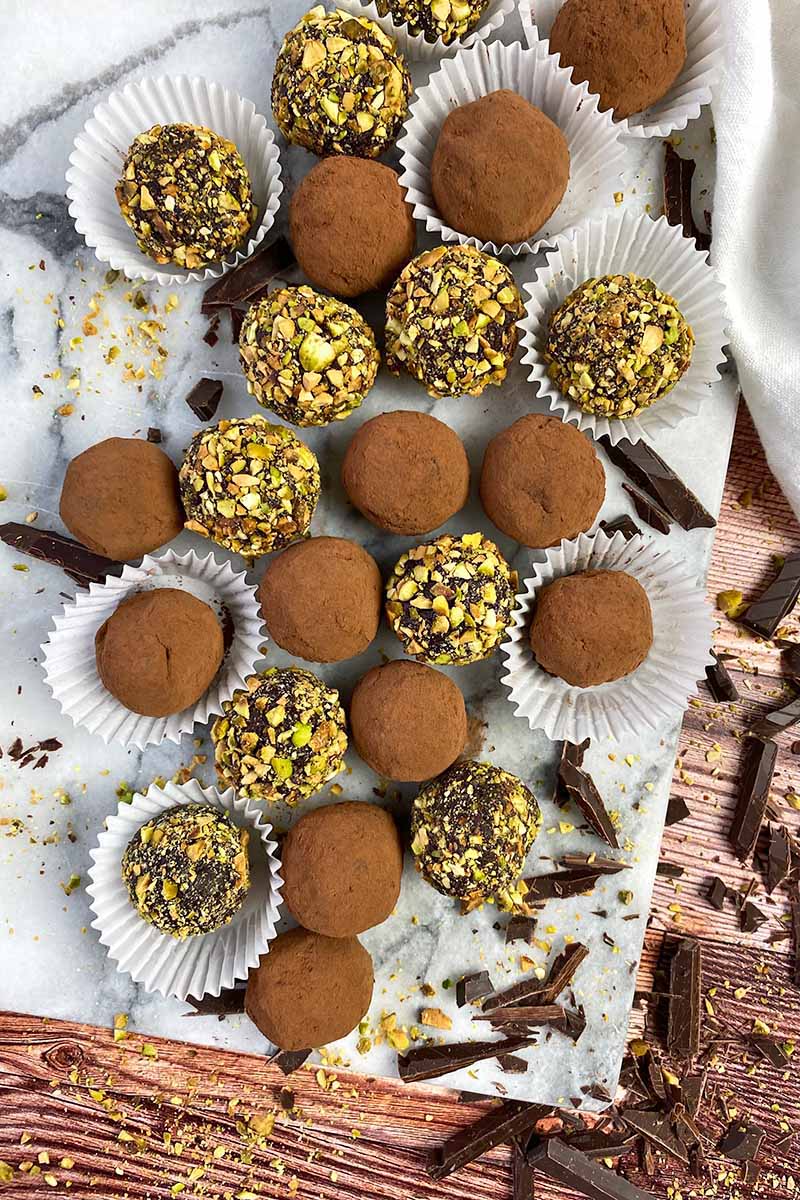
Place the ball in a cupcake liner, and repeat with the remaining mixture. Coat half of the balls in cocoa powder, and the rest in the chopped pistachios.
Step 8 – Chill and Serve
Transfer the platter to the refrigerator. Chill for about an hour to allow the truffles to set fully before serving.
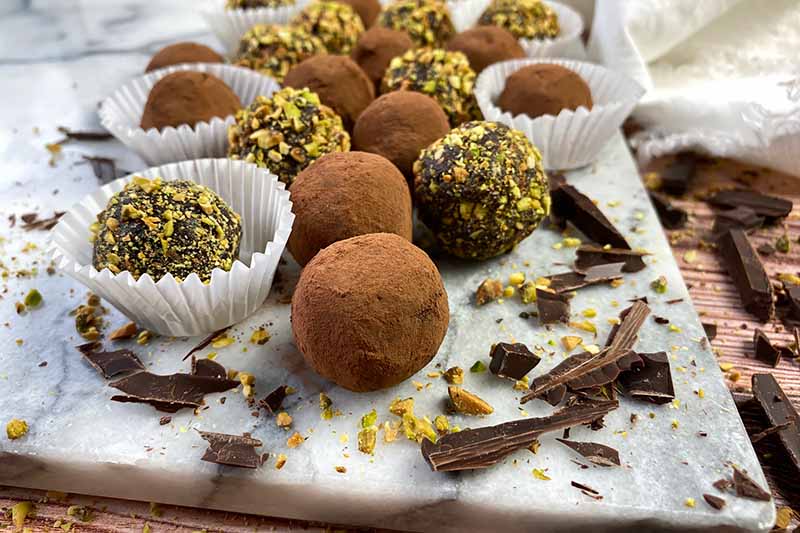
Serve and enjoy these little bites of pure joy, or store them in an airtight container in a single layer in the fridge for up to one week. They are a perfect holiday gift as a healthier confection!
Minimize the Mess
Recipe Disclaimer: This date-based paste is a gloopy mess.
You have been warned. Keep the fine linens and pretty folded napkins far away from the kitchen.
To minimize the mess as you’re making these tasty truffles, don’t take the following for granted in this recipe:
- Chilling at various stages is absolutely necessary to keep the paste cold and firm
- Using a spring-release cookie scooper portions and releases the mix in neat mounds
- Parchment paper and cupcake liners will keep your baking sheet and platter clean
And while it’s not noted in the instructions, it’s best to always have a clean kitchen towel or two available at your work station for wiping. I keep one damp towel and one dry towel next to me at all times as I’m working.
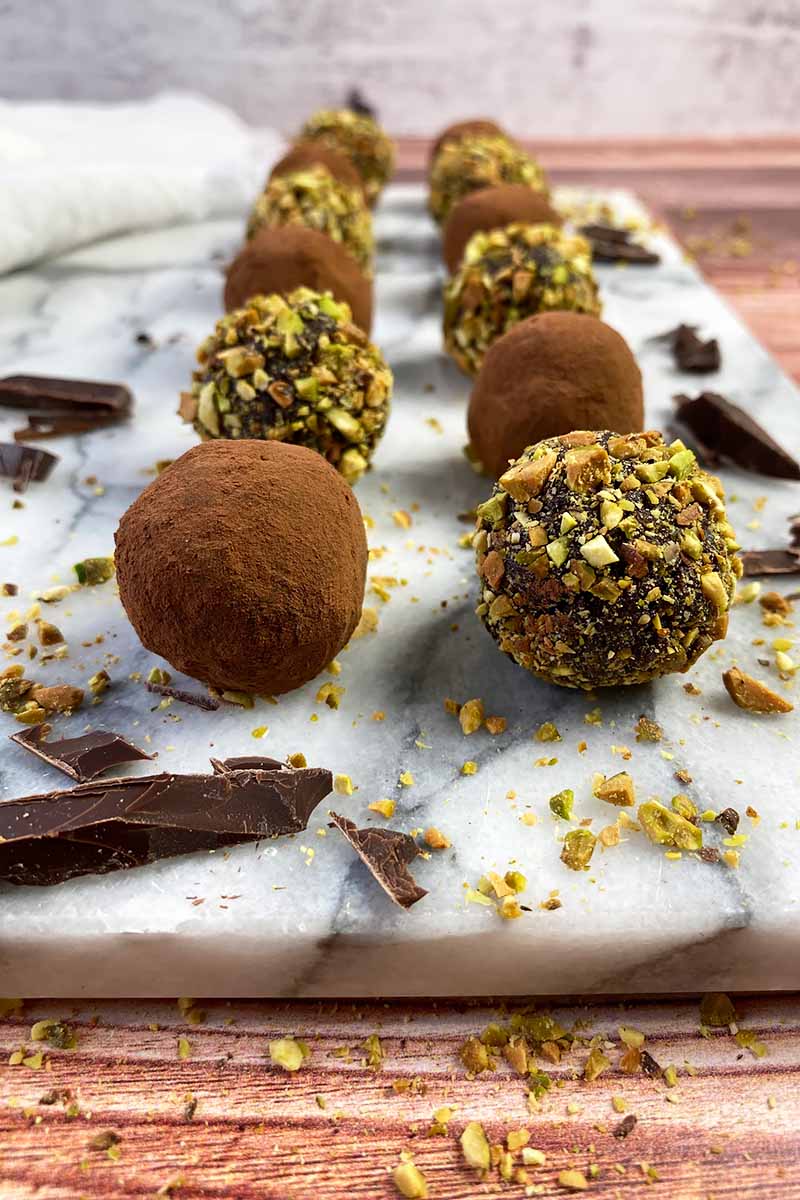
While the process is messy, the final results will be absolutely stunning!
How will you choose to customize these truffles? Will you stick with subtle vanilla or go for something bolder, like peppermint extract? Do you prefer rolling them in cocoa powder, nuts, or something else? I’m all ears – drop me a line in the comment section below!
Dates are the heart of this dessert, and we adore utilizing this chewy fruit in many types of recipes. Try them in sweets, breakfast treats, and even savory salads with these Foodal favorites next:
- Raw Fudgy Brownies
- Gluten-Free Blueberry Pecan Oat Bars
- Warm Asparagus Salad with Dates, Roasted Walnuts, and Pecorino Cheese
Photos by Nikki Cervone, © Ask the Experts, LLC. ALL RIGHTS RESERVED. See our TOS for more details. Originally published by Shanna Mallon on February 6, 2014. Last updated on December 16, 2022.
Nutritional information derived from a database of known generic and branded foods and ingredients and was not compiled by a registered dietitian or submitted for lab testing. It should be viewed as an approximation.
About Nikki Cervone
Nikki Cervone is an ACS Certified Cheese Professional and cheesemonger living in Pittsburgh. Nikki holds an AAS in baking/pastry from Westmoreland County Community College, a BA in Communications from Duquesne University, and an MLA in Gastronomy from Boston University. When she's not nibbling on her favorite cheeses or testing a batch of cupcakes, Nikki enjoys a healthy dose of yoga, wine, hiking, singing in the shower, and chocolate. Lots of chocolate.

Oh, don’t even get me started on these truffles. I’ve only made chocolate truffles once in my life – but they were such perfect bites of sweetness (after meals, before meals, between meals, whenever goes!). Now you’ve got me bookmarking this, for when I’m back from vacations in Brazil! I’ll make these!! (when I finally plow through the entire list of other foods-to-make!)
Sending love!
F.
oh, YUM. i must make these…
These truffles sound lovely!
These photos are incredible! I just love the texture of the pistachio truffles…so good!
this recipe is the bomb. Thanks!
Vegan date truffles! Nice! I am always trying to modify yummy recipes to fit my plant based diet. No modification needed here!
I love your blog! This post looks amazing….