Step forward if there was ever a time when you weren’t certain of the difference between mayonnaise and aioli.
(Tiptoes to the front.)
Even if that time is right now, you’re still welcome to pull up a sandwich and stay a while. We’re about to get into the basics.
I always knew there were a few minor differences.
For example, if mayonnaise was a country, it would be America. It would crush Bud Lights on the weekends, and order mozzarella sticks as an appetizer.
On the other hand, if aioli was a country, it would be France, sporting a tiny mustache and exclaiming, “Oui! These hors d’oeuvres are marvelous!”
But is aioli actually just a fancier version of mayo? Not exactly.
Here are the fundamentals:
Both condiments are emulsions, which is the forcing together of two things that don’t mingle well.
Kind of the same premise as all reality dating shows.
Mayo is a stable emulsion of egg yolk and tiny droplets of a neutral oil that often has an acidic component like vinegar or mustard blended in to provide tartness. Aioli, however, is essentially a thick oil-based garlic sauce.
Aioli literally translates to “garlic oil,” from the Provençal “ai” for garlic and “oli” for oil. So, if you’re wondering why it’s not called a garlic aioli, well… that would be like saying mayo mayonnaise.
Or something along those lines. The etymology of the word mayonnaise is far more complicated, but we’re not going to get into that right now.
Catching on?
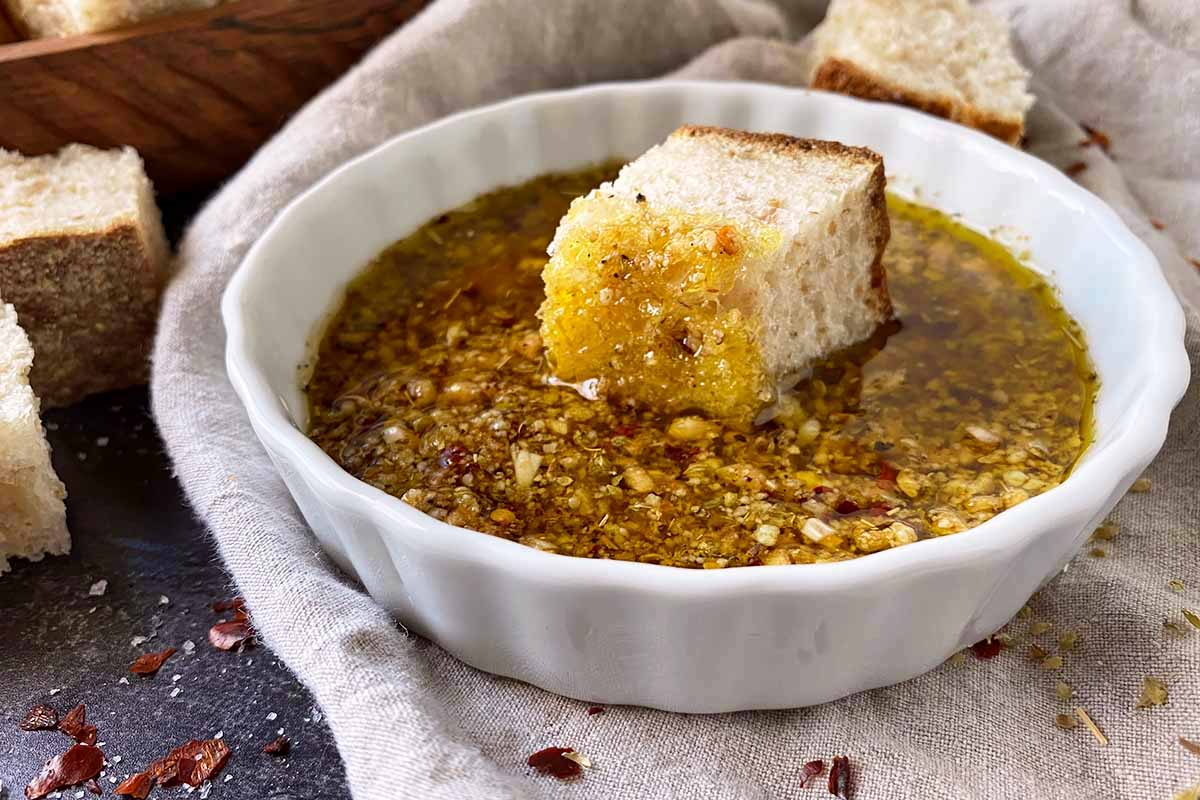
Truly authentic Mediterranean aioli is produced solely from a boatload of garlic, extra-virgin olive oil, and a touch of coarse salt ground together into a paste in a mortar with a pestle and then whipped. Adding egg yolk as an emulsifier doesn’t make it any less of an aioli, it just allows things to come together a bit more easily.
Now that you’re schooled in the subtle differences between the two, you can continue slathering both on anything you damn well please. And if you’re having a hard day and decide to whisk together some store-bought mayo with minced garlic and present it to your family as an aioli, your secret’s safe with me.
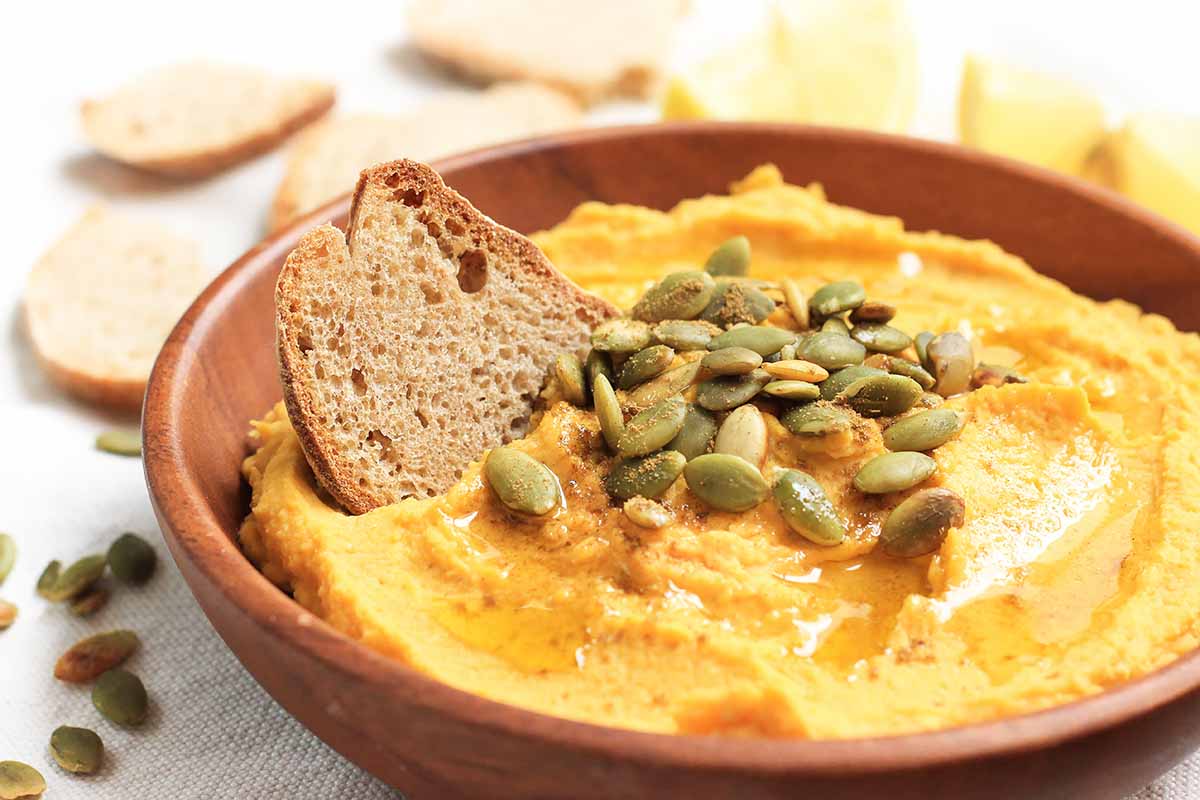
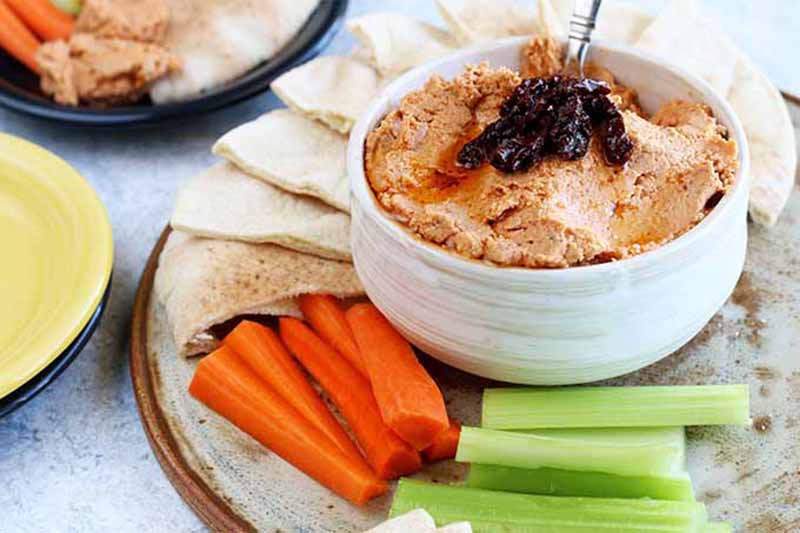
The raw garlic gives this smooth sauce an intense zip of flavor that, for me, is everything. I use it in all sorts of condiments, like a roasted red pepper dip.
I don’t make the entire recipe in my mortar and pestle, but I use it to accomplish the first step of pounding the garlic into a paste.
There’s something rustic and old-timey about sprinkling salt over the pungent cloves and crushing them into a spicy, aromatic mash. It makes me feel like Julia Child is going to appear over my shoulder and smack me on the hand for not rotating the bowl correctly.
I love time traveling through food.
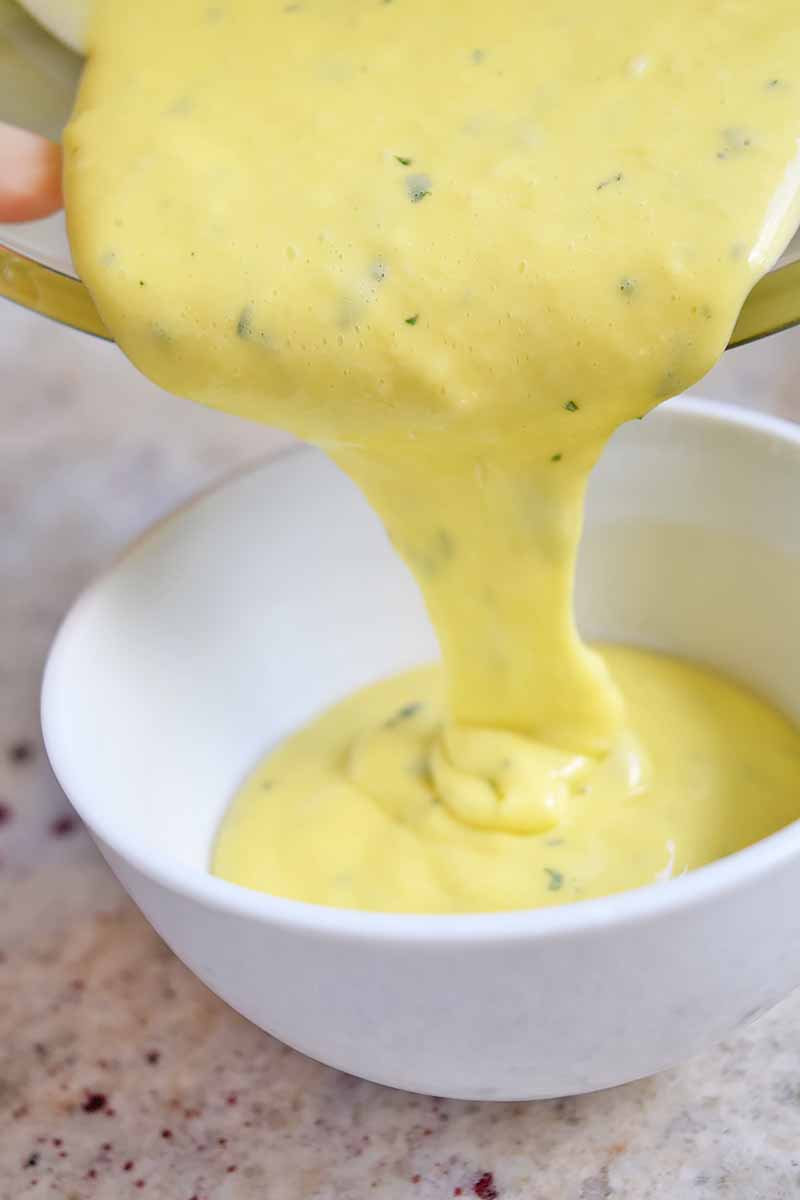
The bright lemon juice in the aioli gives the spread a refreshing pop, and cuts through the sharpness of the garlic. But the dominant textural experience here is creaminess, and I’ve always adored creamy condiments. Probably a little too much.
I’ve never met a chicken salad sandwich that I didn’t want to dollop some extra mayonnaise on, and if Moules-frites (mussels and fries) are on the menu, it’s double aioli for me, please.
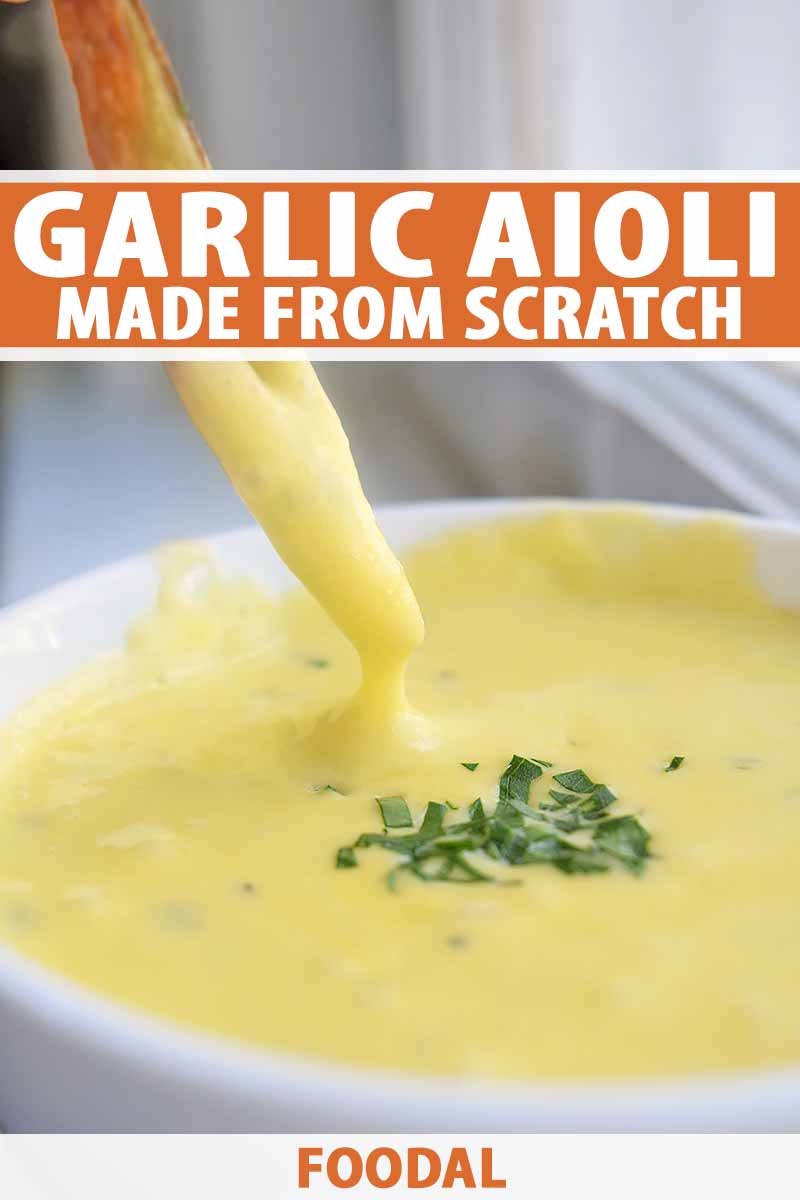
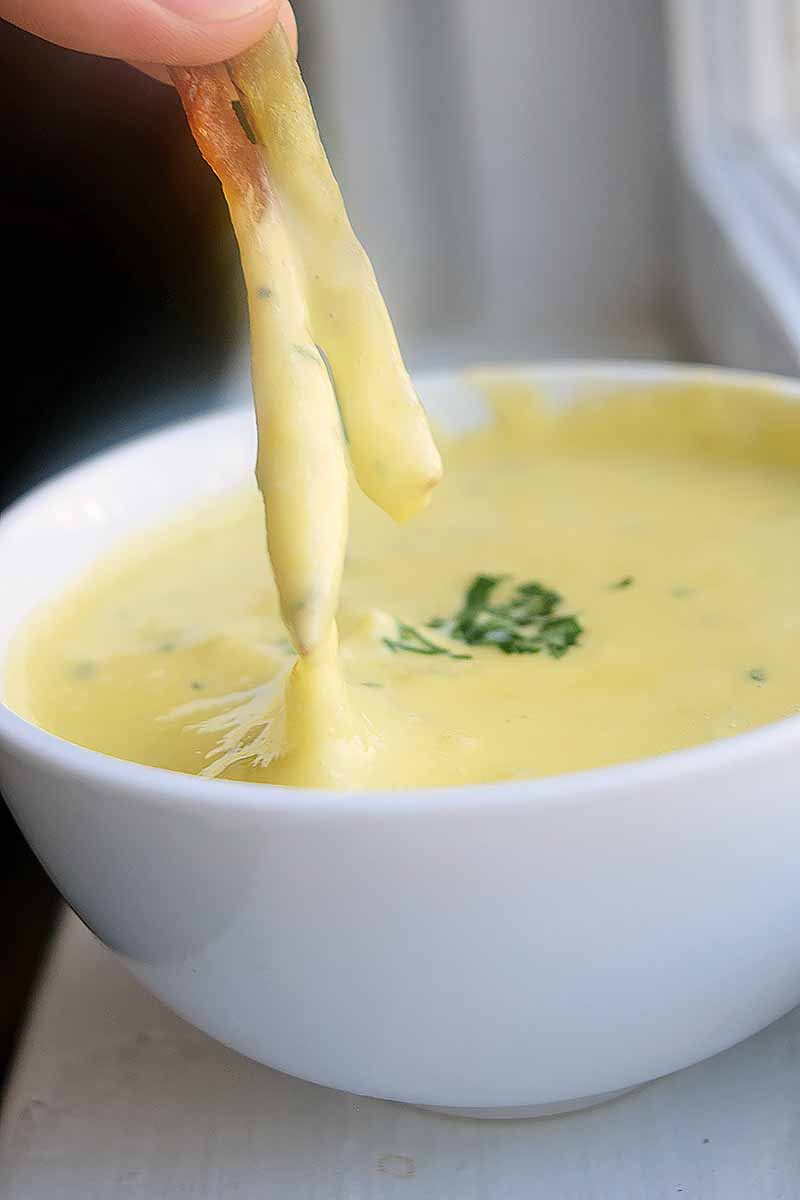
Crispy, salty skinny fries slam-dunked into this dip are a match made in mouth heaven.
Once you make this savory spread completely from scratch, you’ll be like, “Ketchup who?” You’ll also become an expert in the great aioli vs. mayo debate.
The next time you spy aioli on a menu, one taste and you’ll know whether it’s a true garlic and oil mashup, or simply mayo wearing a frilly dress.
Either way, everyone wins.
Print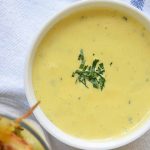
Garlic Aioli Made from Scratch
- Total Time: 20 minutes
- Yield: 1 cup 1x
Description
Creamy, dreamy, and loaded with sharp garlic and tart lemon, this silky homemade aioli is a French fry’s dream come true.
Ingredients
- 2 cloves garlic
- 1/2 teaspoon coarse salt, plus more to taste
- 2 large egg yolks
- 1 ½– 2 cups extra-virgin olive oil
- 1/4 teaspoon water
- 1 tablespoon fresh lemon juice
- 1 tablespoon chopped fresh parsley
Instructions
- Using either a mortar and pestle or a cutting board and a sharp knife, pound (or chop) the garlic cloves with a pinch of salt until you create a paste. Set aside.
- In a sturdy bowl with a hefty bottom, whisk together the egg yolks and 1/2 teaspoon salt. Once the eggs are emulsified and a uniform yellow, slowly begin adding a drop of oil at a time, vigorously whisking as you pour to keep the mixture thick.
- When the aioli has become very thick and stiff, continue to whisk while adding 1/4 teaspoon water and the lemon juice in a thin stream. Whisk until the mixture loosens up a bit.
- A few drops at a time, continue whisking in oil until the aioli comes together. Whisk in the garlic paste and fresh parsley. Season to taste with additional salt if necessary. Store in an airtight container in the fridge for 2-3 days.
- Prep Time: 20 minutes
- Category: Dips and Spreads
- Method: No-Cook
- Cuisine: Condiments
Keywords: aioli, garlic aioli, dip, garlic
Cooking By the Numbers…
Step 1 – Mash the Garlic
Pound the garlic cloves with a pinch of salt in your mortar and pestle until you create a paste.
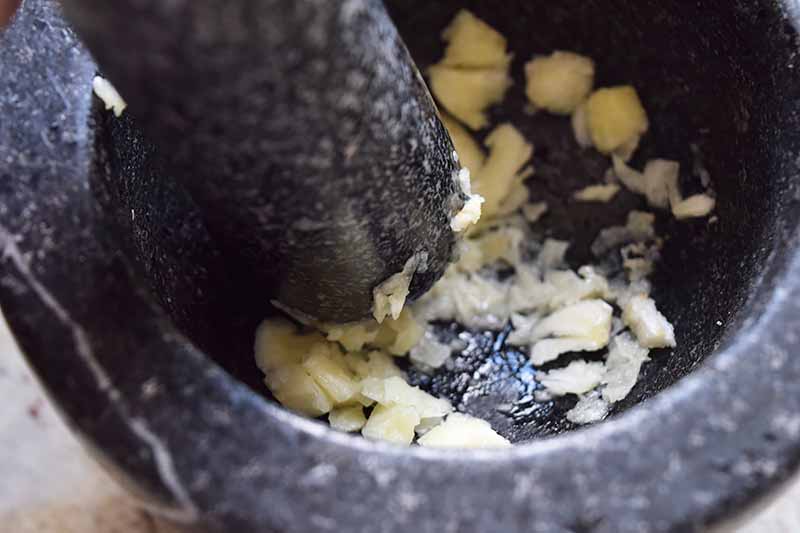
If you’re using a cutting board and a knife instead, start by rough chopping the garlic and then sprinkle it with a pinch of salt. The salt will help break down the garlic and release its moisture. Use the flat side of your knife to crush the chopped garlic and spread it into a paste across your board.
Step 2 – Whisk the Eggs and Salt
In a sturdy bowl with a hefty bottom, whisk together the egg yolks and 1/2 teaspoon salt until they become emulsified.
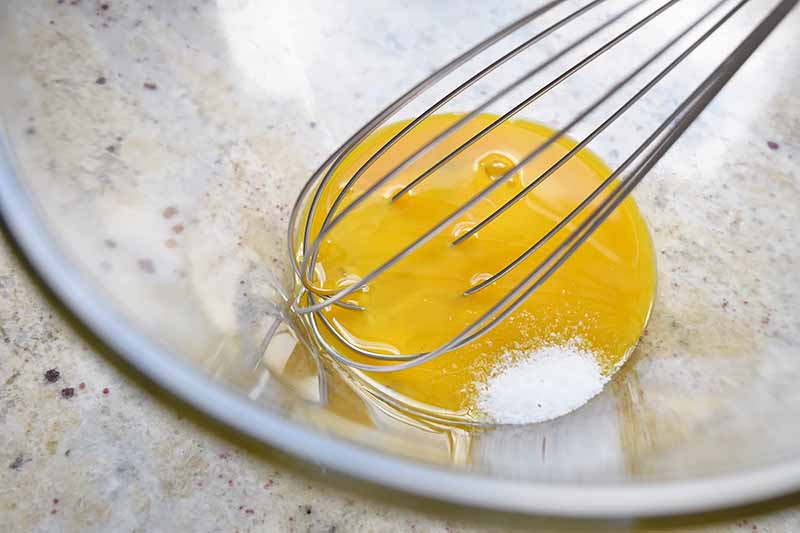
If you only have lighter, more delicate mixing bowls, you can wrap a towel around the bottom of the bowl to keep it in place as you whisk.
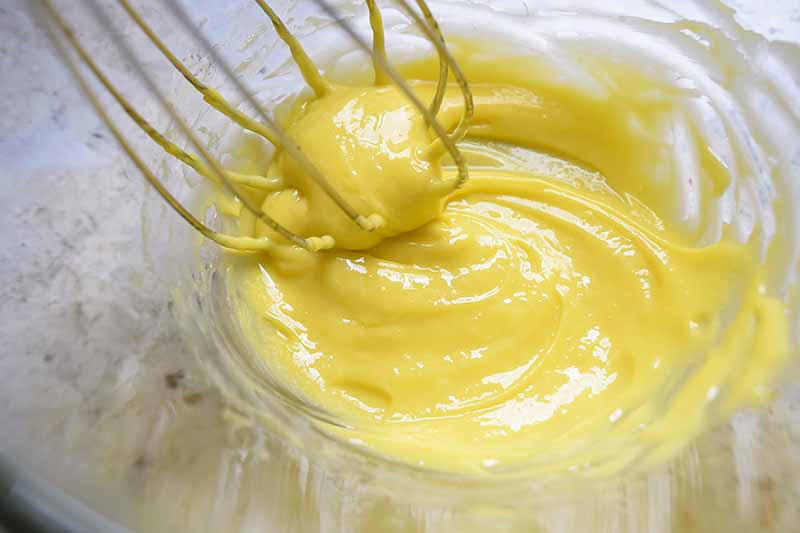
Step 3 – Slowly Drip in the Oil to Thicken
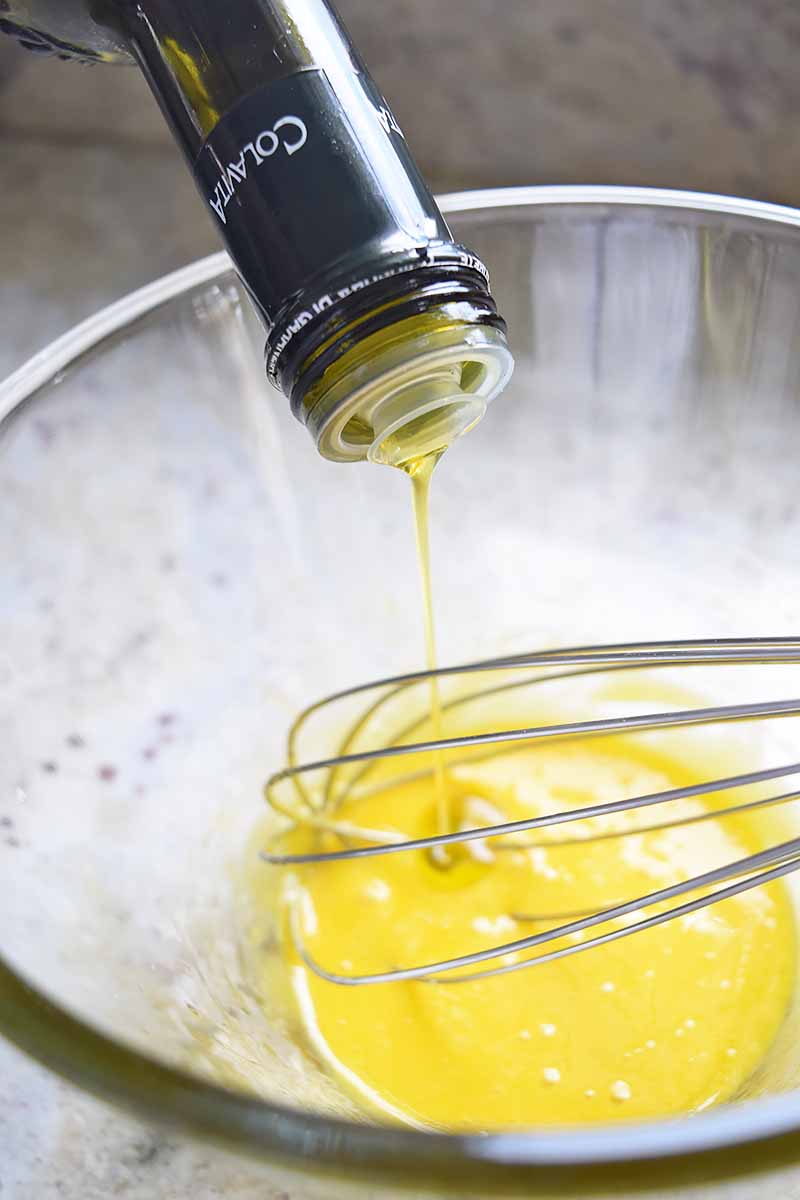
Very slowly, just a few drops at a time, begin adding the oil while vigorously whisking as you pour to keep the mixture thick.
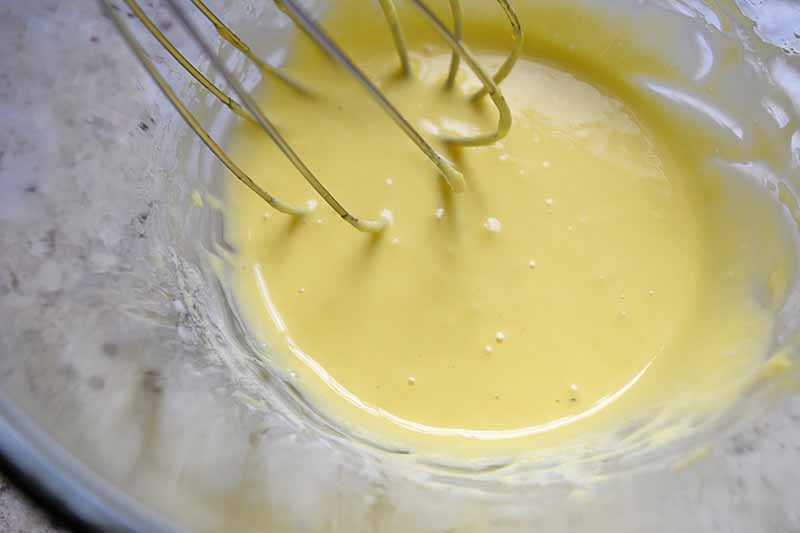
Step 4 – Loosen Up the Mixture
When the mixture has become very thick and stiff, add 1/4 teaspoon water and the lemon juice in a thin stream, while you are still whisking.
Whisk until the mixture loosens up a bit.
Step 5 – Blend in the Remaining Oil
A few drops at a time, continue whisking in oil until the aioli comes together. You may not need the full 2 cups of oil, so eyeball the mixture until it reaches your desired thickness.
For a thinner aioli, use less oil.
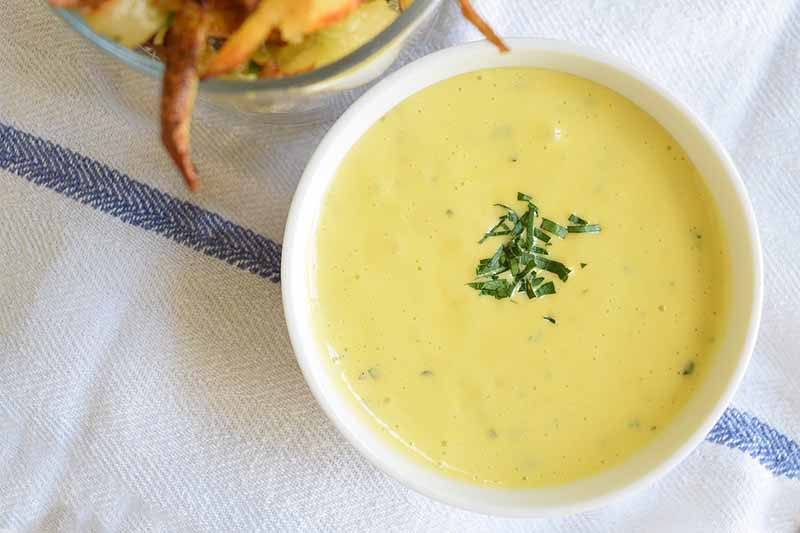
Step 6 – Mix in the Final Ingredients
Chop the fresh parsley.
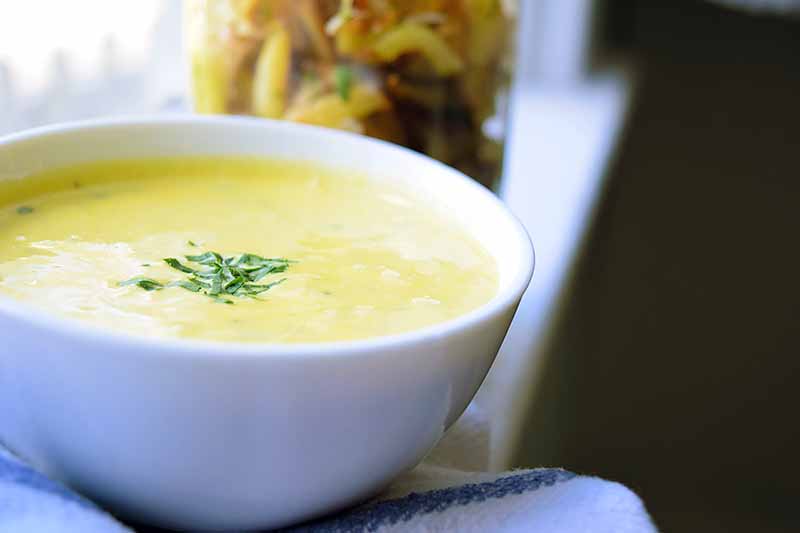
Whisk in the garlic paste and parsley, and season to taste with additional salt if necessary. Store in an airtight container in the fridge for 2-3 days.
Move over Ketchup, French Fries Have a New Friend
Roll up your sleeves and break out the garlic, we’re going aioli-ing.
Although this recipe calls for some serious elbow grease, it’s all worth it in the end when you realize the infinite dip-and-spread possibilities of this decadent mixture.
All those calories you burned whisking can be spent smearing this aioli onto the best BLT you’ll ever meet. Spoon it into your homemade Caesar dressing, shower it over roasted veggies, or use it as a finishing sauce for simply seared fish.
Not enough of an emulsion education for you? Take on these recipes to learn more:
- The Best Homemade Mayonnaise
- Quick Fixes for Broken Homemade Mayo
- Carrot Raisin Salad with Lemon Aioli
What mix-ins do you reach for to give your aioli a little flair? Cayenne? Citrus? Lemongrass? Share your favorite fold-ins in the comments below! And don’t forget to give this recipe a five-star rating if you loved it.
Photos by Fanny Slater, © Ask the Experts, LLC. ALL RIGHTS RESERVED. See our TOS for more details. Originally published by Shanna Mallon on September 21, 2012. Last updated: February 25, 2023 at 12:51 pm. With additional writing and editing by Allison Sidhu.
Nutritional information derived from a database of known generic and branded foods and ingredients and was not compiled by a registered dietitian or submitted for lab testing. It should be viewed as an approximation.
About Fanny Slater
Fanny Slater is a home-taught food enthusiast based in Wilmington, North Carolina who won the “Rachael Ray Show” Great American Cookbook Competition in 2014, and published her cookbook “Orange, Lavender & Figs” in 2016. Fanny is a food and beverage writer, recipe developer, and social media influencer. She was a co-host on the Food Network series “Kitchen Sink,” was featured on Cooking Channel’s longtime popular series “The Best Thing I Ever Ate,” and continues to appear regularly on the “Rachael Ray Show.”
I’ve loathed mass produced mayo since I can remember. As you can imagine, this has made BBQs and picnics hard – lots of passing on the mac and potato salads. But, homemade mayo is a completely different story! One need only look at how yellow your mayo is to know that the stuff in the standard jar of white glop is not the same thing. And with the garlic? And the parsley? You won’t find me passing on that stuff at a BBQ.
Oh, to find this at a potluck!
I grew up eating mayo, then got turned off by it somewhere down the line and started ordering sandwiches and burgers without, but I’ve started getting more interested in it again since I saw this, and have been meaning to try a homemade version. My library just contacted me the other day to tell me Tamar Adler’s and Luisa’s books are ready for me to pick up!!! So it’ll be a nice, lazy weekend of reading, and maybe some homemade mayonnaise, too. Happy Friday, friend!
Two at once! That is how my library books always come available, too. Hope you have a wonderful, restful, delicious weekend, my friend!
Finally a mayo recipe that doesn’t use mustard, I really like adding lemon juice to mayo so bright tasting. Thanks for posting this lovely recipe and I will be trying to make it with our own eggs on homemade sourdough bread with a glass of fresh raw goats milk- yummy.
That sounds perfect!
I wannnnttttt that book!!!!
You do. You really do. Get it!
i finally ordered that book thru another library this morning. very much looking fwd to it.
i’ve always been a fan of eggs (ok for that time in 6th grade when it grossed me out & all i ate was tomato sandwiches) and in fact, grew up with homemade mayo first before the convenience of store bought took over. we don’t keep mayo in the house but when the occasion calls for it, making it from our source of local eggs is wonderful.
my thoughts exactly. hope you enjoy Tamar’s book, too!
could i use a stand mixer to whisk? if so could i still use olive oil?
That’s a great question, Sarah — thanks for asking! My guess would be that because it’s the fast blades that causes the olive oil to break down and become bitter, a stand mixer would cause the same problem. So for that reason, stick to hand whisking unless you can use a more stable oil.
(Coconut oil is readily available now, online, at Whole Foods and at Trader Joe’s even. Oh and I hear Costco carries giant tubs of it, too!)
You need a Weston Mayonnaise Maker, it makes it SO easy. My hubbies Grandma gave us one and I absolutely love it, even though Im usually not really into kitchen gadgets and tend to just stick to the basics. Can’t wait to try your recipe!
I loved this chapter, too! It made me want to go make mayonnaise immediately. I haven’t done it yet, but I’m sure I will. I could use the workout. 😉 You just can’t beat the real deal.
Tamar writes everything so beautifully. I thought of her while roasting a heap of root vegetables last night.
I hear you! I’m pretty sure I will always think of her when I roast a bunch of vegetables at once, or boil them one after another, or make homemade mayonnaise. : )
You’re right, homemade mayonnaise is absolutely nothing like anything you can buy in the shops. A friend makes the most amazing aioli and every summer we have a big aioli party with poached chicken, fish, new potatoes, vegetables and whatever else we can find all covered in that gloriously garlicy sauce. This has taken me right back to those evenings.
An aioli party! Sounds right up my alley!
I have been terrified of mayo most my life, and still am, even homemade. But! your post is starting to sell me. You made it look beautiful. 🙂
This is one of the first things we made from Tamar’s book, too. We grilled some pita bread, tons of local vegetables, and went. to. TOWN. That mess was so awesome.
And I think another reason – at least for us – that we tend to source and eat the way you guys do is that our favorite meals are the simple ones. Sure, we dig a bunch of ingredients that come together in a synergistic plate, but our every day go-to meals have three or four ingredients. If that’s the case, those better be the best ingredients you can get your hands on. Pork shoulder slow-roasted with just salt and sugar. Potatoes mashed simply with butter. A green salad with a simple honey mustard dressing. When the pork, the potatoes, the lettuce, and the honey all come from people whose names I know, it makes the meal come to life. Not to mention it tastes ridiculous.
You’re right. This way of doing food isn’t for everyone, but I sure am glad it’s for me.
Love your philosophy… and miss hearing your voice like I can here.
why keep it only 2-3 days….the eggs will last a few months wont they? and the rest of the ingredients would be fine.
Yes, ditto to the above – why only 2-3 days? Thank you!
@Kate and @Anya – Tim and I talked about the same thing. I would guess it’s just a matter of being extra safe (the 2-3 days bit was a direct quote from Tamar) but of course you can keep it for as long as it’s good and/or you feel comfortable.
Shanna, here’s another crazy thought: have you thought of fermenting your mayo? Homemade mayo (and similar egg sauces like hollandaise or aioli) are so, so, good, (I once had to buy a steel bowl just so I could make myself hollandaise from eggs I was caring for during my farm internship!) but adding a little whey and letting it sit out a few hours before putting it in the fridge opens up all new possibilities. I learned about it from that trusty source, Nourishing Traditions, and had a mason jar in the fridge for several weeks. However you prepare them, happy eggs are simply little miracles.
Beautiful, post, recipe and photos! 🙂
I have missed reading your blog, Shanna! Coming home after traveling for a month is tough but reading your writing is one of the things making the process easier. Ah making homemade aioli is a wonderful thing I haven’t done in a while, inspired to do so now. And thanks for the references on raw milk, I’ve been wanting to do more research on this. Also intrigued by the cookbook. In short, as always, you are a wealth of ressources of all things good and delicious! Thank you so much!
Glad to have you and your sweet words back around here, Helene! Best wishes getting settled into routine again!
Question for you Shanna: when using coconut oil, do you heat to make it liquid first? Do you then use it warm/hot? The coconut oil I have/use becomes solid when cold, I don’t know if there’s another kind? Thanks so much!
Helene, That’s a good question — the thing with coconut oil is it solidifies at anything under like 75 degrees, so in most of our kitchens, it’s solid when we pull it out of the cupboard. To use it in mayonnaise, I would lightly warm it to turn it to a liquid — again, it won’t take much since it only needs to get above 76. Then I’d use it as a liquid in the recipe. Does that make sense? Good luck!
Perfect, thanks so much. I’ve just started to cook with coconut oil, so this is very useful. I figured I would give it a try. Making your mayo for a grated celery root remoulade on Pablo’s menu this week 🙂
Fantastic! I am such a coconut oil fiend — email me if you have any questions!
Yes, yes, yes to all of this! I’ve been thinking about trying my hand at homemade mayo, myself (having only used it in tuna salads and deviled eggs, and occasionally as a light spread on a BLT). I think I’ve been convinced. Especially if I can round up a local urban chickenkeeper (is there an official name for one who keeps chickens?) – I’ve heard they’re around in Berkeley…now I’m on a mission!
PS – Love the pictures!!
Yes! Thank you! : )
Isn’t aioli amazing? I love it. Good job!
Wow, I would’ve never thought that it was that easy. What is that horrible thing I’ve been eating all along ?!
Ha! Right?
This is soo good. I’m having an old fashioned fondue party and this is one of the sauces for the meat. thanks.
★★★★★
The olive oil flavour was way to strong
★
Olive oil can be an acquired taste, and you might like to try making this again with a more neutral oil. Regular or virgin oil will also have a more mild flavor than extra-virgin. However, I suspect that perhaps your olive oil has gone rancid. Sadly, this is common in American kitchens, and grocery stores as well. How long have you had your bottle on hand, and how do you store it? If it has any off odors, toss it and start again, and store bottled oil in a cool, dark place.
You can read more about olive oil here.